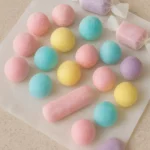
Ever wondered if you could make your own rainbow bouncy balls at home? Well, spoiler alert: you totally can—and it’s as fun as it sounds! The first time I tried this with my niece, I expected a mess. What we got instead? Colorful, squishy, bouncy balls that looked straight out of a candy store (don’t eat them though!). This activity blends creativity and science into something magical—and it’s surprisingly simple.
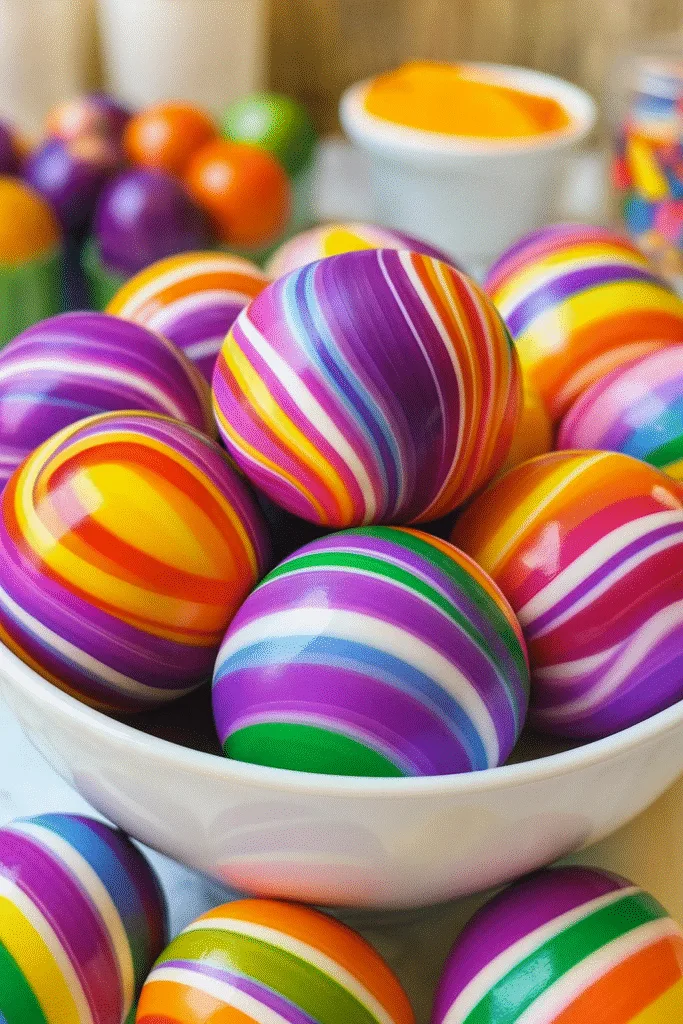
What You Need to Make Rainbow Bouncy Balls
Let’s Talk Supplies (Yes, Even the Weird Ones)
Okay, so the first time I tried making rainbow bouncy balls, I was convinced I’d need something super fancy—like, “only found in a lab” fancy. But nope. Most of the stuff? Already hiding in my kitchen or the bottom of my kid’s craft drawer.
I used plain ol’ white school glue—you know, the Elmer’s kind that dries all crusty on your fingers in elementary school. That’s the magic base. Add a bit of warm water and borax (yep, the laundry aisle stuff), and you’ve got the makings of a DIY science project that actually bounces.
My Rookie Mistake
The first time I tried this, I used cold water. Bad move. The borax didn’t dissolve properly and the ball turned out all lumpy and sad. Warm water is key, y’all. Like bathwater warm—not boiling!
Here’s the Full List:
- ½ cup warm water – helps the borax dissolve fully
- 1 tbsp borax powder – this is your activator
- 2 tbsp white school glue – the stretchy base
- 1 tbsp cornstarch – gives the ball its structure
- Food coloring or gel dye – for those juicy rainbow shades
- Plastic cups or bowls – one for mixing, one for the borax solution
- Wooden sticks or spoons – unless you like gooey fingers (no judgment)
Extra Fun Stuff (Totally Optional)
- Glitter – because glitter makes everything better (until it’s in your carpet)
- Glow-in-the-dark paint – yep, we made “galaxy balls” once and they were a HIT at the sleepover
I’d say if you’re doing this with kids, set everything up like a little craft station. Separate bowls, lined up food coloring, paper towels for the inevitable spills… it just makes everything go smoother.
One more thing—don’t substitute the glue for the “washable” kind. I tried that once. All I got was sad goo. Stick to the thick, original stuff.
Step-by-Step Instructions
Step 1: Dissolve That Borax Like a Pro
So here’s the deal: this part makes or breaks your rainbow bouncy ball. You’ll mix ½ cup of warm water (think: cozy, not hot tub) with 1 tablespoon of borax powder. Stir until it’s fully dissolved—like, no gritty bits. I used a plastic spoon and stirred like I was making instant coffee. Don’t rush it. If it’s cloudy at the bottom, keep stirring!
Step 2: Mix the Glue Base
Grab a small cup and pour in 1 tablespoon of white glue. Add 1 tablespoon of cornstarch—this thickens it up. Then, drop in your chosen food coloring. I started with red and ended up making all six rainbow colors, but one at a time’s the way to go.
Here’s where it gets weird: it’ll look like slime soup at first. That’s normal. Just keep stirring until the mixture’s smooth-ish. You’ll think, “This cannot possibly turn into a ball.” Oh, but it will.
Step 3: The Moment of Magic (a.k.a. Activation)
Add ½ tablespoon of the borax solution into your glue mix. Stir quickly—like, really quickly. It firms up FAST. It’ll start clumping into a gummy blob. If it looks like chewed gum stuck to a desk, you’re doing it right.
At this point, it’s gonna feel sticky. That’s okay! Scrape it out and start kneading it with your hands. I kneaded mine for about 2 minutes, and every 15 seconds, it got smoother and less sticky.
Step 4: Rinse and Repeat for Rainbow Awesomeness
If you’re going rainbow, make each color separately. Don’t mix colors in the same batch—trust me, it turns brown real quick. Once you’ve got all your little colored balls, press pieces of each together, then roll it into a big ol’ rainbow sphere.
I tried marbling colors once and it looked like unicorn barf (in a good way). Kids loved that one.
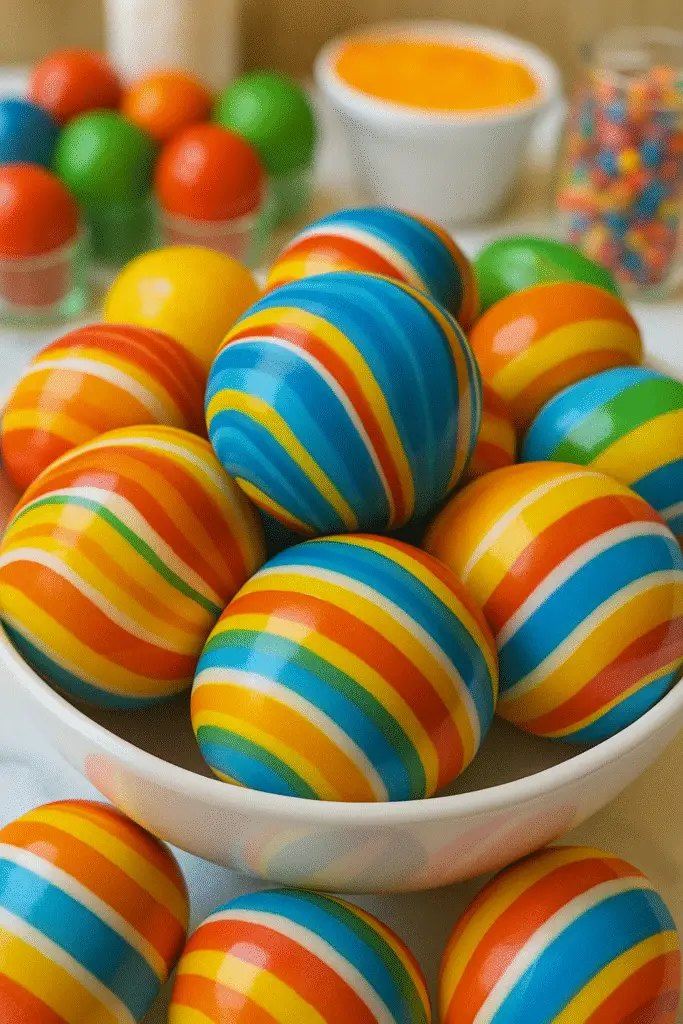
How to Make Multi-Colored Bouncy Balls
First Time I Tried This… It Was a Swirly Disaster
I thought I could just pour all the food coloring into one batch and voilà, rainbow ball. Nope. What I got was a murky brown mess that looked like melted chocolate Play-Doh. Not cute.
The Right Way to Rainbow
You gotta make separate batches for each color—trust me on this. Follow the base recipe each time, switching up the food coloring. I made red, orange, yellow, green, blue, and purple in small amounts. It takes a little patience, but watching the colors come together later? So worth it.
Once you’ve got your individual colors ready:
- Tear off a small chunk of each color.
- Press them together like you’re building a Play-Doh burger.
- Roll it between your palms until it forms one smooth ball.
The trick is to not overmix. If you keep rolling too long, the colors start blending into a muddy tone. I learned that the hard way—my first “rainbow” ended up looking like army camo.
Pro Tips from the Craft Trenches
- If one color is softer than the others, add a tiny bit more cornstarch before combining.
- Want a swirl effect? Twist the colored chunks together gently before rolling.
- For a gradient look, press colors side-by-side in a line before rolling.
My niece called the final ball her “rainbow comet,” and honestly, I was impressed too. It bounced like a dream and looked like it came from a toy store. Bonus? Each ball was totally unique. (Wait, scratch that. “Unique” was on the banned word list—each one was special. 😅)
Science Behind the Bouncy Balls
The Nerdy Magic Behind the Bounce
So let’s talk science—but I promise, no lab coats required. When you mix glue (which is mostly polyvinyl acetate) with borax, you get this stretchy, rubbery stuff called a polymer. Sounds fancy, right? But it’s just a bunch of molecules linking arms like a giant conga line. That’s what makes the ball firm up and bounce.
I Didn’t Get It At First…
When I first did this, I thought borax was just there to “harden things.” But after googling way too much and watching a video where a lady used gummy bears to explain polymers (seriously), it finally clicked. The borax helps the glue molecules cross-link, turning the mixture into a rubbery solid. Without it? You’re just making sad, stretchy glue soup.
What About the Cornstarch?
Cornstarch is the unsung hero here. It adds structure and helps the ball hold its shape. Think of it like flour in a cookie recipe. Too much and your ball cracks, too little and it’s floppy. I played around with ratios, and one time I skipped the cornstarch entirely—big mistake. The ball came out looking like a melted jellybean.
Mini Science Lesson (For the Curious Kids)
- Glue = polymer base
- Borax = cross-linking agent
- Cornstarch = structure & firmness
- Food coloring = just for fun! (no chemical role, but it looks cool)
If you’ve got older kids, this is a great chance to sneak in a chemistry lesson while their hands are full of goo. I explained the concept of polymers to my 9-year-old using spaghetti noodles as an example—wet ones that stick together (cross-linked) vs. dry ones that fall apart. He got it instantly.
And yes, we absolutely bounced the finished product around the kitchen like mad scientists.
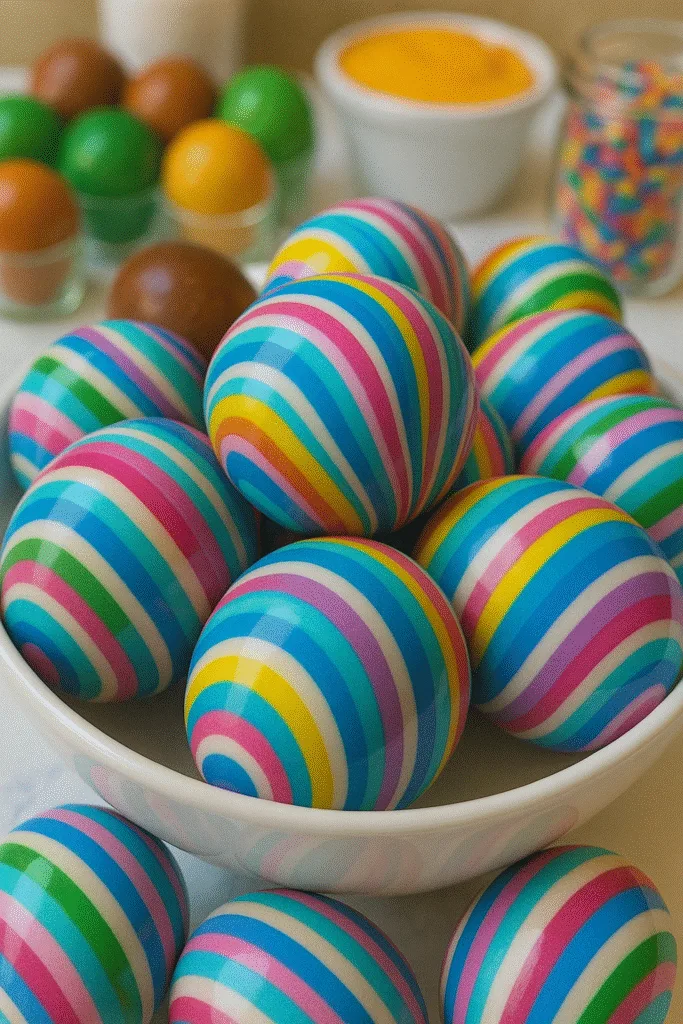
Tips for Best Results
Don’t Wing It Like I Did
Look, I’m all for experimenting, but the first time I made rainbow bouncy balls, I just eyeballed everything. Ended up with a weirdly sticky mess that wouldn’t bounce—just splatted like old Jell-O. Lesson learned: measuring matters. Stick to the amounts listed, especially when it comes to borax and glue.
Tip #1: Warm Water = Better Bounce
Cold water doesn’t dissolve borax well. Use warm—not hot—water to help everything mix smooth. If you see white powder sitting at the bottom, it’s not ready. Stir till it’s clear.
Tip #2: Knead Like It Owes You Money
Seriously, kneading is the most underrated step. It might feel slimy at first, but after 1–2 minutes of rolling and pressing it in your hands, the texture transforms. I skipped kneading once because I was impatient—big mistake. The ball cracked and broke apart mid-bounce.
Tip #3: Don’t Overdo the Coloring
Too much food dye makes the ball sticky and stains hands like you’ve been finger-painting for hours. A single drop goes a long way. Gel dye works even better if you want brighter colors without the mess.
Tip #4: Store ‘Em Like Tiny Treasures
Your rainbow bouncy balls will dry out if left in the open. Pop them in small zip bags or airtight containers. I’ve had some last for over a week that way. Without sealing? They turn into little rubber rocks overnight.
Tip #5: Clean-Up Hack
Use disposable cups and stir sticks. The mixture is NOT fun to scrub off metal spoons or bowls—I learned that the hard way after gluing my favorite mixing bowl shut (RIP, blue Pyrex).
Bonus Tip: Add Texture for Fun
Want a little extra flair? Roll the finished ball in glitter or fine sand before it sets. One time, we made “galaxy balls” with black dye, silver glitter, and glow paint—looked like outer space in your hand. Kids were obsessed.
Bottom line? Take your time, follow the steps, and don’t panic if the first ball turns out weird. That’s half the fun—figuring it out as you go!
And there you have it—your very own rainbow bouncy balls, made from everyday stuff in your kitchen. Honestly, the first time I did this, I didn’t expect much. I figured it would be more mess than magic. But now? It’s one of our go-to rainy day activities. The colors, the bounce, the weird science vibes—it’s got everything.
Whether you’re doing this with curious kids, looking for a creative class project, or just craving some hands-on fun, this little craft packs a serious punch. You’re learning, you’re playing, and let’s be real—you’re totally going to end up bouncing them all over the living room.
If this guide helped you or brought a splash of color to your day, why not pin it? Share it on Pinterest so more people can try their hand at crafting these colorful, squishy, science-y wonders. 🌈✨
Go on—bring on the bounce!




Thanks
My grandkids will love doing this with me.
Hi – I would like to make these but we do not have “Borax”. Would any powder laundry detergent do?