Introduction to Ninja Creami Vanilla Ice Cream
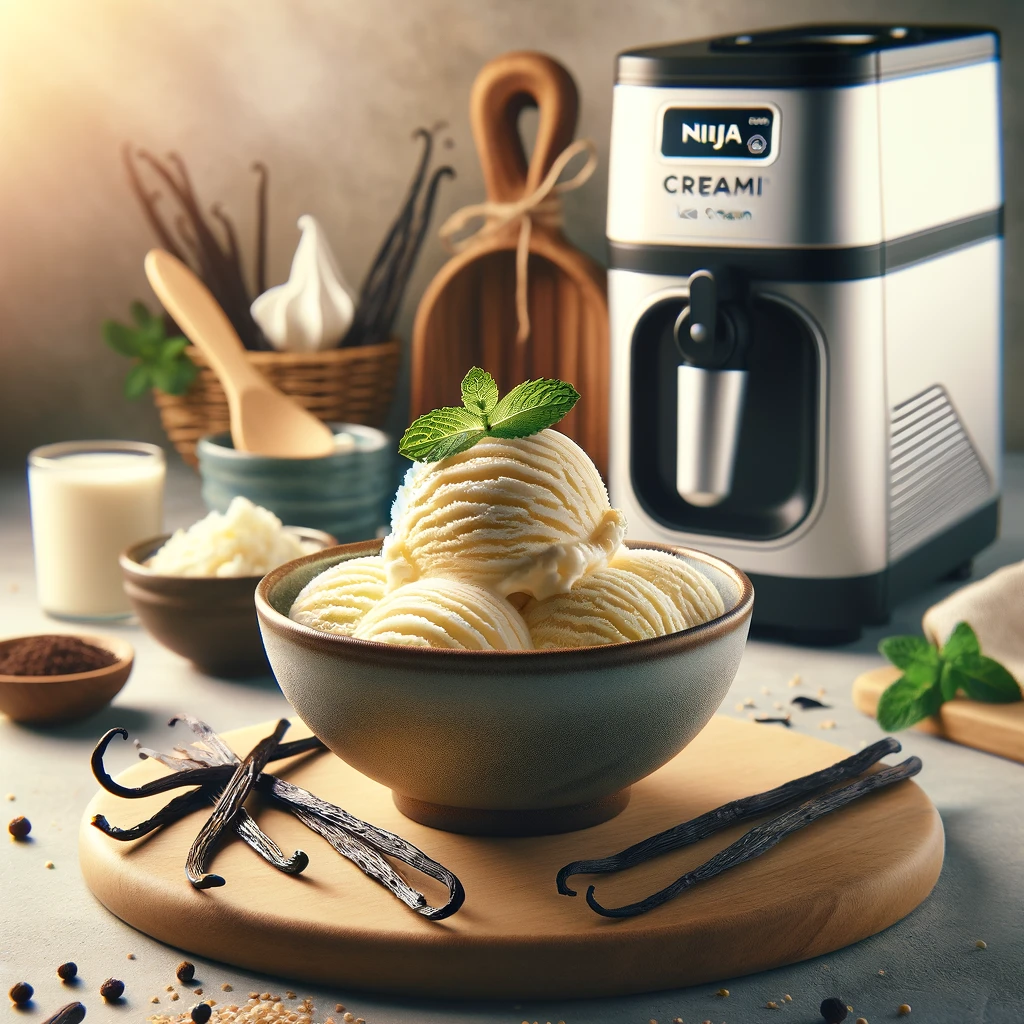
Welcome to the delightful world of homemade ice cream with the Ninja Creami! If you’re an ice cream aficionado looking for an easy, fuss-free way to indulge in your favorite frozen treat, you’re in for a treat. The Ninja Creami is not just another kitchen gadget; it’s a revolutionary ice cream maker that simplifies the ice cream-making process without compromising on taste or texture. In this article, we’ll dive into the creamy, dreamy world of Ninja Creami vanilla ice cream, a classic favorite that’s sure to become a staple in your dessert repertoire.
Overview of Ninja Creami
The Ninja Creami stands out in the world of ice cream makers for its unique approach to crafting the perfect scoop. Unlike traditional methods that require constant churning and monitoring, the Ninja Creami flips the script by freezing the ingredients first and then “creamifying” them into smooth, creamy ice cream. This method not only simplifies the process but also opens up a world of possibilities for creativity and customization.
Why It’s a Game-Changer for Ice Cream Lovers
For ice cream lovers, the Ninja Creami is a game-changer because it offers the ability to make restaurant-quality ice cream from the comfort of home. Whether you prefer classic flavors like vanilla or more adventurous concoctions, the Ninja Creami makes it possible with minimal effort and maximum flavor.
Part 2: The Recipe Basics
Ingredients Needed

Embarking on your Ninja Creami vanilla ice cream adventure begins with gathering the right ingredients. Each component plays a crucial role in creating that silky-smooth, richly flavored treat we all crave. Here’s what you’ll need:
- Cream Cheese: The secret to an ultra-creamy texture, cream cheese adds a subtle tang and richness that elevates the ice cream. Just a tablespoon can make a significant difference. ” Cream Cheese Chocolate Chip Cookies adds a subtle tang and richness”
- Granulated Sugar: Essential for sweetness, granulated sugar also helps lower the freezing point, contributing to a softer texture. A third of a cup strikes the perfect balance between sweet and subtle.
- Vanilla Extract: The star flavoring, vanilla extract, infuses the ice cream with its warm, floral notes. One and a half teaspoons of high-quality extract will ensure your ice cream has that classic vanilla taste.
- Whole Milk: The foundation of the ice cream’s liquid base, whole milk adds creaminess without being too heavy. One cup will do the trick.
- Heavy Cream: For that luxurious mouthfeel and lightness, heavy whipping cream is key. Three-quarters of a cup will whip up the perfect airy texture.
Combining these ingredients according to the recipe will result in a vanilla ice cream that’s not just delicious but also a testament to the simplicity of quality.
Equipment Required
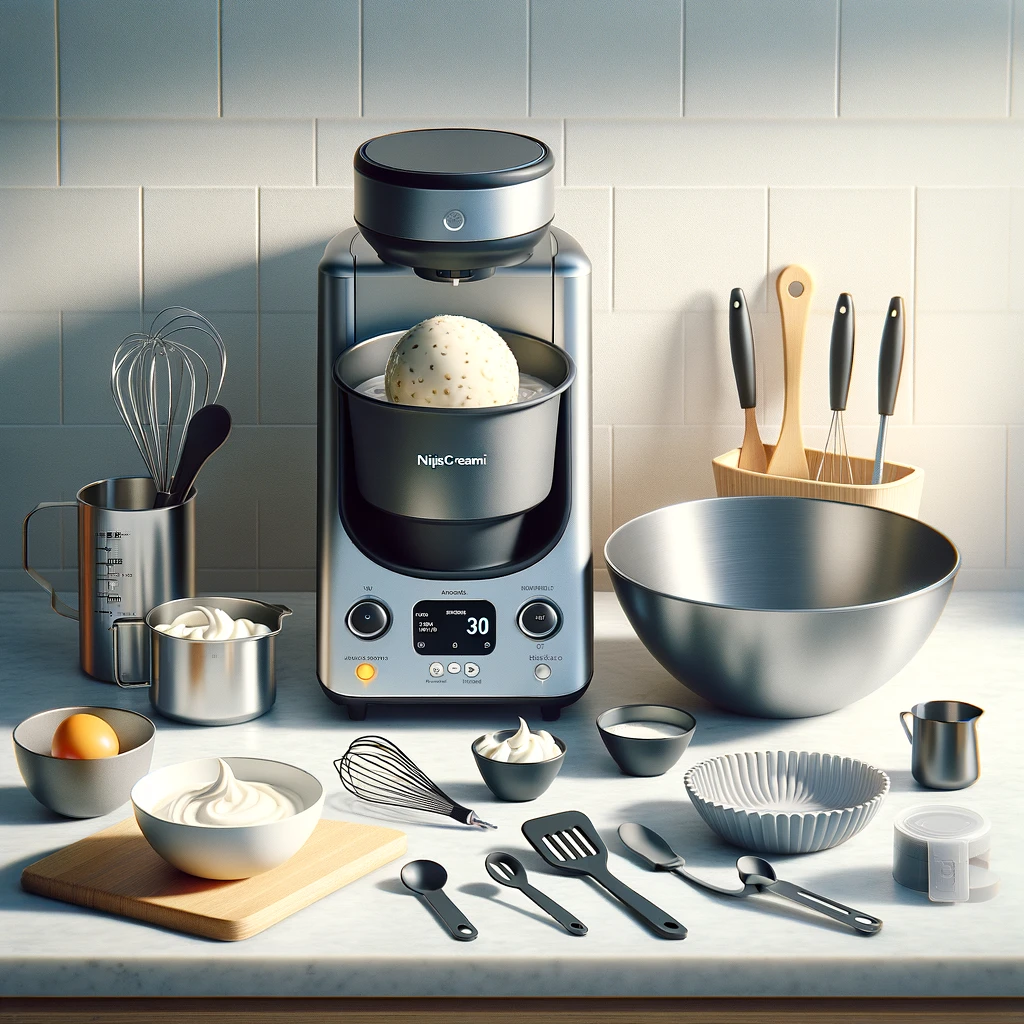
The journey to making the perfect batch of Ninja Creami vanilla ice cream is made easier with the right tools. Here’s what you’ll need:
- Ninja Creami Machine: The centerpiece of this culinary endeavor, the Ninja Creami, transforms your base into ice cream with its innovative creamifying process. Its simplicity and efficiency make it a must-have for ice cream enthusiasts.
- Mixing Bowls: A set of mixing bowls is essential for combining your ingredients. Whether you’re whipping cream or blending the base, having a few sizes on hand will make the process smoother.
- Spatula: A good spatula is invaluable for mixing ingredients thoroughly and ensuring you get every last bit of your ice cream base into the Ninja Creami pint container.
- “For those with dietary restrictions, fear not!”Link: Dairy-Free Pumpkin Pie Recipe
With these ingredients and tools at your disposal, you’re all set to create a batch of Ninja Creami vanilla ice cream that’s sure to delight.
Part 3: Step-by-Step Recipe Guide

Preparing the Ice Cream Base
Softening the Cream Cheese
- Take your cream cheese out of the refrigerator 30 minutes to 1 hour before starting. This allows it to soften at room temperature.
- Tip: If you’re short on time, you can soften the cream cheese quickly by microwaving it in short bursts (5-10 seconds at a time) on low power. Be sure to check on it frequently and rotate it to prevent overheating or melting.
Mixing Ingredients for a Smooth Base
- Once the cream cheese is softened, add it to a large mixing bowl. Using an electric mixer or a stand mixer fitted with the paddle attachment, beat the cream cheese until light and creamy. This should take about a minute.
- With the mixer on low speed, gradually add in the sugar. Mix until the sugar is fully incorporated and there are no gritty bits.
- Next, add the vanilla extract (or other flavorings according to your recipe) and mix well to combine.
- Scrape down the sides and bottom of the bowl with a rubber spatula to ensure everything is evenly mixed.
Here are some additional tips for a smooth ice cream base:
- Use room temperature ingredients whenever possible, this helps them blend more easily.
- Make sure to beat the cream cheese well until light and creamy. Any lumps can translate into a less smooth final product.
- Gradually add the sugar to prevent it from grabbing and leaving a gritty texture.
By following these steps, you’ll have a perfectly smooth and flavorful ice cream base ready for freezing!
Freezing and Creamifying Process
Freezing the Base for 24 Hours
- Pour the Mixture: Once your smooth ice cream base is prepared, carefully pour it into your Ninja Creami pint container. Make sure to leave a little headspace at the top, about ¼ inch, to allow for expansion during freezing.
- Level and Freeze: Gently tap the container on the counter to remove any air bubbles and ensure a level surface. Secure the lid tightly and place the pint container in your freezer for a minimum of 24 hours.
Here are some additional tips for freezing:
- Ideal Freezer Temperature: For best results, aim for a freezer temperature between 9°F and -7°F.
- Freezing Position: Keep the container on a flat, level surface in the freezer. This ensures even freezing throughout the base.
- Don’t Refreeze Partially Thawed Base: If the base thaws partially, it’s best to discard it and start over. Refreezing can lead to icy crystals and a less desirable texture.
Using Ninja Creami’s Ice Cream Function
- Machine Readiness: After 24 hours, take the frozen pint container out of the freezer and attach it to your Ninja Creami following the manufacturer’s instructions.
- Select Function: Choose the “Ice Cream” function on your Ninja Creami. The machine will churn and spin the frozen base, incorporating air and transforming it into creamy ice cream.
- Processing Time: The processing time may vary depending on your Ninja Creami model, but it typically takes around 60 seconds.
- Enjoy!: Once the cycle is complete, dispense your delicious homemade ice cream into a bowl and enjoy!
Here are some additional tips for using the Ninja Creami function:
- Refer to your Ninja Creami manual for specific instructions on using the Ice Cream function.
- Don’t over-process the ice cream, as this can melt it and make it softer.
- The ice cream will be soft immediately after processing. You can enjoy it right away, or store it in the freezer for a firmer consistency.
With these simple steps, you’ll be enjoying homemade Ninja Creami vanilla ice cream in no time! Feel free to ask if you’d like details on ingredients or specific quantities.
Part 4: Tips and Tricks for Perfect Ice Cream
Achieving the Right Texture
- Re-Spin Function: If your ice cream seems a bit too icy or firm after processing, many Ninja Creami models offer a “Re-Spin” function. This allows you to churn the ice cream for a short additional time, further incorporating air and achieving a smoother texture. Be cautious not to overdo it, as over-processing can melt the ice cream.
- Adjusting with Milk: For a slightly softer and creamier consistency, you can add a splash (1-2 tablespoons) of cold milk to the frozen base before processing it in the Ninja Creami. This is especially helpful if you find the base is very firm after freezing. Be mindful that adding too much milk can make the ice cream too soft or icy.
Dairy-Free and Vegan Alternatives
The beauty of Ninja Creami is its versatility! You can achieve delicious dairy-free and vegan ice cream by using plant-based alternatives for the typical dairy ingredients. Here are some swaps to consider:
- Milk: Substitute cow’s milk with unsweetened plant-based milk options like almond milk, oat milk, cashew milk, or coconut milk. Choose unsweetened varieties to control the sweetness level. Coconut milk adds a natural sweetness and creaminess, while other options may require a bit more added sugar.
- Cream: For a richer vegan base, consider using canned full-fat coconut milk. The thick cream at the top can be separated and used as a dairy-free alternative to heavy cream. Alternatively, some brands offer vegan whipping cream that can be used.
- Cream Cheese: There are many dairy-free cream cheese alternatives available. Look for vegan cream cheese made from cashews, almonds, or tofu. These can be used in place of regular cream cheese following the same mixing instructions.
Remember: When using dairy-free alternatives, experiment a bit to find the combination that works best for your taste and desired texture.
Part 5: Serving and Enjoyment
Presentation Ideas
Take your homemade Ninja Creami ice cream to the next level with creative presentations! Here are some ideas for different occasions:
- Classic Scoops: For a timeless dessert, scoop your ice cream into bowls and top with your favorite toppings like chocolate sauce, caramel drizzle, chopped nuts, sprinkles, or fresh fruit.
- Sundae Fun: Layer your ice cream with whipped cream, hot fudge, maraschino cherries, and a waffle cone for a classic sundae experience.
- Milkshake Magic: Blend your Ninja Creami ice cream with some milk for a delicious and refreshing milkshake.
- Party Portions: Create mini ice cream cups by scooping your ice cream into small waffle cones or paper cups. Add a festive touch with sprinkles or colorful candies.
- Elegant Affaire: For a more sophisticated presentation, mold your ice cream into a loaf shape before freezing. Slice and plate it beautifully with a drizzle of chocolate sauce and fresh berries.
- “Pairing with Other Desserts” Link: The Ultimate Guide to Homemade Fudge Mastery
Pairing with Other Desserts
Ninja Creami ice cream can be the perfect complement to other desserts! Here are some ideas for exciting flavor combinations:
- Warm Brownies: A scoop of cold ice cream on top of a warm brownie creates a delightful contrast in temperature and texture.
- Fruity Cobblers: Balance the sweetness of a fruit cobbler with a scoop of tart and refreshing sorbet made with your Ninja Creami.
- Apple Pie à la Mode: Elevate your classic apple pie by adding a scoop of your favorite Ninja Creami ice cream flavor for a truly decadent dessert.
- Chocolate Chip Cookies: The combination of warm, gooey chocolate chip cookies and cool, creamy ice cream is a match made in heaven.
- Waffles and Ice Cream: A timeless duo! Dress up your waffles with your favorite ice cream flavor, whipped cream, and a drizzle of syrup.
No matter how you choose to serve and enjoy your Ninja Creami ice cream, the possibilities are endless! Let your creativity flow and create delicious and memorable desserts.
FAQs Section:
How does Ninja Creami make ice cream?
Unlike traditional ice cream makers that churn a custard base, Ninja Creami uses a different approach. Here’s the gist:
- Pre-freeze the Base: You prepare a liquid base with ingredients like milk, cream, and flavorings. This base is then frozen for a full 24 hours in the Ninja Creami pint container.
- Creamify with Ninja Creami: The frozen base gets transformed into ice cream using the Ninja Creami’s “Ice Cream” function. The powerful motor and specially designed blade spin and break down the frozen mixture, incorporating air and creating a smooth, creamy texture.
Do you really need to freeze the Ninja Creami base for 24 hours?
Yes, freezing the base for 24 hours is crucial for the Ninja Creami process to work effectively. Here’s why:
- Creates a Scoopable Texture: Freezing for a full day ensures the base reaches a solid consistency. This allows the Ninja Creami to effectively churn and break it down into a scoopable ice cream with the desired texture.
- Prevents Icy Crystals: Shorter freezing times might not solidify the base completely, leading to the formation of icy crystals and a less enjoyable texture.
Can you make ice cream with a regular Ninja?
No, a regular Ninja blender is not designed for making ice cream. While it can blend frozen ingredients, it won’t achieve the same results as the Ninja Creami. Here’s the difference:
- Function: A regular Ninja is a blender, designed for pureeing, crushing, and mixing ingredients. The Ninja Creami, on the other hand, is specifically designed for processing frozen bases into smooth, creamy ice cream.
- Blades: The blades in a Ninja Creami are designed to break down frozen ingredients effectively. Regular Ninja blades may not be as efficient for this purpose.
Why is my Ninja Creami not creamy?
There could be a few reasons why your Ninja Creami ice cream isn’t as creamy as you’d like:
- Incomplete Freezing: Double-check that your base was frozen for a full 24 hours. Insufficient freezing can lead to a less creamy texture.
- Over-processing: Processing the ice cream for too long can cause it to melt and become softer. Follow the recommended processing time for your Ninja Creami model.
- Base Consistency: The consistency of your base can also affect the final texture. Ensure your ingredients are well-blended and there are no lumps before freezing.
If you’re still having trouble achieving a creamy texture, consult your Ninja Creami manual for troubleshooting tips or contact Ninja customer support for further assistance.
Conclusion
In conclusion, making vanilla ice cream with the Ninja Creami is not only simple but also incredibly rewarding. Firstly, you start by preparing a smooth base with cream cheese, sugar, and vanilla extract. Then, you move on to the freezing and creamifying process, which transforms your mixture into a delightful treat. The Ninja Creami not only simplifies the ice cream-making process but also offers endless possibilities for customization. Whether you opt for the classic vanilla or decide to explore new flavors, the Ninja Creami ensures that your ice cream adventures are both effortless and delicious. So, gather your ingredients, follow these straightforward steps, and prepare to indulge in creamy, dreamy vanilla ice cream made right in the comfort of your home.
1 thought on “Ninja Creami Vanilla Ice Cream Recipe: Easy Homemade Treat”
Comments are closed.