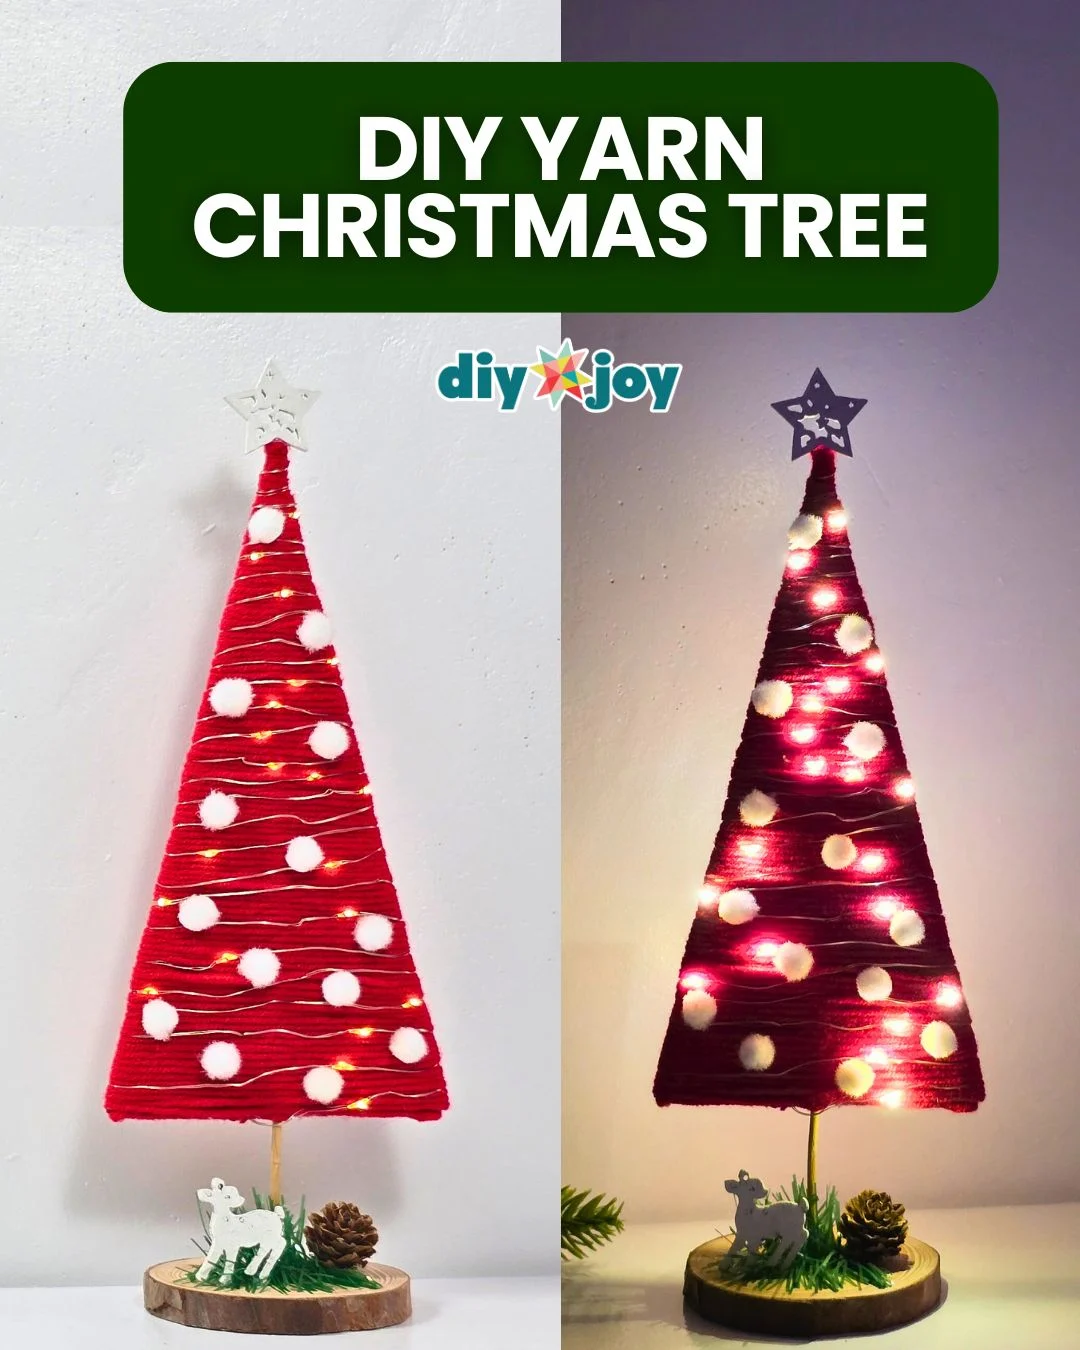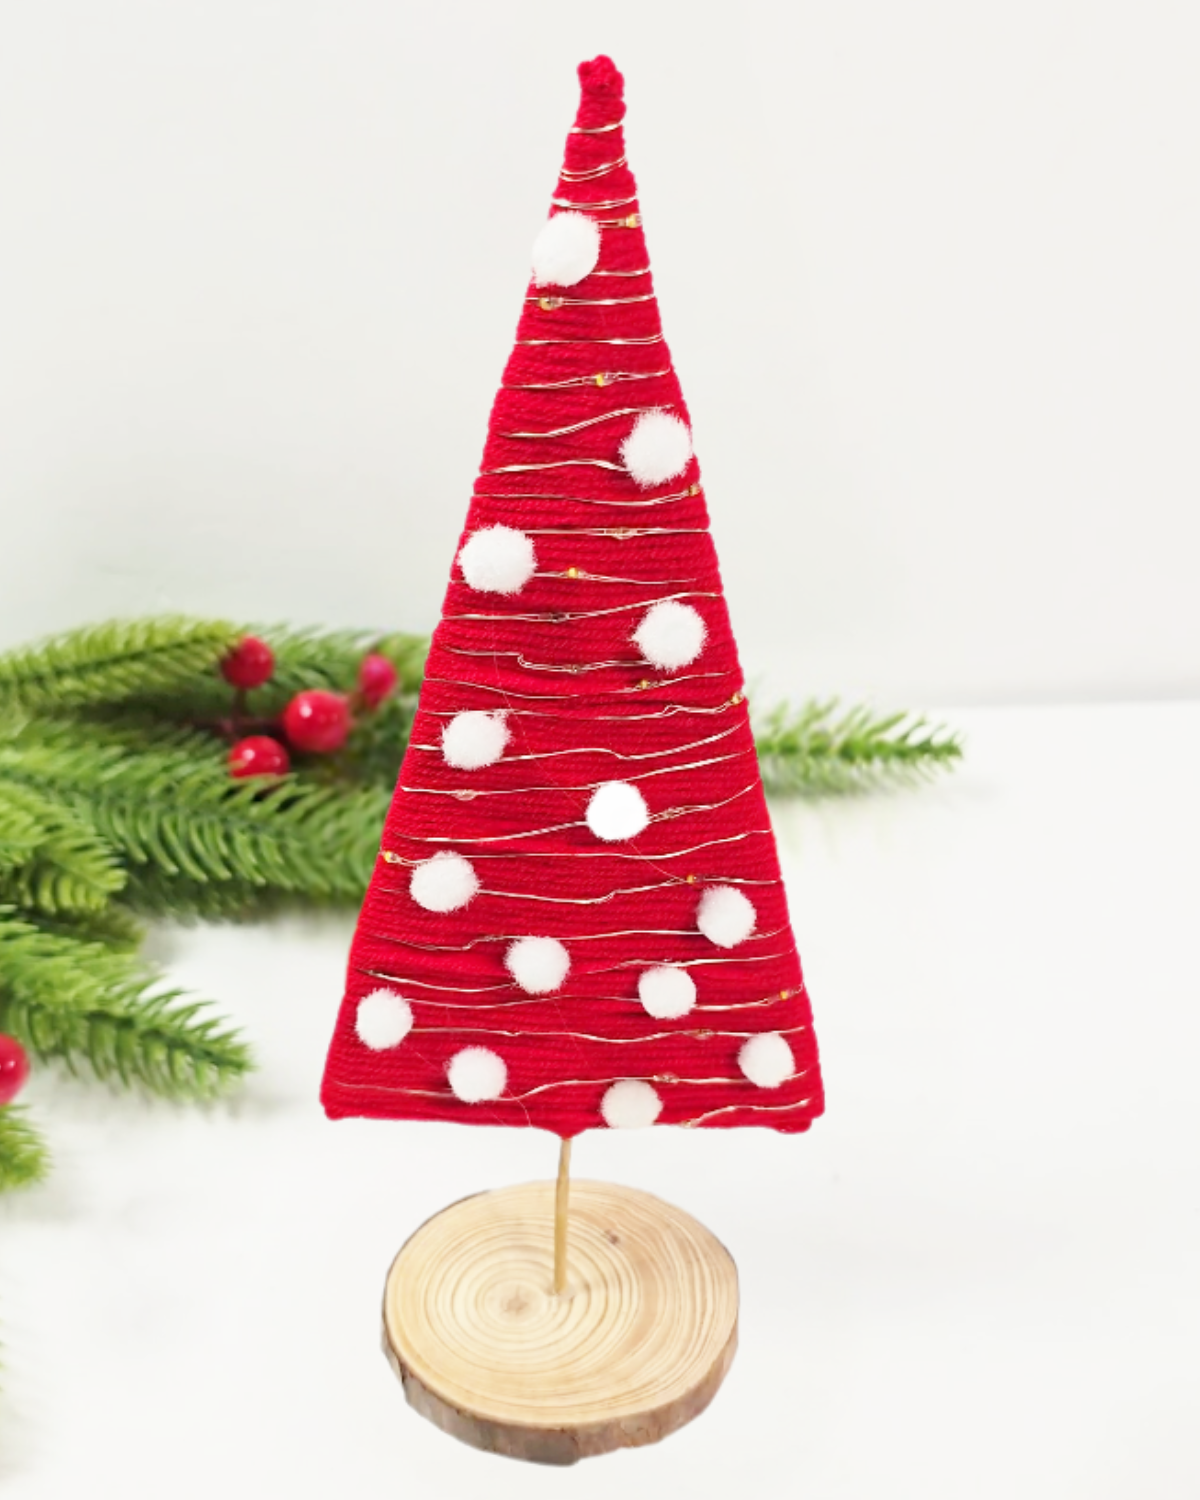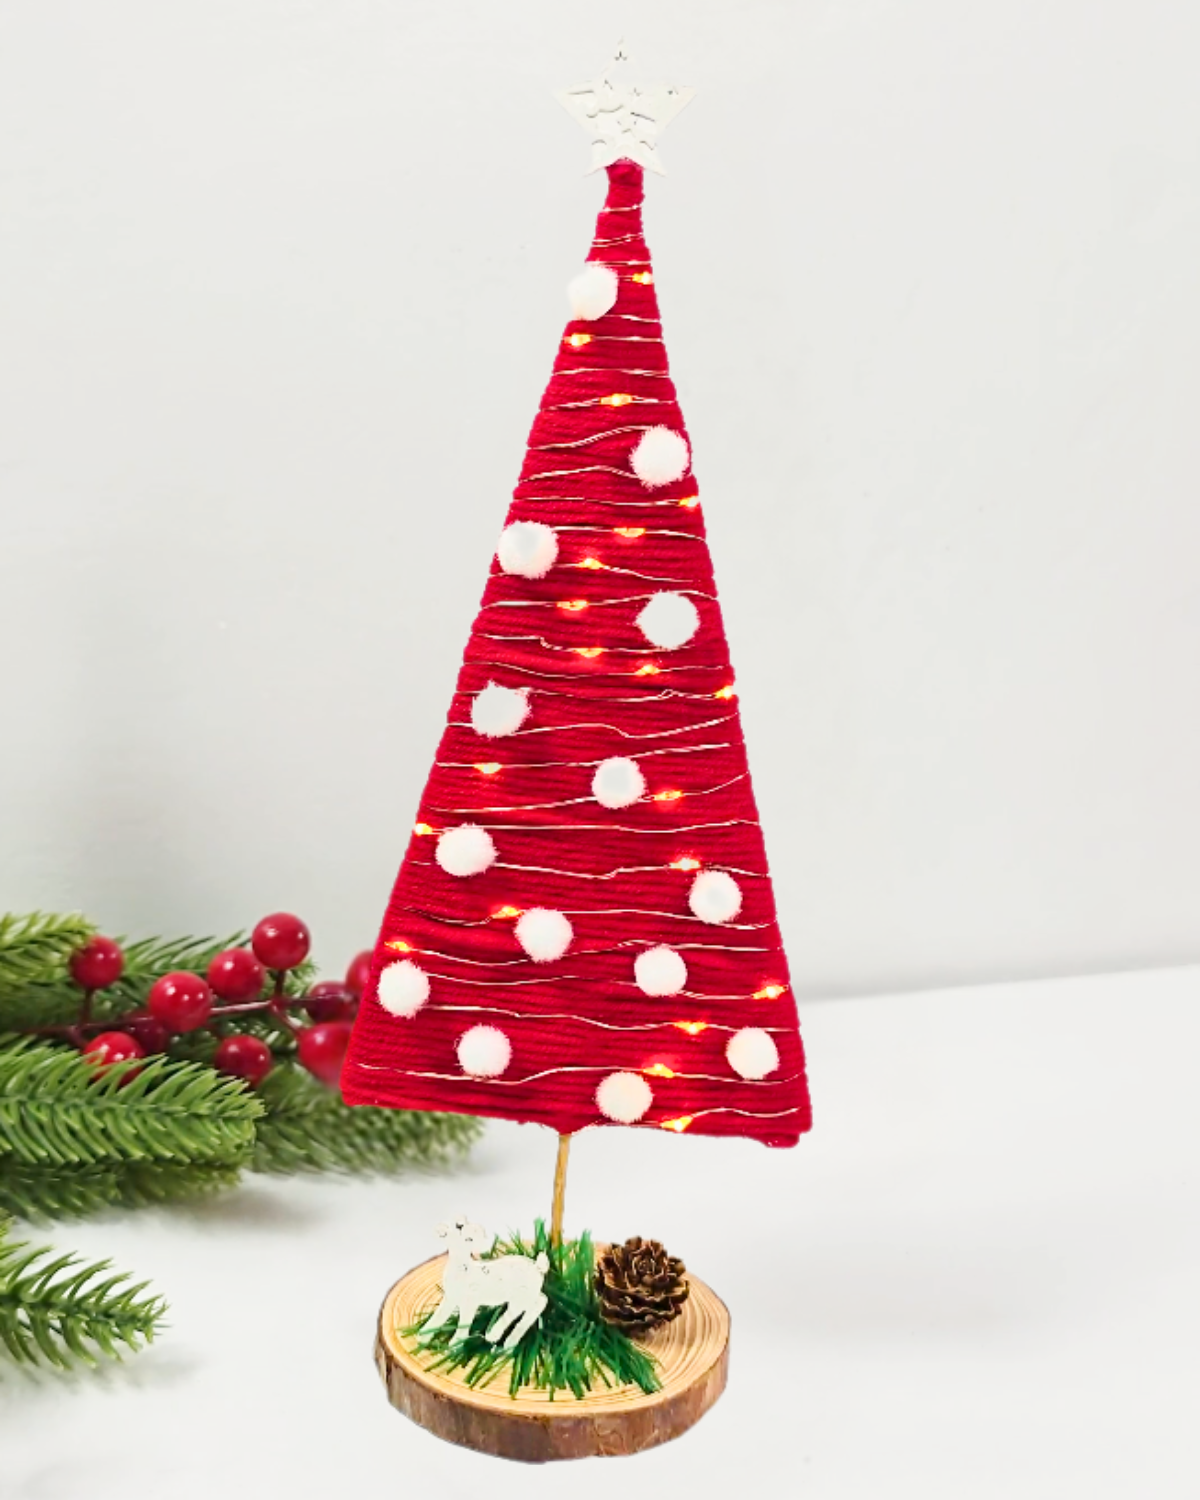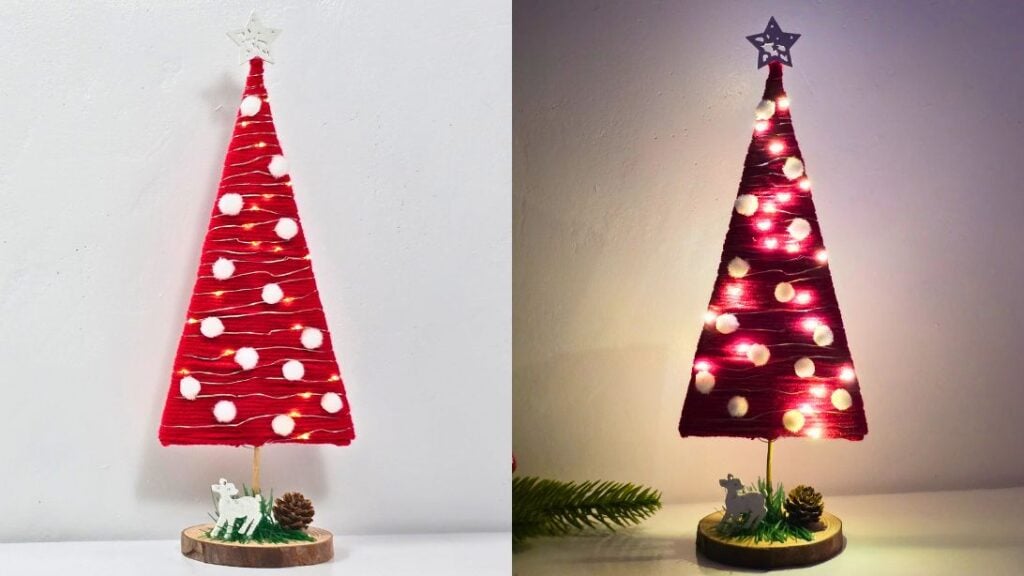
Making DIY or handmade decorations is so much fun — they often turn out cuter and are usually more budget-friendly, especially when you reuse supplies or upcycle old ornaments. Even if you buy materials, homemade pieces still tend to cost less than store-bought Christmas decorations.
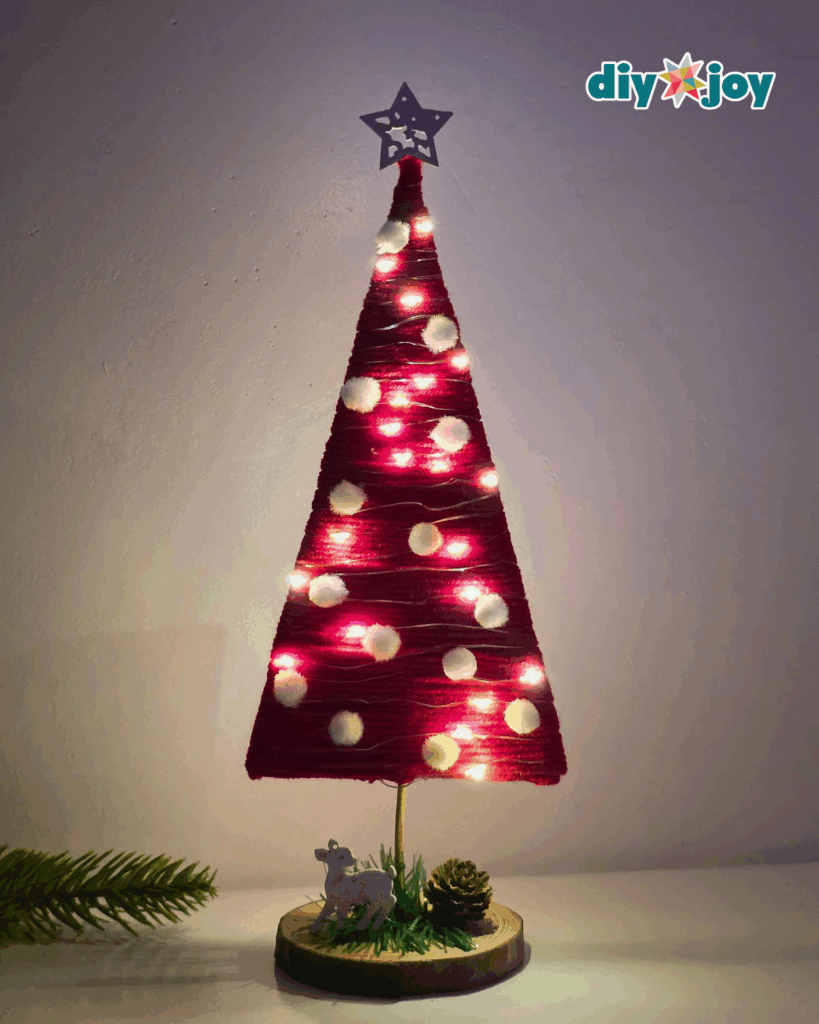

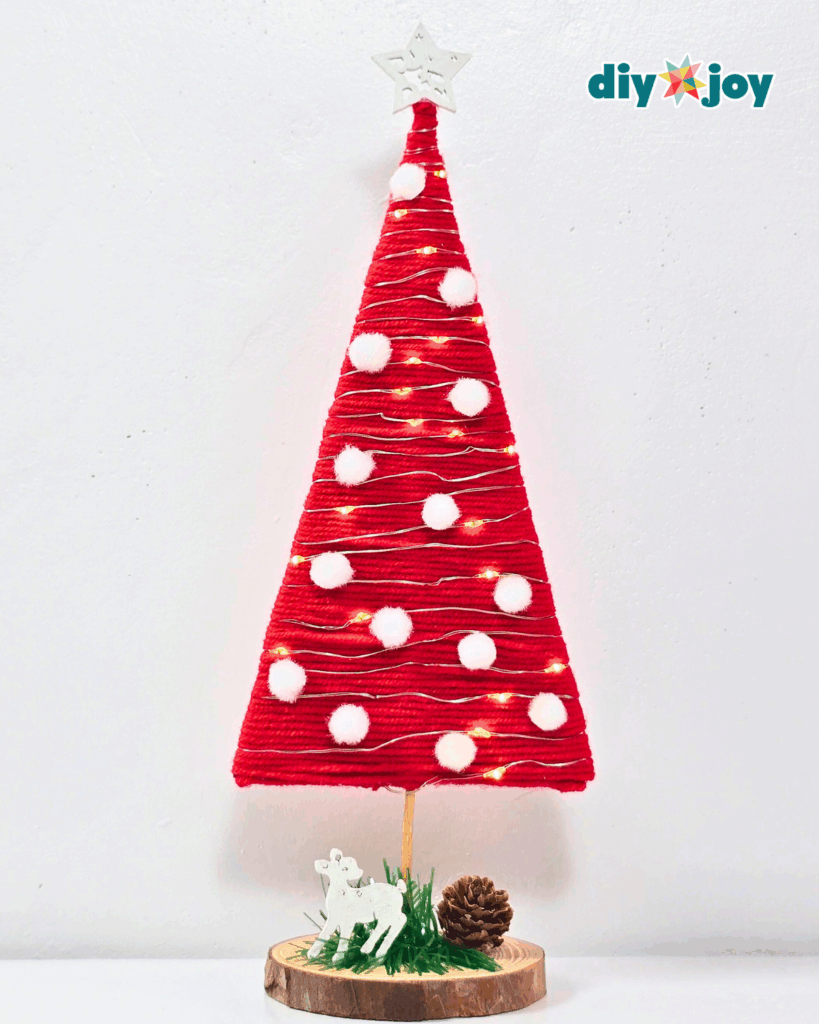
If you want something super easy, quick, and perfect for last-minute decorating, you’re in the right place. Today I’ll show you how to make an adorable mini yarn Christmas tree you can place on your table, desk, or centerpiece — and yes, this tiny tree actually lights up just like a full-size tree. It’s a cheerful, easy Christmas craft that’s great for gifting or making a set for your home.
RELATED: Honeycomb Origami Christmas Tree | 3D Origami Christmas Tree
The best part? No fancy supplies required — just yarn, a piece of cardboard, fairy lights, and a few embellishments (use items from old ornaments to save even more). You can finish a tree in minutes and probably make several in one sitting. Make smaller sizes to create a matching set, or switch yarn colors (green for a traditional look) to match your holiday decorations.


Learn how now by following the step-by-step instructions below, and watch the video tutorial for a closer look at each step. Happy crafting — and have a very merry Christmas!
How to Make a Yarn Christmas Tree
Step 1: Prepare the Tree Base


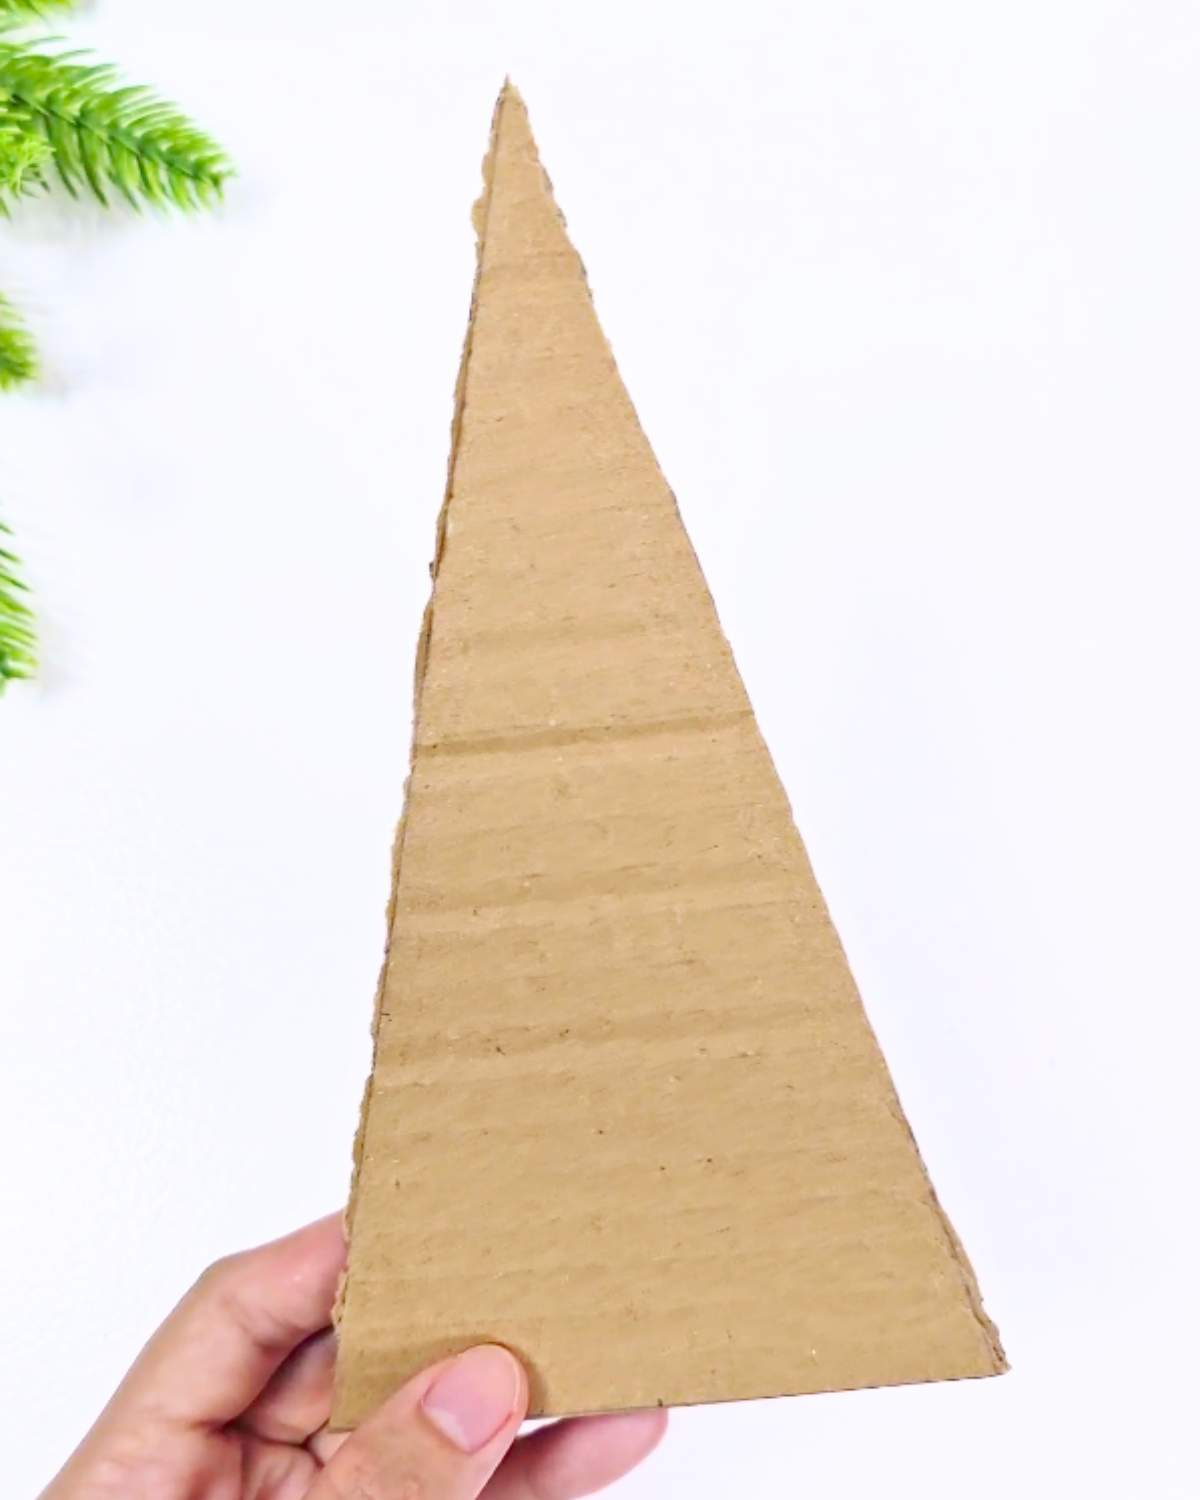
Cut a triangle shape out of cardboard; this will serve as the base of your Christmas tree.Step 2: Attach the Tree Trunk


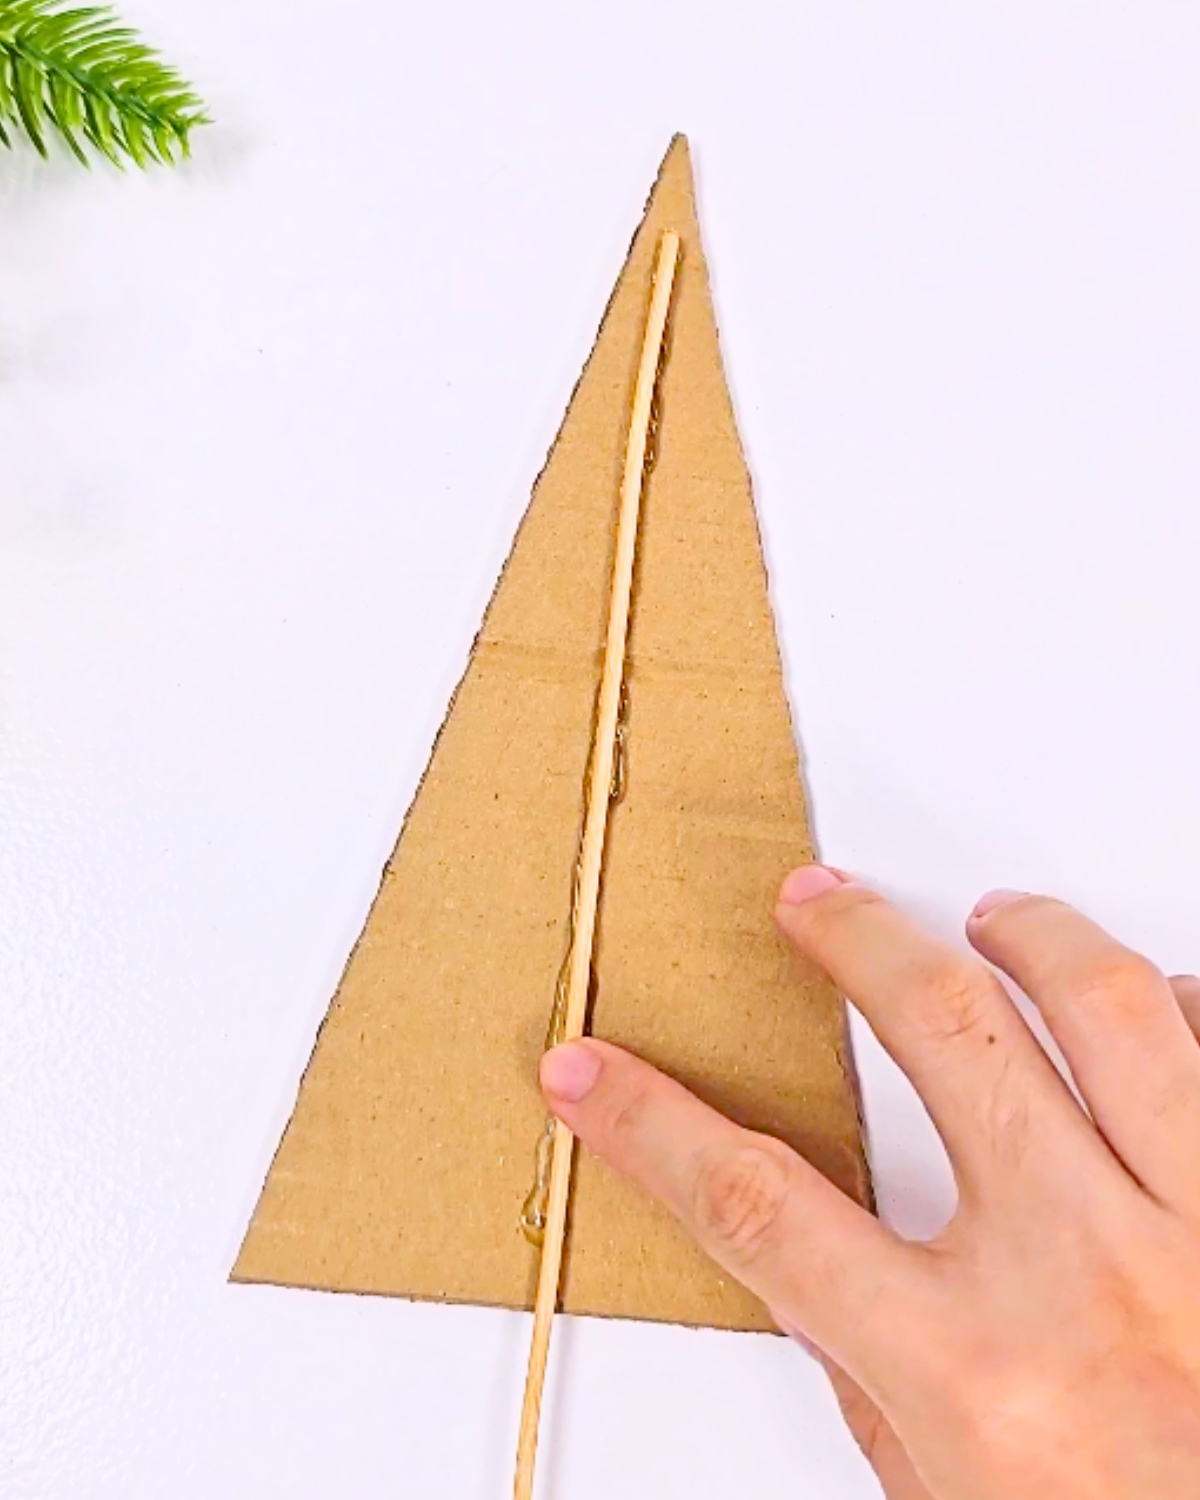
Apply hot glue to the skewer and carefully place it in the center of the cardboard triangle.Step 3: Wrap the Tree with Yarn


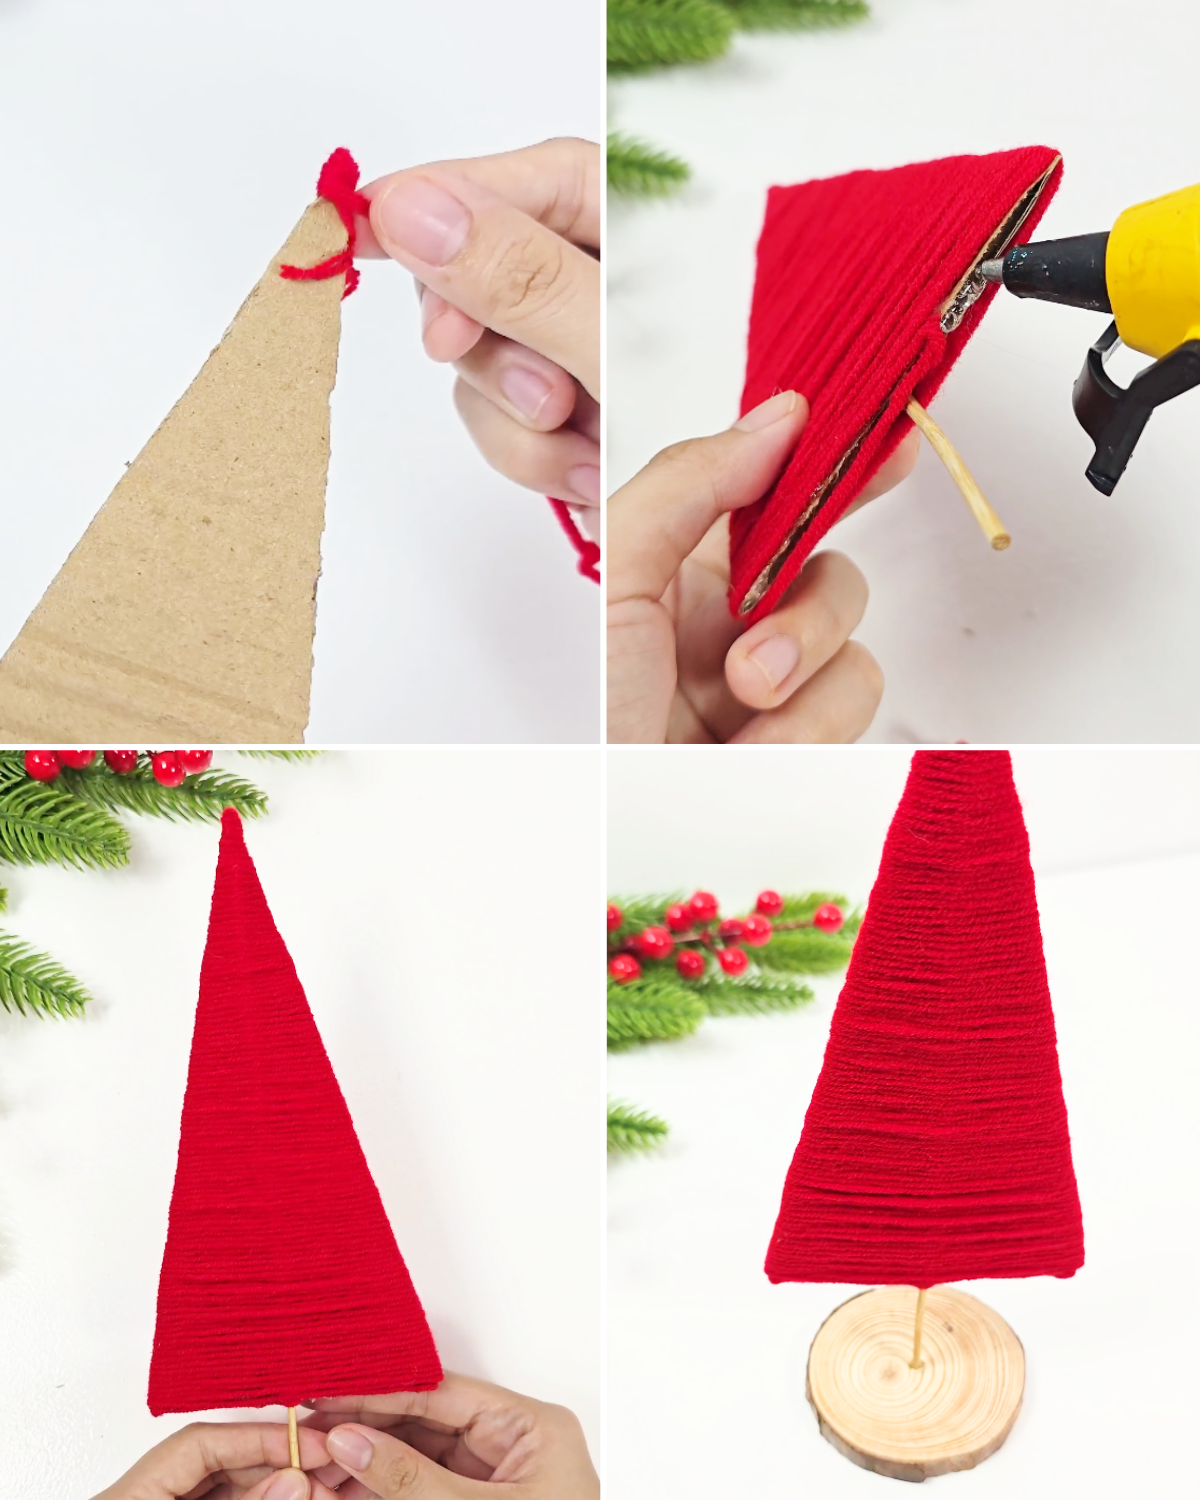
Apply a small amount of hot glue at the top of the skewer, then start wrapping the yarn around it. Continue wrapping until you reach the bottom of the triangle. Secure the end with hot glue, including along the underside, to hide the cardboard. Finally, place the finished tree in the center of a wood slice.Step 4: Decorate the Tree


Wrap the fairy lights around the tree, starting at the top. Once the lights are in place, add pom-poms for the ornaments.Step 5: Add Final Embellishments


Complete your Christmas tree by adding all the finishing touches, like a star, deer, and pinecones, or any other embellishments you prefer.
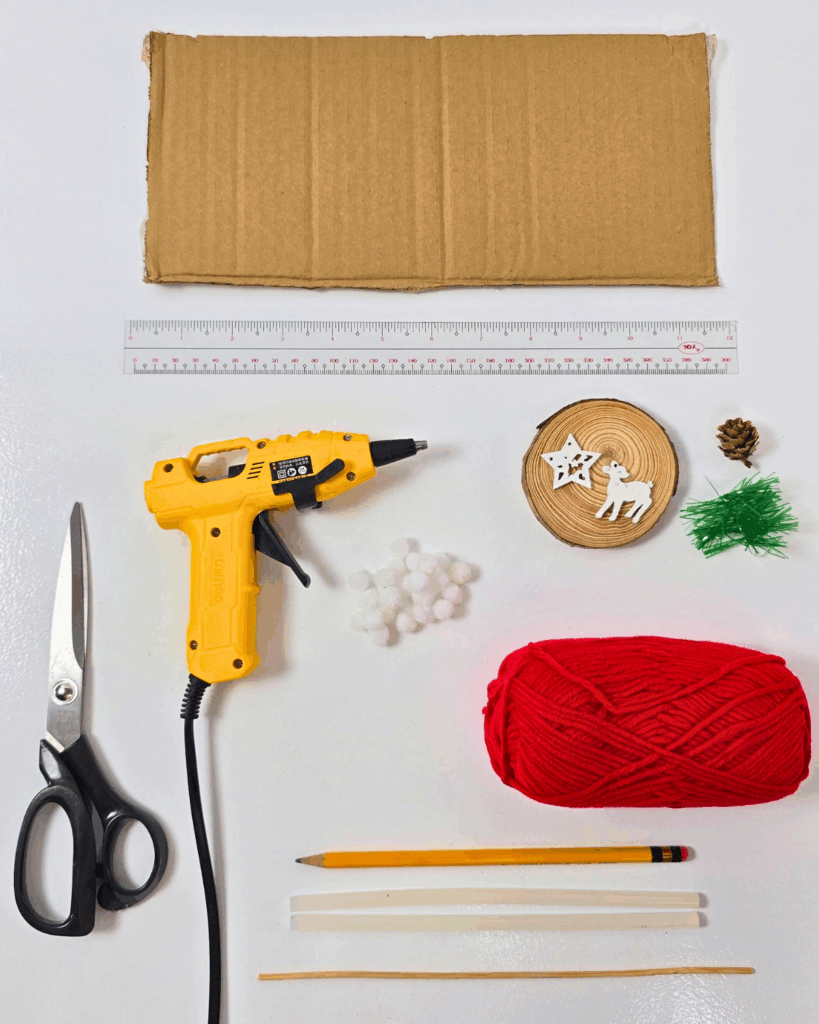
Materials
- Cardboard
- Yarn
- Pom Poms
- Ruler
- Scissors
- Wood Slice
- Pencil
- Skewer
- Pom Poms
- Hot Glue Gun and Glue Sticks
- A Small Piece of Garland
- Mini Pinecones
- Fairy Lights

⭐ Customization Tip
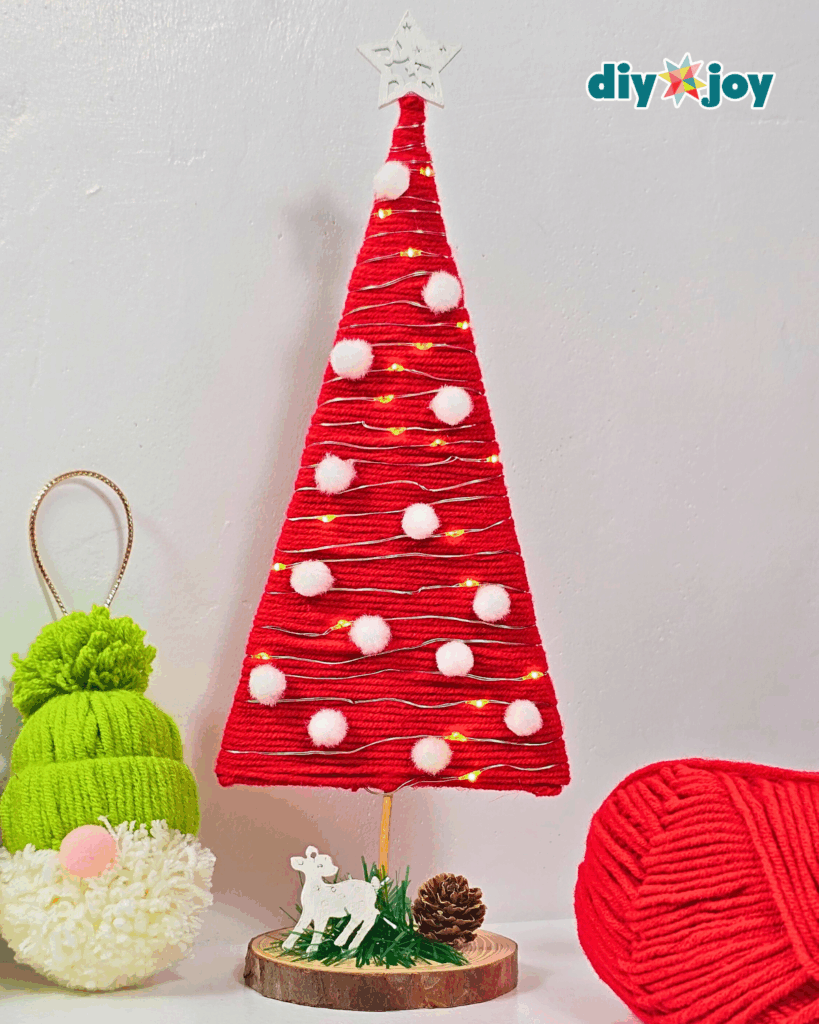
Swap yarn colors to match your Christmas theme—classic green, minimalist white, or even bold red and gold. You can also make multiple sizes for a cute mini-tree village.

⭐ Budget Tip
Before buying embellishments, check old ornaments, broken decor, or leftover craft supplies. Little stars, beads, ribbons, and tiny bells can all be reused to decorate your tree.
More DIY Christmas Ornaments

*If you love this craft, then visit our official website, follow our Facebook page, and subscribe to our YouTube channel for more!

