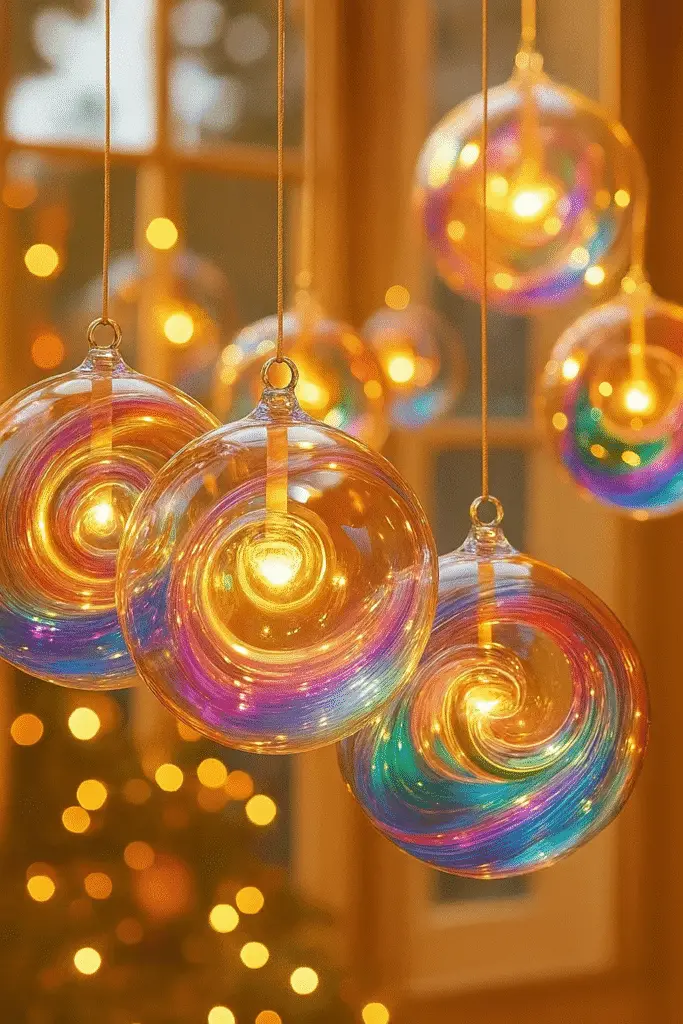
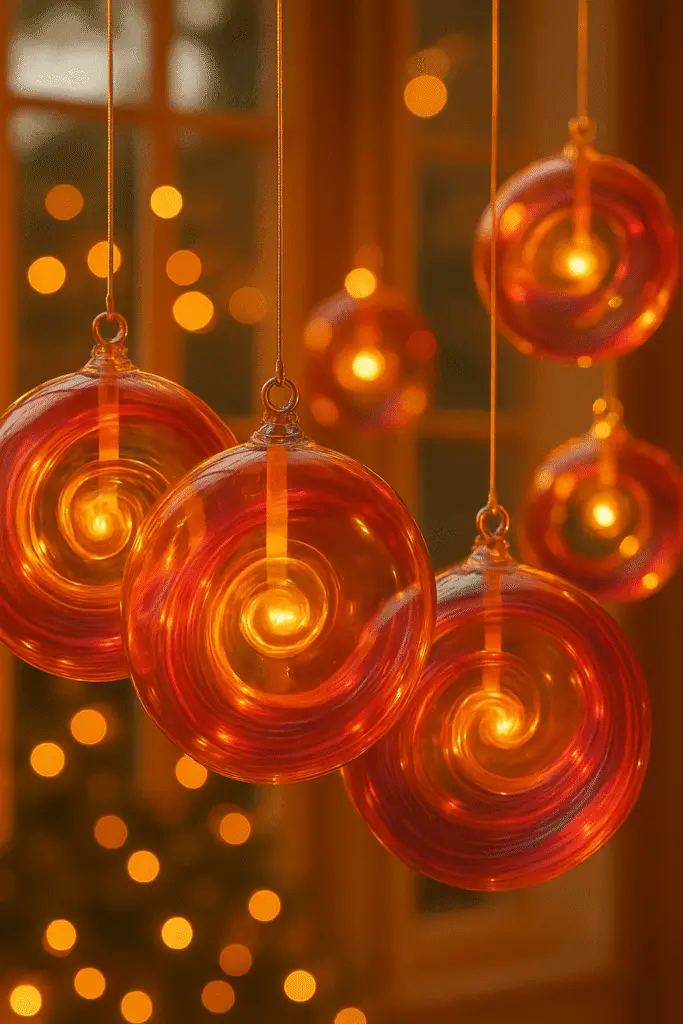
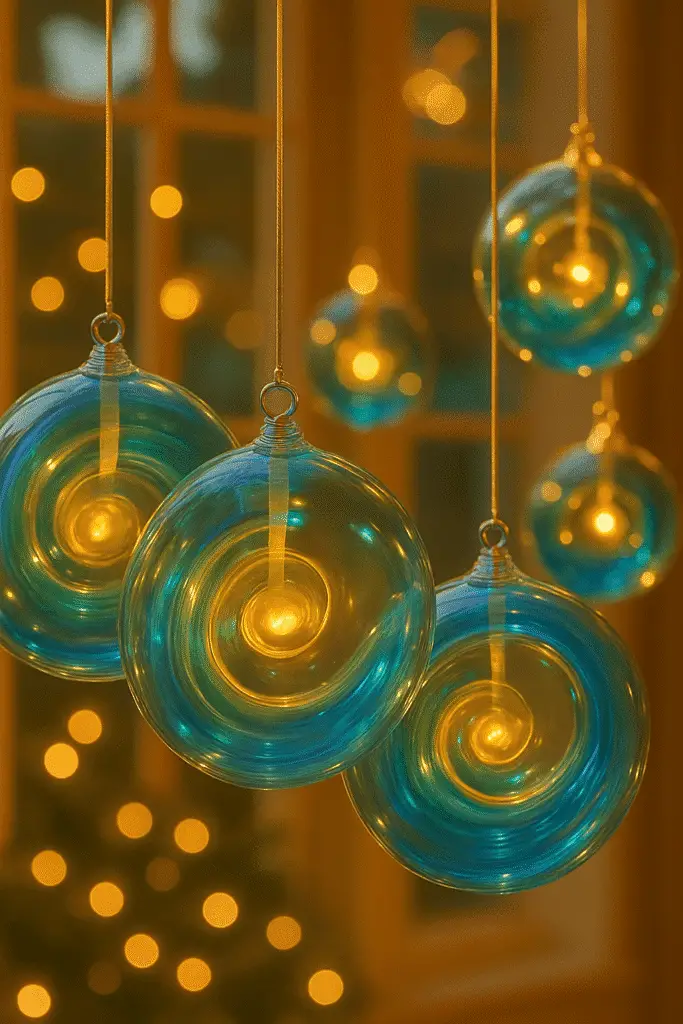
Ever stared at a sunlit window and thought, “This could use a little magic”? Same here! That’s how I stumbled upon glue suncatchers — a fun, mess-friendly craft that turns boring afternoons into sparkly, color-filled memories. Whether you’re a parent looking for an engaging weekend activity or just someone who loves getting crafty, glue suncatchers are your ticket to vibrant DIY joy.
According to a recent Pinterest trend report, searches for “sunlight crafts” are up by 160% in 2025 — and it’s no wonder. This project mixes a dash of art, a sprinkle of science, and a whole lot of fun.
Let’s dive into how to create these glowy wonders that’ll brighten any space (and mood)!

Supplies You’ll Need for DIY Glue Suncatchers
Don’t Skimp on the Glue (Seriously)
Okay, lesson number one: get the good glue. I made the rookie mistake of grabbing some off-brand “clear glue” from the dollar store once, and the entire thing dried cloudy and cracked. Not exactly magical. Elmer’s Clear School Glue is the GOAT for this. It dries nice and transparent, which is exactly what you want when you’re making something that’s supposed to catch the sun, not block it.
Food Coloring or Liquid Watercolors?
Here’s the fun part — the color! Food coloring works just fine, especially the gel kind since it gives those deep, bold swirls. But if you want that watercolor vibe (think dreamy pastels and light glows), liquid watercolors are where it’s at. Plus, they mix better in glue. Learned that the hard way after aggressively toothpicking a stubborn blob of food dye for 15 minutes.
Lids and Sheets — Your “Canvas”
You’ve got options here. I usually raid the recycling bin for old yogurt lids (the big ones are gold), but clear plastic report covers or acetate sheets work, too. Just make sure they’re flat. One time I used a lid with a little logo bump and the whole design dried with a weird “butt imprint” in the middle. Not cute.
Swirl Tools: Brushes vs. Toothpicks
This is where the magic happens. Toothpicks are precise — you can swirl tiny details like a little Van Gogh. But paintbrushes? They’re better for big blends. I keep both around, depending on the mood. Pro tip: don’t use your best brushes; glue can be unforgiving.
Optional Sparkle (But Who’s Skipping That?)
Glitter, sequins, little stars, confetti — basically anything shiny that’s flat enough to dry into glue. My niece calls this “the fairy dust part.” I highly recommend adding it if you’re making these with kids. Or if you’re a grown-up who still secretly loves glitter. (No shame.)
For Hanging and Display
You’ll need string or fishing line, or if you’re fancy, those little suction cups with hooks. I found a 10-pack on Amazon for like $5. Just make sure to hang it in a sunny window — that’s when these really shine (literally).
Don’t Forget Wax Paper
Put wax paper down under your plastic lid or sheet before you start. Trust me, this saves you from having to explain to your partner/roommate/parent why there’s a rainbow-colored glue circle permanently fused to the dining table.
Step-by-Step Guide to Crafting Your Suncatchers
Making glue suncatchers is one of those crafts that looks super delicate but is actually pretty forgiving — as long as you follow a few simple steps. I’ve messed up enough batches to know what works, what doesn’t, and what’ll leave your kitchen table looking like a unicorn exploded. Here’s how to do it right, start to finish.
Prep Your Workspace Like a Pro
First off, throw down a sheet of wax paper. Trust me, you don’t want glue sticking to your table or counter. I skipped this once and ended up with a permanently “decorated” placemat. Place your plastic lid or clear sheet right on top of the wax paper — that’s your canvas.
Pour the Glue (But Not Too Much)
Pour in a layer of clear school glue — aim for about 1/4 inch thick. That’s the Goldilocks zone. Too thin and your suncatcher will dry brittle and crack. Too thick and it might stay gooey in the middle forever. I’ve been there. I had one sit for three days and still feel like a jellyfish when I touched it.
Add Your Color Magic
Time to get colorful. Add drops of food coloring or liquid watercolor right into the glue. Don’t go overboard — 3 to 6 drops total is usually plenty. Space them out or group them for different effects. I love using deep blues and purples with a touch of metallic — it ends up looking like a little galaxy.
Swirl It Up
Grab a toothpick or the back end of a paintbrush and start swirling. You don’t need a plan here — just let the colors move and blend. The trick is to stop before it all turns to brown mush. Been there, done that. Less swirling = better patterns.
Add Sparkle (Optional but Highly Recommended)
If you’ve got glitter, sequins, or anything shiny, now’s the time. A little sprinkle goes a long way. It’s like adding fairy dust. Just don’t dump half the bottle — that stuff never really dries and you’ll find glitter on your dog a week later.
Let It Dry (The Hardest Part)
Place it somewhere flat where it won’t get bumped. Drying takes at least 24 hours, sometimes up to 48 depending on how thick your glue is. It starts out milky and gets clearer as it dries. Don’t poke it too early — I always get tempted and end up with fingerprints baked into the design.
Peel, Trim, and Hang
Once it’s dry, gently peel the suncatcher off the plastic. You might need to loosen the edges with your fingers. Then trim any rough edges with scissors and punch a little hole near the top. Tie on a string or use a suction cup to hang it in a sunny window. Boom. Magic captured.

Creative Design Ideas and Variations
Once you’ve nailed the basic suncatcher, it’s hard to stop. Every time I make one, I think of a new way to mix it up — and honestly, that’s half the fun. These little glue creations are like tiny art experiments that shine in the sunlight. Whether you’re doing this with kids or just diving into a solo craft session, playing around with design ideas is where the magic really takes off.
Play With Color Combos
You can totally theme your suncatchers. I’ve done rainbow pride ones, galaxy tones with blues and purples, even a pastel spring blend for Easter. Holidays are the perfect excuse to get creative — red and green swirls with gold glitter for Christmas, anyone? One time I made a sunset palette using orange, red, and yellow with a little shimmer, and it actually looked like a watercolor painting once it dried.
Try a Cookie Cutter Trick
Here’s a weird little hack I found by accident — if you place a metal cookie cutter inside your lid before pouring glue, it shapes the design! Just pour the glue inside the cutter, drop in your colors, swirl away, and let it dry like normal. When you peel it off, you’ve got a star- or heart-shaped suncatcher. It’s honestly adorable, and kids go nuts for it.
Add Texture With Extras
Sequins are just the beginning. I’ve thrown in tiny beads, pressed dried flowers, even those hole-punch paper dots once. As long as it’s light and thin, you can stick it in there. Just make sure whatever you add gets pressed slightly into the glue so it dries flat.
Layer It Up
You don’t have to stop at one swirl session. After your first layer of glue dries, you can add a thin second one with more color. I did a layered one once with gold on the bottom and a pink glitter swirl on top — it caught the light in this crazy cool way and looked like stained glass.
Go Big or Go Mini
Who says you have to stick to lids? I’ve made a big sheet suncatcher using a clear plastic report cover, and it was awesome. I hung it across two windowpanes. And on the flip side, I once made mini ones using the bottoms of plastic cups. They turned into sun-themed ornaments for a little tree I had in my craft corner. Don’t be afraid to experiment with sizes.
If you’re anything like me, once you start tweaking designs, you won’t want to stop. I keep a little “suncatcher idea” list in my phone now because I always get hit with a new idea while doing dishes or scrolling Pinterest. It’s kind of become my go-to weekend unwind activity.
Science Meets Art – How Sunlight Transforms Your Creation
Okay, so here’s the cool part most people don’t even realize when they first make one of these: glue suncatchers aren’t just pretty crafts — they’re mini science experiments too. I didn’t really appreciate this until I hung my first finished one in the window and watched it come to life. The way the light hit the colors and bounced around the room? It was like I had invented a tiny, handmade stained-glass window. My inner nerd was thrilled.
Refraction is the Real MVP
So what’s actually happening? When sunlight passes through the dried glue, it bends — that’s light refraction. And when your suncatcher has multiple colors, that bending makes the colors blend and glow in ways that look way different from when the glue’s just sitting on your desk. One of mine looked decent inside, but once it caught full morning sun? Instant masterpiece. Think rainbow puddles all over the floor.
Why the Drying Process Matters
Here’s the science-y bit I didn’t get at first: clear glue dries by evaporation. The water in it slowly escapes into the air, leaving behind a thin, flexible plastic-like film. That’s why it goes from cloudy to clear — and why thicker areas take longer to dry. If you mess with it too soon, you mess up that structure and end up with weird bubbles or cloud patches. I made that mistake plenty of times. Patience is key.
Color Mixing = Chemistry
Another fun part? Watching how colors blend in glue is a hands-on chemistry lesson. Red and blue swirl into purple, but too much of each and you get… mud. Every time you swirl, you’re playing with pigment density and fluid motion — sounds fancy, but really it’s just a blast to mess with. I used to just wing it, but now I actually think about how certain shades will look when the light hits from behind. Blue and silver, by the way, is chef’s kiss in bright sunlight.
Teaching Kids Without It Feeling Like School
If you’re doing this with kids, you’ve got a sneaky educational tool on your hands. I’ve used it to explain how light works, how glue changes states, and even how gravity makes the colors move. The best part? They don’t even realize they’re learning. They just think it’s magic. And honestly, that’s kind of the beauty of it. Art and science aren’t opposites — they’re just two sides of the same awesome, sticky, colorful coin.

Tips to Keep Your Suncatchers Looking Beautiful
If you’re anything like me, you’re gonna want your glue suncatchers to last longer than a weekend. I’ve made some that faded, curled, or — worst of all — got sticky again weeks later. Ugh. But after lots of trial and error (and a few gluey disasters), I’ve figured out a handful of tips that’ll help keep your suncatchers looking shiny and fresh for as long as possible.
Keep Them Away from Moisture
This one’s huge. Dried glue can soften back up if it’s exposed to too much humidity. I made one in July, hung it in the bathroom window, and within a week it looked like a gummy worm melting off the suction cup. If you’re hanging these somewhere with steam or condensation (like a kitchen or bathroom), expect them to go limp. Living room windows? Much safer.
Flat Storage is Your Friend
If you ever want to take your suncatcher down and store it — maybe for seasonal decor swaps — lay it flat between two sheets of wax paper. Never roll them up. I tried storing one in a craft box rolled like a poster, and when I unrolled it, it cracked right down the middle like a potato chip. Heartbreaking.
Avoid Direct Harsh Sun for Long Periods
Okay, I know it sounds weird to say “don’t put your suncatcher in the sun,” but hear me out. Prolonged, direct sun — like full exposure all day long — can fade the colors over time, especially if you used food coloring. I’ve had purples turn to pinks and blues fade to almost nothing after a few months. Try moving them around, or put them somewhere with soft morning light instead of harsh afternoon rays.
Reinforce Older Ones
If your suncatcher starts feeling a little dull or brittle over time, you can actually refresh it! Just brush a thin coat of clear gloss glue or Mod Podge over the surface. It’ll bring back that shine and even seal in any glitter that’s started flaking off. I’ve done this with some of my earliest ones and they honestly looked brand new again.
Handle With Care
This seems obvious, but once they’re dry, suncatchers can be deceptively fragile. They feel rubbery, but if you fold or pinch them too hard — especially in cold weather — they can crack. I let my nephew handle one without warning him, and five seconds later, snap. He cried. I cried. So yeah… gentle hands.
If you treat these little glue masterpieces right, they’ll keep glowing and catching the light for months — maybe even longer. Some of mine are still hanging up from last summer and look just as magical as day one.
There’s something really special about making something with your own two hands and seeing it light up a room — literally. Glue suncatchers aren’t just another weekend craft; they’re a little slice of joy that turns an ordinary window into a colorful spotlight. From the first swirl of color to the moment the sunlight hits just right, it feels a bit like capturing a piece of the sky and hanging it indoors.
Whether you’re crafting with kids, doing a little solo art therapy, or just trying to bring more color into your space, this project checks all the boxes. It’s cheap, it’s fun, it’s creative — and every single one turns out totally one-of-a-kind. You’ll mess up a few. You’ll get glitter in places you didn’t think glitter could reach. But trust me, it’s worth it.
So grab some glue, clear a table, and make something that’ll shine. And hey, if you loved this project or want to save it for later, don’t forget to pin it on Pinterest. Sharing these little pieces of magic just might brighten someone else’s day too.


Love this idea.
Did you put mini lights in the round ones?