Ever wish bubbles could float around just a bit longer? Me too. The first time I saw a bubble bounce off the floor without popping, I was hooked. Unpopppable bubbles are a game-changer for parents and kids alike—less mess, more magic. These aren’t just regular bubbles; they’re a science-meets-play miracle that lasts way longer than the ones you remember from your childhood. Best part? You can whip them up at home with just a few ingredients.
Whether you’re prepping for a birthday bash or a rainy-day activity, this guide will walk you through the unpopppable bubble recipe step-by-step. Let’s blow your kids’ minds—literally!
Ingredients You’ll Need for Unpopppable Bubbles
The first time I tried making unpopppable bubbles, I thought, “How hard can this be?” I poured some tap water into a bowl, squirted dish soap in like I was doing the dishes, and—bam—foamy disaster. The bubbles popped faster than I could blow them.
Turns out, a few simple tweaks totally change the game. You don’t need anything fancy, but the right combo of stuff makes all the difference. Here’s what you really need—and why.
Distilled Water
Yeah, I know—it’s tempting to use tap. But trust me, the minerals and gunk in regular water mess with the bubble formula. Distilled water keeps things pure and predictable. I started using it just out of curiosity, and the difference was nuts. My bubbles stopped popping the second they hit air!
Dish Soap
Not all dish soaps are equal. I’ve tried a few brands, and the OG blue Dawn wins every time. It’s strong enough to trap air but not so harsh it kills the bubble before it forms. Two tablespoons is perfect—don’t overdo it, or you’ll get froth city instead of bubbles.
Corn Syrup or Glycerin
Here’s where the magic happens. Corn syrup or glycerin gives the bubble wall that extra stretchiness. Without it, your bubbles will be basic. One tablespoon is all it takes to go from meh to wow. I usually use corn syrup because it’s cheap and already in my kitchen. Glycerin works even better, but I had to dig for it in the pharmacy section.
Wand, Straw, or String Loop
You don’t need a fancy store-bought wand. Grab a straw, a string loop, or even shape a pipe cleaner. I once used a plastic bracelet in a pinch. Anything that can hold a ring of the bubble mix works fine. Some of my best bubbles were blown through a coffee stirrer!
Airtight Container
Don’t forget storage. If you’ve got leftover mix—and you probably will—you’ll want to stash it in an airtight jar or bottle. I use a mason jar with a label because I feel fancy like that, but any clean container with a lid works. Just give it a gentle swirl before using it again.
The Science Behind Unpopppable Bubbles
Okay, so I’m no scientist—but after making this recipe about ten times (and failing about five), I started noticing patterns. Like, why do some bubbles float forever while others pop before you can blink? Turns out, it’s not just magic. There’s some cool science happening here.
It’s All About Surface Tension
When I first heard “surface tension,” I thought it sounded like something out of a high school textbook. But here’s the deal: it’s what holds your bubble together. Soap lowers the surface tension of water, making it stretchy enough to trap air. The stronger the surface tension, the longer the bubble lasts. Add in glycerin or corn syrup, and now you’re reinforcing that thin soap film like bubble armor.
Glycerin and Corn Syrup: The MVPs
I didn’t know this at first, but those two ingredients slow down evaporation. That’s huge. Regular bubbles pop fast because water evaporates from the surface in seconds. Glycerin or corn syrup kind of acts like a moisturizing barrier, so your bubbles don’t dry out and collapse. Pretty wild, right?
Why Resting the Mix Matters
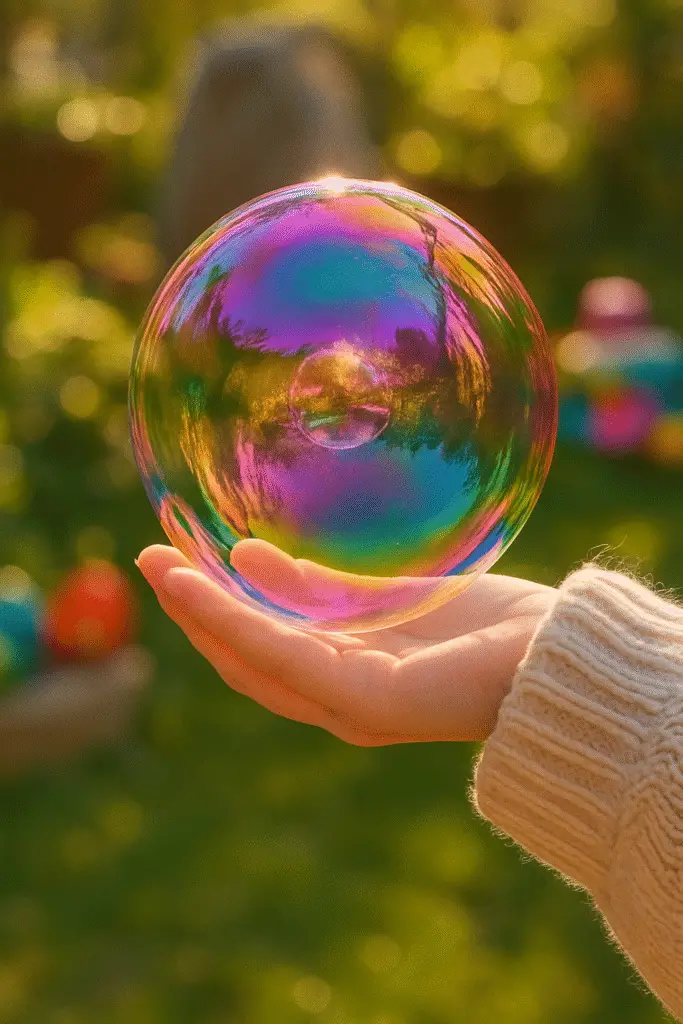
So here’s something I learned the hard way: don’t rush the mix. Letting it rest for at least 30 minutes—or overnight if you’ve got the patience—helps everything bind together better. I skipped this step once and the bubbles were weak. I left the mix overnight the next time and…boom. Stronger, bouncier bubbles that I could literally catch on my hand.
Bubble Wall Thickness = Durability
The thicker the wall, the tougher the bubble. When you use the right ratio of ingredients, especially the corn syrup or glycerin, it makes the wall thicker without making it heavy. There’s this sweet spot where your bubble gets super elastic—almost like a mini water balloon that floats.
This part of the recipe made me feel like a bubble wizard—no joke. Once you understand what’s happening behind the scenes, you can tweak your mix and get even better results. And honestly? Watching your kids blow a bubble that bounces instead of popping? Total parenting win.
Step-by-Step: How to Make Unpopppable Bubbles at Home
Alright, let’s get into it. The first time I made these bubbles, I treated it like a regular kitchen recipe—measuring fast, stirring like I was beating eggs. Big mistake. Foam everywhere, and the bubbles were a flop. Turns out, slow and gentle is the name of the game here.
If you follow this process exactly, you’ll get those magical, slow-floating, catchable bubbles that feel like they’re defying gravity. Let’s break it down.
Step 1: Start with 1 Cup of Distilled Water
I know, I know—distilled water sounds fancy, but it’s at every grocery store. Pour it into a clean glass or plastic bowl. Not metal if you can help it—sometimes that messes with the mix. I usually keep a separate bowl just for this because I make it so often.
Step 2: Add 2 Tablespoons of Dish Soap
Measure carefully. I use a tablespoon and scrape it level. I tried eyeballing it once and the bubbles were too thin. Dawn works best (that classic blue one). Slowly pour it into the water.
Step 3: Stir Slowly
This part’s key. Don’t whip it around like pancake batter. Just gentle, slow swirls with a spoon or chopstick. The goal is to mix without making suds. Foam is the enemy here—it breaks the surface tension.
Step 4: Add 1 Tablespoon of Corn Syrup or Glycerin
Pick whichever one you’ve got on hand. I’ve done both and they work great. Glycerin makes a slightly stretchier bubble, but corn syrup is easier to find. Again—no rushing. Stir it in sloooowly until everything’s combined.
Step 5: Let It Rest
I can’t stress this enough. Let the mixture sit. If you’re impatient (like I usually am), 30 minutes is the bare minimum. But overnight? Chef’s kiss. I make a batch before bed and we use it the next day. You’ll notice the difference—way more durable bubbles.
Step 6: Dip and Blow
Now comes the fun part. Use a wand, a straw, even a loop of string tied between two sticks. Dip it gently, then blow slowly. If you go too hard, the bubble breaks. Gotta finesse it a little. I usually do a few practice runs to find the right speed.
Step 7: Store What’s Left
If you’ve got extra (you probably will), pour it into an airtight container. Mason jars work perfectly. I’ve reused the same batch for up to a week—just give it a gentle stir before using again.
That’s it. No rocket science, just a little patience and some basic kitchen stuff. My kids call it “bubble potion” and honestly, it does feel like a little magic when it works right. And if you mess up the first time? Been there. Just tweak and try again. It’s totally worth it when those bubbles float forever.
Fun Variations and Bubble Tricks to Try
So once I had the basic unpopppable bubble recipe down, I got a little…obsessed. Like, how many cool things could I do with bubbles? Turns out—a lot. This part is where you get to play mad scientist and impress your kids (or just your inner child).
Add Food Coloring (Carefully!)
I wanted rainbow bubbles so badly, I dumped red food coloring into a batch once and turned the whole thing pink—and stained my hands for two days. Oops.
Pro tip: a drop or two goes a long way. Mix it in at the very end, and maybe wear gloves if you’re using strong dye. Kids love this—especially if you make different jars for different colors. You’ll feel like Willy Wonka, no joke.
Make Giant Bubbles with String
This was a game-changer. I tied a loop of cotton string between two chopsticks (real high-tech, I know), dipped it in the mix, and pulled it through the air. Instant huge bubble. Like, bigger than your head.
Try doing this on a calm day outside—no wind. And don’t swing it like crazy. Slow and steady pulls work best. It’s oddly relaxing.
Bubble Catching Games
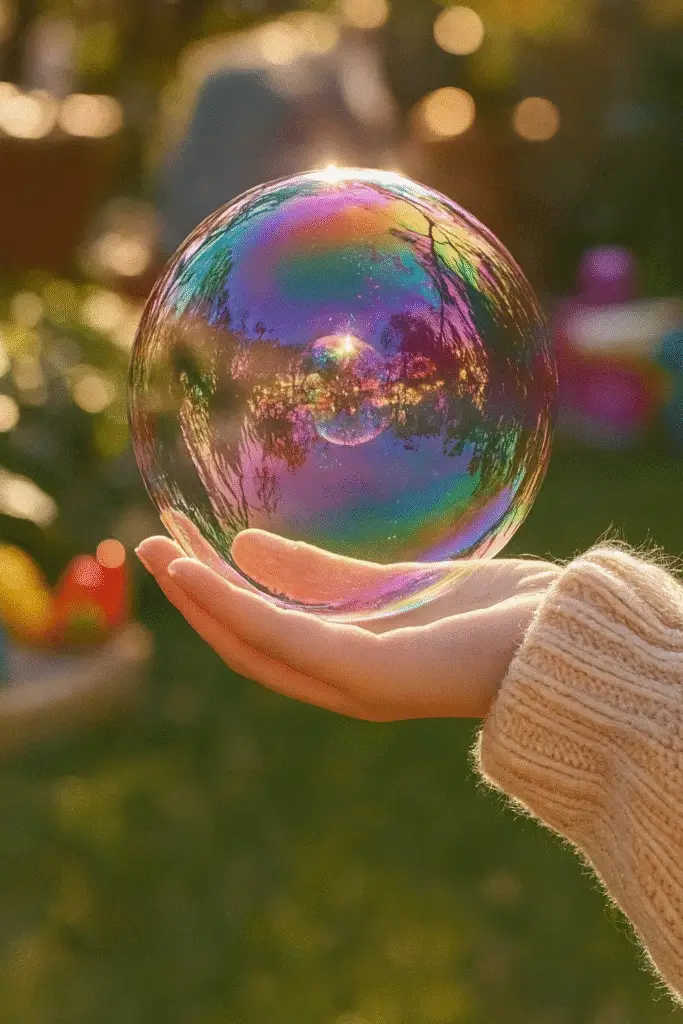
My kids turned this into a whole sport. We’d blow a bunch of bubbles, then try to catch them on our hands, heads, elbows—you name it. With regular bubbles, this would be over in seconds. But with the unpopppable ones? We had 10-minute bubble chases in the living room.
We even made a “bubble soccer” game once. I blew a giant bubble and they tried to pass it back and forth without popping it. Highly recommend.
Try Tweaking the Ratios
If you’re the experimental type (🙋), try adding a bit more glycerin or corn syrup next time. I bumped mine up to 1.5 tablespoons once and the bubbles were super stretchy. A little harder to blow, but they floated way longer. Just don’t overdo it or the mix gets too heavy.
This is where the real fun begins. Once you’ve got the basics, there’s no limit to the wild bubble games you can invent. It’s creative, it’s cheap, and honestly—it keeps kids busy for hours. Which, if you’re a parent, is basically gold.
Storing and Reusing Your Bubble Mix
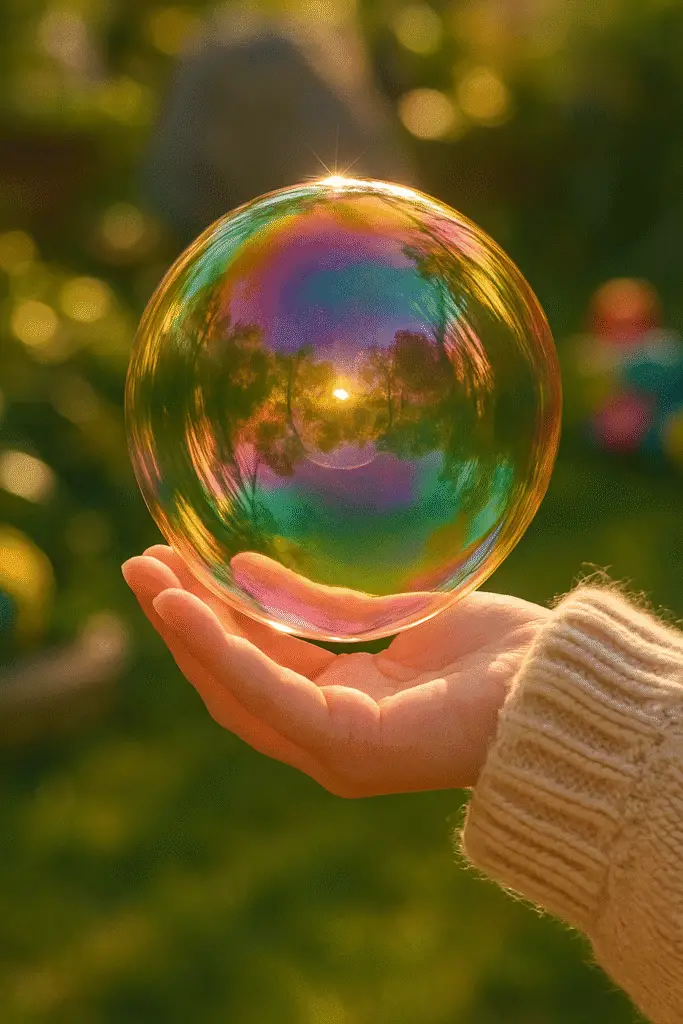
So, the first time I made this mix, I figured we’d use it all up in one go. Nope. We had like half a bowl left and I thought, “Eh, I’ll just toss it.” Big mistake. Because when I did try storing it the next time—those bubbles were even better the next day.
Turns out, this stuff holds up really well if you treat it right.
Use a Good Container
I started using mason jars because they seal tight and just look cute sitting on the shelf, let’s be honest. But honestly, any clean, airtight container will do. Just make sure it’s something with a lid that screws on snugly. I tried a yogurt tub with a foil lid once—didn’t work. Leaked everywhere.
Plastic or glass both work fine. Just don’t store it in anything you can’t stir later.
Keep It Cool (Literally)
One time I left my bubble mix on the porch in the sun. Next day? It smelled weird and the bubbles popped like normal ones. Lesson learned. Keep the mix somewhere cool and dark—like a cupboard or the fridge if it’s hot out.
The fridge actually works great if you’re in a super warm climate. Just don’t let it freeze.
Stir, Don’t Shake
This one’s huge. When you go to reuse your mix, do not shake it. You’ll get foam, and foam ruins the bubble action. Just swirl the jar gently or use a spoon to give it a little stir. I usually let it sit out for about 10 minutes before using it again, too. That way it’s not ice cold, which can mess with bubble strength.
When to Toss It
You can keep the mix for about a week. Maybe a little longer if it’s stored right. But if it starts smelling funky or looking cloudy? Time to say goodbye. I always make a fresh batch once a week just to keep things easy. Plus, the kids love “bubble day” anyway—it’s kinda become a ritual in our house.
So yeah—don’t toss that leftover mix! Store it right and you’ll have instant bubble fun ready to go. It’s like having a superpower in your pantry. Seriously, I wish I’d started saving it from day one.
Okay, let’s be real—once you try making unpopppable bubbles, there’s no going back. Regular bubbles? They’re fun for, like, five seconds. But these ones? They float longer, bounce off your hand, and turn into full-blown entertainment for the whole family. I honestly didn’t expect them to be this good.
And the best part? You probably already have everything you need in your kitchen. It’s cheap, it’s easy, and it gives you that “I’m-a-genius-parent” feeling when your kids go nuts watching a bubble land on the couch without popping.
So if you haven’t tried this recipe yet—do it. Make it your weekend science project or your rainy-day lifesaver. Trust me, you’ll feel like you discovered bubble magic. And if you do give it a shot, snap a few pics, make a mess, and don’t forget to pin it on Pinterest so other parents can get in on the fun too.
You’ll never look at bubbles the same way again. Promise.


