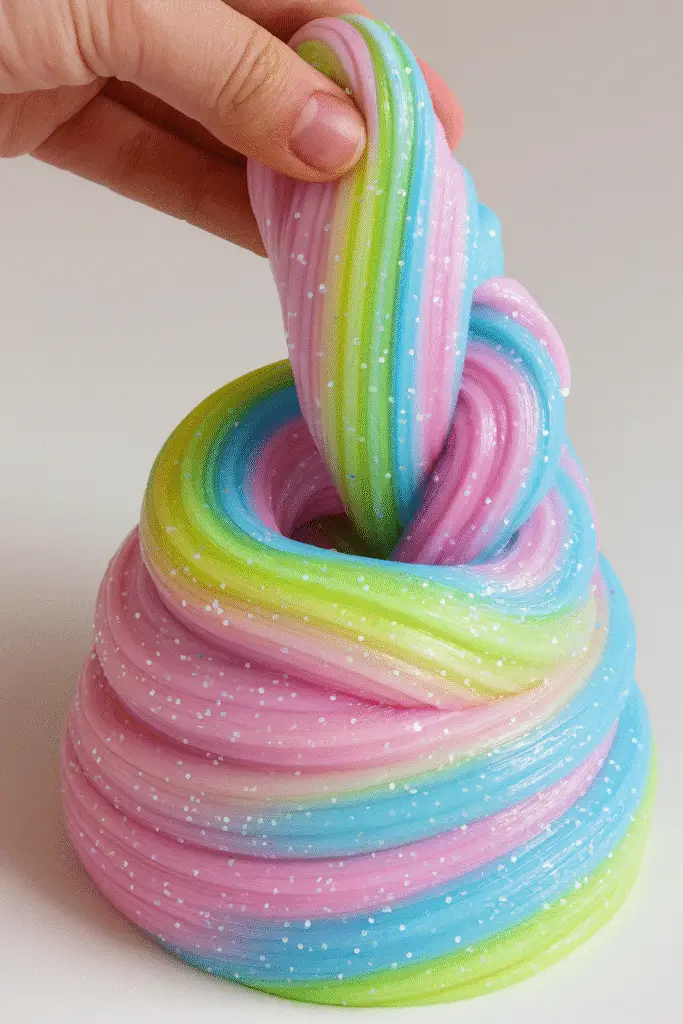
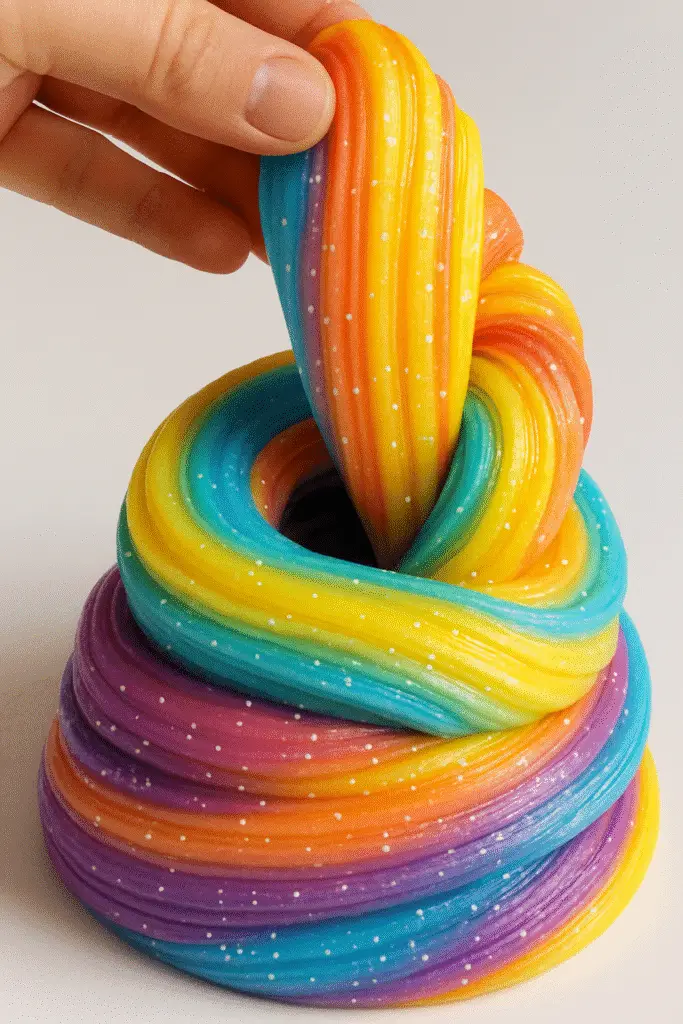
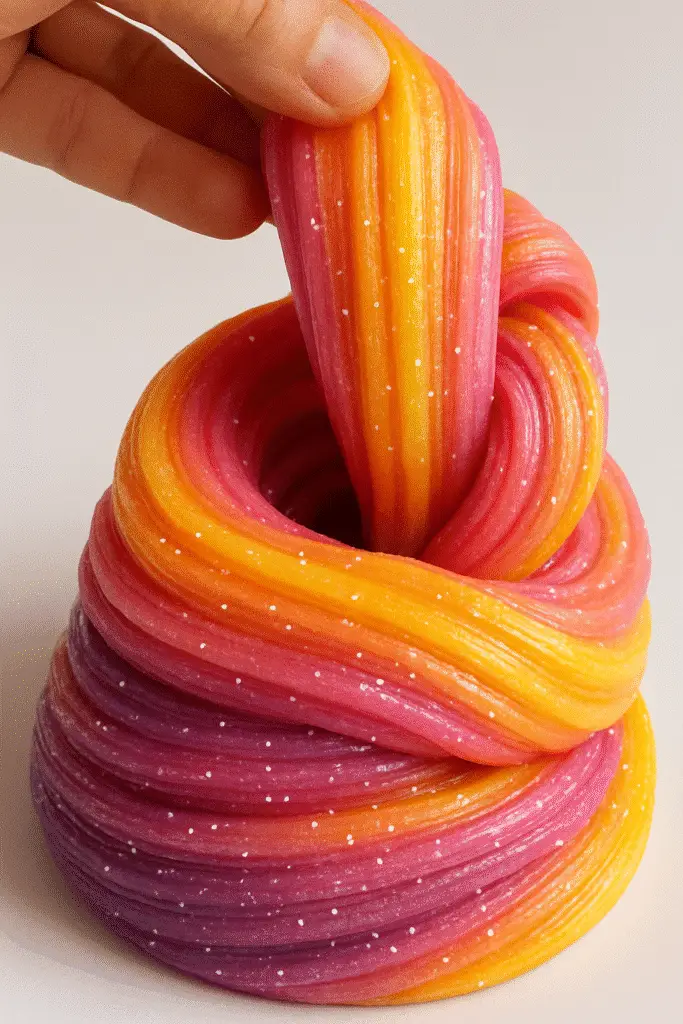
Let’s be real — most slime recipes are a total disaster zone. Glue everywhere, glitter in your hair, and kids bouncing off the walls from the sugar rush of excitement. 😂 But what if I told you there’s a slime that’s actually magical — no glue, no mess, no fuss?
That’s right. This magical slime recipe is blowing up with parents and teachers because it’s so darn simple. Just soap, cornstarch, and a splash of color = hours of sensory play. No joke, I tried this on a rainy afternoon with my niece, and I couldn’t believe how easy it was. Plus, cleanup took under five minutes. 🙌
Let’s dive into this stress-free sensory adventure that’s actually worth the hype.

🧪 Magical Slime Ingredients List
Okay, so I’ll admit it — the first time I made slime with my niece, I went full Pinterest-mom mode. I had like 12 ingredients laid out in tiny ramekins, felt like a scientist in a glitter lab. Five minutes in? My sleeve was stuck to the countertop, cornstarch was on the dog, and the glue bottle exploded in my lap. Total slime meltdown. 😂 That was the day I swore: no more glue-based slime.
Related:
Mystical Storm: Lightning in a Bottle
Rainbow Fireworks Explosion: Dazzling Displays & How They Work (2025 Guide)
DIY Lava Lamp Suncatchers: A Bright and Colorful Craft for 2025
Magical Snowstorm in a Jar Trick (2025): DIY Winter Fun for All Ages
And that’s when I discovered magical slime — the kind that doesn’t need glue or activators or even a degree in chemistry. Just a few pantry items, and boom. Sensory fun that won’t make you want to cry-clean your kitchen afterward.
🧴 What You’ll Need (and Why):
- 1/4 cup thick liquid soap or body wash
The MVP of this recipe. Thicker soaps give the best texture — too watery and the slime won’t hold. I’ve used Dollar Tree body wash in neon pink, and it worked better than the expensive stuff. Bonus points if it smells good, because that adds a whole new sensory element. - 1/2 to 3/4 cup cornstarch
Start with 1/2 cup and add more slowly. Cornstarch is what gives the slime its structure — too little and it’s sticky soup, too much and it crumbles. I usually just keep adding little spoonfuls until it stops clinging to my hands like goo. - Food coloring or liquid watercolor (optional)
If you want that wow factor, toss in a few drops of color. I once tried red and yellow and accidentally made this weird mustard-orange. Still fun, just… less magical. My tip? Use gel food coloring — brighter and less mess. - Pinch of glitter (optional)
Is it even magical slime without sparkle? You don’t need much — just a tiny pinch goes a long way. I once dumped in a whole tablespoon and spent the next week finding glitter in my eyelashes. - Drop of essential oil or fragrance (optional)
Totally not required, but if your soap is unscented, a little lavender or vanilla can make playtime extra cozy. My niece calls it “spa slime” when we do this. It’s oddly calming for both of us.
⚠️ A Few Ingredient Tips:
Avoid soaps with exfoliating beads or micro-scrubbers — they mess up the texture fast. And steer clear of cheap knock-off cornstarch; I tried one and it made the slime gritty. Yuck. If your kiddo has sensitive skin, go fragrance-free all the way.
I swear, once you try this no-glue method, you’ll never go back. Just keep a towel nearby for your hands and you’re golden.
Next up — let’s make the magic happen!
🧑🔬 Step-by-Step Guide to Making Magical Slime
Alright, deep breath. This is where the fun really starts. If you’ve got your ingredients lined up and a kid bouncing with excitement nearby, you’re in the perfect place. I’ve made this magical slime recipe probably a dozen times now — with nieces, nephews, neighborhood kids — and every single time it’s a hit. Also? I’ve messed it up more than once, so here’s everything I’ve learned to save you the headache.
Step 1: Pour the Soap
Grab your mixing bowl and squeeze in about 1/4 cup of liquid soap or body wash. You want something that’s thick — like the kind that takes a second to drip off a spoon. If you’re not sure, just tilt the bottle… if it glops out slow, it’s good. I used a sparkly strawberry body wash once and it made the whole batch look like unicorn guts (in the best way possible).
Pro tip: Let your kid choose the soap. That tiny bit of decision-making gives them all the “I’m in charge” vibes.
Step 2: Add Color, Glitter, & Fragrance
This part’s optional, but honestly, it’s where the magic kicks in. I add a few drops of food coloring, maybe a pinch of glitter, and sometimes a little essential oil if I’m feeling extra.
I once got brave and let the kids mix colors. Bad move. We ended up with a questionable shade of brown. Now we agree on one color ahead of time — saves the drama and the slime actually looks fun.
Step 3: Stir in the Cornstarch (Slowly!)
Start adding your cornstarch one spoonful at a time. I cannot stress this enough — do it slowly. Dump it all in at once and you’ll end up with something that feels like sidewalk chalk. Stir between each spoonful. Eventually, it’ll get too thick for a spoon. That’s when you dive in with your hands.
It’ll be sticky at first. That’s normal. Just keep kneading like you’re making pizza dough for a fairy princess. Add more cornstarch a little at a time until it stops sticking and starts feeling stretchy and soft.
Step 4: Knead to Life
This is where things get magical. The slime starts off kind of weird — like wet clay or thick frosting. But the more you knead it, the silkier and smoother it gets. There’s this point where it just clicks — suddenly it’s stretchy, bouncy, and oddly satisfying to squeeze. If it still feels sticky after a couple minutes, dust on a tiny bit more cornstarch.
I made the mistake once of over-kneading — turned it into a crumbly mess. If that happens, just add a drop or two of soap and massage it back to life.
Step 5: Time to Play
Boom. You’re done. Hand it over, sit back, and enjoy ten minutes of silence while your kids squish and stretch their hearts out. The texture is soft, almost like a marshmallow that doesn’t melt. We’ve rolled it into snakes, flattened it with cookie cutters, and even tried to bounce it (spoiler: it doesn’t bounce, but it will fly across the kitchen if launched).
Just keep a container nearby — if it sits out too long, it’ll dry up. Toss it in a sealed container and it’ll last a few days. Easy.
So that’s the magic, friends. No glue. No stress. Just soap, starch, and smiles.

💡 Tips to Fix Sticky or Dry Slime
Okay, so here’s the deal. Even the most magical slime can turn into a total mess if the texture’s off. I’ve been there — one second it’s silky and stretchy, the next it’s either clinging to your fingers like chewed gum or crumbling like a stale cookie. Ugh. But don’t toss it! Most of the time, it’s a super easy fix.
When It’s Too Sticky…
Sticky slime is the most common issue — and honestly, it’s a rite of passage. The first batch I ever made looked amazing, but felt like I dunked my hands in melted marshmallows. And of course, I panicked and added way too much cornstarch. It turned into weird, dry playdough. Learn from me, folks.
👇 Here’s how to fix it:
- Sprinkle in a tiny bit of cornstarch — like a teaspoon at a time. Seriously, don’t dump a whole handful in unless you want concrete slime.
- Knead it in thoroughly before deciding if it needs more.
- Repeat until it stops sticking and starts feeling stretchy.
Oh, and one weird trick? Rub a little soap on your hands before kneading. It keeps it from sticking too much and helps mix things in more smoothly. Magic.
When It’s Too Dry…
Now let’s talk about crumbly slime. If your slime’s breaking apart faster than a cookie in milk, it’s probably over-starched. Been there. I once made a batch so dry it squeaked when I squeezed it. Not cute.
Here’s how to fix it:
- Add a drop or two of soap — yes, just a drop. This stuff goes a long way.
- Knead it like dough. It’ll feel greasy at first, but that means it’s working.
- Keep massaging until the texture evens out.
Still dry? Add another drop. But be careful — too much and you’re back in Stickyville. It’s a balance game, and honestly, it gets easier with each batch.
Bonus Tip: Glitter Problems
I’ve had people tell me their slime gets weird when they add glitter. Truth? That’s usually because the glitter was added before the texture was right. Always get the base perfect first, then add the sparkle. Trust me, the slime won’t absorb it properly otherwise, and you’ll just end up with crunchy pockets of sadness.
Final Fixes
If it’s really beyond saving (like, it’s turned into a putty nightmare), just toss it and start fresh. The ingredients are cheap, and honestly, the process is half the fun.
But nine times out of ten, a sprinkle of starch or a drop of soap will totally bring your magical slime back to life. And when it works? Oh man, that texture is dreamy. Soft, stretchy, not sticky… exactly what slime should feel like.
🧠 Why Kids (and Parents) Love Magical Slime
I’m gonna be real with you — I didn’t expect to love magical slime as much as I do now. I thought it’d be a one-time thing, a cute activity for a rainy day. But no, this slime has become a thing in my house. And not just for the kids… I’ve caught myself squishing it more than once during a Zoom call.
So, what’s the big deal? Why do kids beg for this stuff and parents aren’t running for the hills like they usually do with messy crafts?
It’s Sensory Gold
This slime hits every sensory sweet spot. It’s stretchy, squishy, cool to the touch, and just the right amount of resistance when you pull it apart. My nephew — who’s usually bouncing off the walls — will sit quietly for like 30 minutes playing with this. I’m not saying it’s magic, but it might be.
And if you have sensory-sensitive kiddos, this stuff is a dream. You can skip the glitter or fragrance if needed, and adjust the texture easily so it feels just right for their hands.
It’s Actually Clean (No, Seriously)
This isn’t that glue-and-Borax monstrosity that sticks to everything. Magical slime is water-based and wipes off with a damp towel. I’ve even had it dry on the table and it just flakes right off. I’m not saying I’d let the kids play with it on my white rug, but I don’t go into full panic mode when they’re holding it over the couch.
Plus, no glue means no crusty bowls, no ruined shirts, and no glitter-glue explosions (RIP to that one hoodie I lost in 2019).
It’s Screen-Free Play That Works
If you’ve got kids, you know the struggle — pulling them away from tablets without full-on riots. But when I pull out the slime kit, they’re in. Like, fully engaged. They’ll mix colors, invent slime “recipes,” create mini slime creatures… it’s endless.
And let’s be honest — it feels kind of amazing in your hands. I sometimes use it as my own stress reliever while pretending to supervise.
It Sparks Creativity
One day it’s mermaid slime, the next it’s dragon boogers (thanks to a green and gold combo). Kids will literally make up backstories for the slime, give it names, and build whole worlds around it. It’s imagination fuel in goopy form.
It’s Budget-Friendly
This stuff is cheap. Like, under $5 for multiple batches cheap. Compared to store-bought slime kits that cost $20 and still smell like chemicals? This is a no-brainer.
Bottom line? Magical slime isn’t just a toy. It’s a creativity boost, a sensory win, a stress reliever, and — somehow — a parenting hack in disguise. Win-win.

🧼 How to Store and Reuse Magical Slime
So, you’ve made the perfect batch of magical slime — it’s stretchy, soft, smells like lavender cupcakes, and sparkles like fairy dust. The kids are obsessed. You’re a crafting legend. But then comes that moment — playtime’s over, and you’re staring at a blob of slime wondering… now what?
Don’t toss it! This kind of slime can actually last a few days if you store it right. And trust me, you’ll want to — because the second you think it’s safe to relax, they’ll ask, “Can we play with the slime again?”
Keep It Airtight, Always
This is non-negotiable. Magical slime dries out fast if it’s left in the open. I learned that the hard way after leaving it out overnight — came back to a sad, cracked pancake of slime that looked like ancient ruins. 😩
Here’s what works:
- Small airtight plastic containers — I use snack-sized ones from the dollar store.
- Ziplock bags — great for squish-ability and saving space.
- Old Tupperware with tight lids — don’t worry if it’s stained from spaghetti sauce; slime doesn’t judge.
Squeeze out as much air as possible before sealing. Air = dryness = sadness.
How Long It Lasts
With good storage, your magical slime should last around 3–5 days. It might get a little firmer after day two, but don’t panic. That just means it needs a little refresh.
If you really want it to last longer, skip adding glitter or fragrance — those can sometimes affect shelf life. But even with them, you’ll get a few good sessions out of it.
How to Revive It
Woke up to stiff, lifeless slime? Been there.
Try this:
- Add a single drop of soap to the slime.
- Knead like you’re massaging cookie dough.
- Add another drop if needed.
Within a couple minutes, it’ll soften up again and get that stretchy feel back. It’s kinda wild how just a tiny bit of moisture brings it back to life.
If it’s super dry and crumbly? It might be time to toss it and make a fresh batch. Luckily, it’s cheap and quick to whip up again.
Make Storage Fun
Here’s a fun hack: Let the kids label their containers with stickers or give their slime a name. Mine labeled one “Slimey McSlimeface” and made a bed for it in the fridge. 😂 Not necessary, but hilarious — and it gives them a little ownership, which means they’ll actually remember to put it away.
That’s it! Store it right, revive it when needed, and this magical mess-free slime will be your new go-to boredom buster.
And there you have it — the complete low-mess, high-fun guide to making magical slime with your kids (or let’s be honest, for yourself too — I won’t judge). From a handful of household ingredients to hours of sensory play, this stuff is a total game-changer. No glue, no stress, just good, clean fun that keeps kids engaged and your furniture slime-free.
We’ve covered everything:
✔️ What you need
✔️ How to mix it
✔️ Fixes for sticky or crumbly batches
✔️ Why it’s so addictive (for both kids and grown-ups)
✔️ And how to store it for more play later
Whether you’re pulling this recipe out on a rainy day, using it for a sensory bin, or hosting a slime-themed playdate, you’re now fully equipped to bring the magical slime magic into your home.
Want to make sure you don’t forget it? 📌 Pin it now and save it to your DIY crafts or kids activity board. That way, it’s right there when the next “I’m booooored” hits.
And hey — if you try this out and your slime ends up with glitter everywhere or looks like purple mashed potatoes, you’re not alone. It’s all part of the fun. 💜

