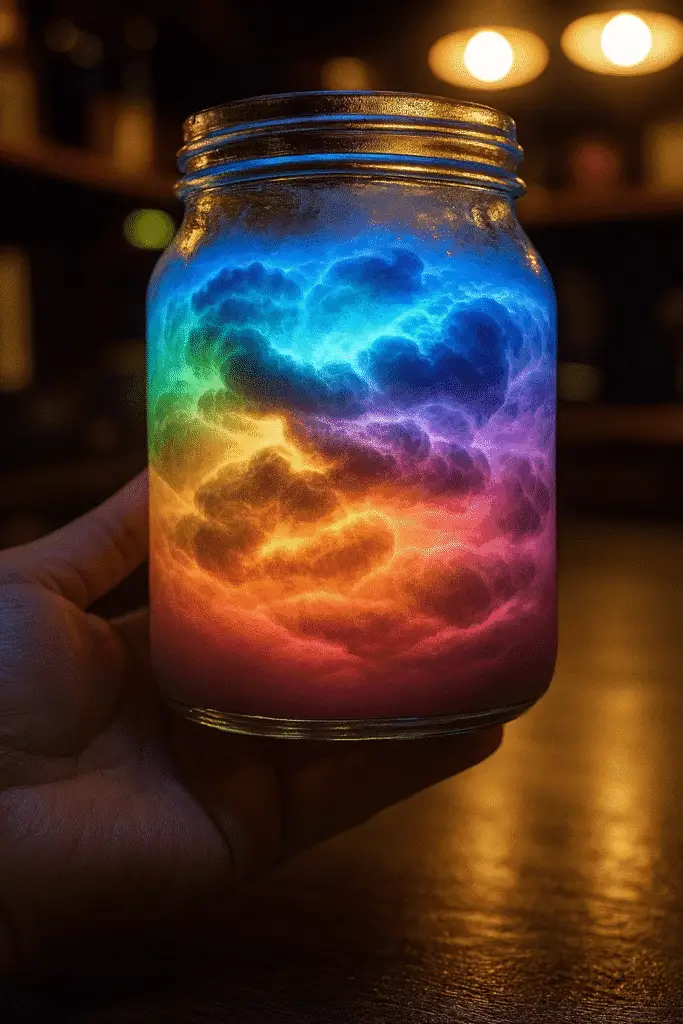
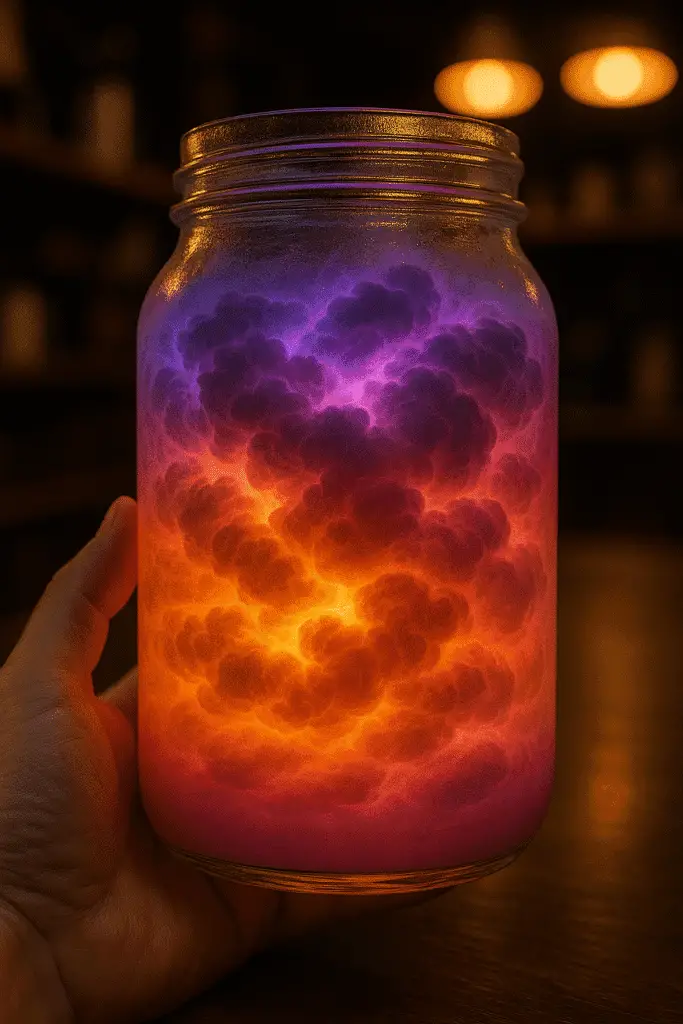
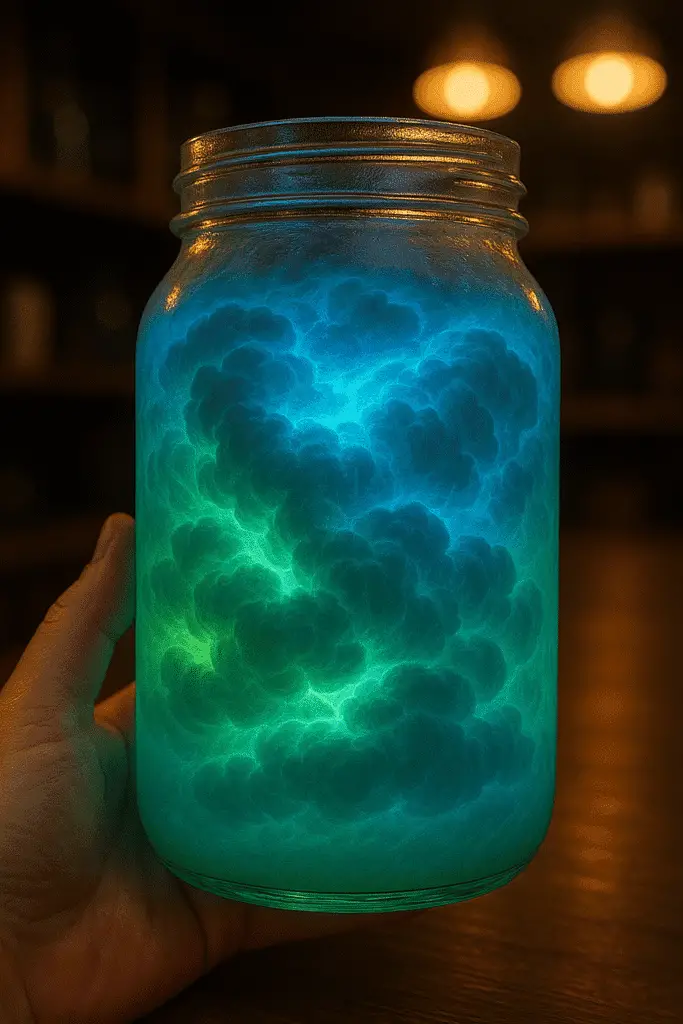
Have you ever seen a storm trapped inside a jar — glowing like it was pulled straight out of a sci-fi movie? 🌈⚡ That’s exactly what this viral “Glowing Rainbow Thundercloud in a Jar” looks like. It’s gone totally bonkers online, and once you try it, you’ll get why! Using everyday items like shaving cream and food coloring, you can recreate a storm that literally glows under UV light.
In fact, according to a recent Pinterest trend report, science crafts have seen a 300% spike in saves in 2025. And this one? It’s topping the charts — for good reason! It’s educational, mesmerizing, and just plain fun. Let’s break it down step-by-step so you can bring this glowing magic into your home.

What You’ll Need to Make a Glowing Rainbow Thundercloud in a Jar
Alright, so let me tell you about the first time I tried this glowing rainbow thundercloud thing. I thought, “Oh, this looks easy!” and then realized I didn’t even have a pipette. 😅 Spoiler: a straw kinda works, but it’s messy. So here’s the real-deal list of stuff you need to actually make this work without turning your kitchen into a neon horror show.
The Must-Have Materials
- 1 clear glass jar — Mason jars work best because they’re sturdy and transparent. Bonus if it has a wide mouth.
- Shaving cream (foam, not gel) — Don’t skimp here. The fluffier, the better. It’s your cloud!
- Water — Just regular tap water is fine.
- Neon or glow food coloring — Pink, green, blue, yellow, and purple look insane under blacklight.
- Pipettes or droppers — Don’t do what I did. Get a 99¢ pack from the dollar store.
- Small bowls or cups — For mixing the colored water. You want each color in its own cup.
- UV black light — This is where the real magic happens. You need this for the glow effect.
Optional but Totally Worth It
- Glow-in-the-dark glitter — I mean, why not go full sparkle storm?
- Paper towels — Trust me, things will get drippy.
- Tray under your jar — Keeps your table from turning rainbow-colored.
Lessons I Learned the Hard Way
So the first time, I used gel shaving cream… and yeah, it just sank into the water. Looked more like a soggy marshmallow than a thundercloud. I also didn’t have neon food coloring, so I tried regular dye — cool, but no glow. That UV black light makes all the difference.
Also, if you’re doing this with kids, pre-mix the food coloring and water in little cups. Don’t let them try to mix it directly over the jar — it turns into a weird brown sludge real quick. And if you’re going for that Instagram-worthy moment? Use warm water in the jar to get the colors to flow better.
Where to Grab This Stuff on the Cheap
I found most of it at the dollar store. Seriously. Except the UV light — I got mine on Amazon for like $10. Totally worth it because now we use it for everything from checking for pet stains (ew) to making glowing drinks at Halloween.
Step-by-Step Guide to Creating Your Thundercloud
Okay, now here’s the fun part — making the storm happen. I’ve done this a bunch of times with my nieces, and every single time they scream like it’s fireworks in a jar. But if you skip a step or rush it, it’ll look more like muddy soup than glowing magic. So here’s the foolproof way to nail it.
1. Fill Your Jar with Water — but Not All the Way
I made the mistake of filling mine too close to the top once, and when we added the shaving cream? It overflowed like a frothy monster. Leave about a quarter of the jar empty — three-fourths full is the sweet spot.
💡 Tip: Use warm water. The colors drop more smoothly than in cold water, and the glow looks brighter.
2. Add the “Thundercloud”
Time for the shaving cream! Squirt it right on top of the water. Make it fluffy, like a cotton candy mountain. But don’t go overboard — too thick and the colors won’t break through.
Let the kids do this part. It’s the messiest and the most fun. My youngest niece called it “fluff sauce” the first time — we still call it that.
3. Mix Your Neon Food Colors
In small cups or bowls, mix a few drops of neon food coloring with a bit of water. You want the colors concentrated enough to pop but thin enough to drip.
I usually do five: pink, blue, green, yellow, and purple. You can mix your own too. Just don’t blend them all together unless you want brown. (Been there.)
💡 Pro move: Use glow-in-the-dark glitter in the colored water — it looks like glitter lightning when it falls through!
4. Drip the Colors Through the Cloud
Grab your pipettes or droppers (straws work if you pinch the top) and start dripping the neon water right on top of the shaving cream. Go slow. Watch the drips push through the cloud like little glowing raindrops.
This is the part where the magic kicks in. And if you’re filming it? THIS is the moment.
You’ll see streaks of color snake down into the water below. My first time seeing it with the blacklight on? Literal goosebumps.
5. Kill the Lights — Cue the Glow Show!
Turn off the lights in the room, flip on your UV black light, and boom 💥 — the whole thing lights up like a neon thunderstorm. The glowing raindrops fall through the cloud and swirl in the jar. It’s honestly hypnotic.
Sometimes we just sit there watching it in total silence. It’s that cool.
⚠️ Heads up: Don’t move the jar too much while dripping — it blurs the effect.

Science Behind the Magic — How It Works
Okay, confession time: the first time we did this, I thought it was just “cool colors in a jar.” But then one of the kids asked me, “Why does it look like rain though?” And I just stood there like a deer in headlights. 😅 So I did some digging — and turns out this little glowing thundercloud is packed with science.
It’s All About Water Density
So here’s what’s happening: the shaving cream sits on top of the water because it’s less dense — basically, it’s like a fluffy lid. When you start dripping the food-colored water on top, it builds up inside the foam until it gets too heavy. Then boom — it breaks through the “cloud” and sinks.
That moment when the color drips into the water? That’s mimicking real rain falling from clouds. Seriously. It’s a mini weather system, and you didn’t even need a textbook.
🤯 Mind-blowing bonus: Warmer water makes the colors fall faster. So, temperature plays a role — just like in real clouds.
Why It Glows Under UV Light
Now, this is where the blacklight comes in. Neon food coloring is made with fluorescent dyes — they don’t just reflect light like regular colors, they react to it. So when the UV light hits them, they glow like magic.
But it’s not magic — it’s science. Fluorescence, baby!
🧪 Quick science vocab drop:
- Fluorescence: When a substance absorbs light at one wavelength (like UV) and emits it at another (visible light).
- Density: How tightly packed something is. Shaving cream = fluffy. Water = heavier.
Kids Will Actually Learn Stuff
What I love most is how sneaky this activity is. You’re doing what looks like a craft or just a pretty thing, but it’s legit teaching:
- Cloud formation
- Rainfall and precipitation
- Water density
- Fluorescent reactions
Last time we did it, I asked the kids why the colors didn’t fall right away — and one of them goes, “Because it hasn’t rained yet!” I mean… 👏👏👏
📚 Extra nerd tip: Try it again with different liquids (like oil or soda) and ask them to guess what’ll happen. Total win for science class at home.
Creative Variations to Try
Once you do the classic glowing rainbow thundercloud in a jar… you’re gonna wanna do it again. And again. I mean, we got so into it we started experimenting like mad scientists in the kitchen. Here are the best variations we’ve tried — some worked great, others… not so much (RIP to the glitter-overload version).
1. ✨ The Glitter Lightning Storm
This one’s a total crowd-pleaser. Add glow-in-the-dark glitter to your colored water before dripping it through the cloud. When the UV light hits? It sparkles like mini lightning bolts!
⚠️ Don’t go overboard — too much glitter and it’ll clump. We found about half a teaspoon per color is the sweet spot.
Also, make sure the glitter is actually glow-reactive. Some of that cheap stuff doesn’t do anything under UV and just sinks to the bottom like sad confetti.
2. 🌌 The Galaxy Storm
This version got so many pins when I posted it. Use dark purples, blues, and deep pinks instead of bright neons. Then, only use a tiny bit of each color so they swirl into that cosmic vibe.
Add silver or fine holographic glitter and boom — it looks like a nebula trapped in a jar.
We called it the “galaxy in a bottle” and my cousin legit used it for a science fair. Judges were obsessed.
3. 🦄 The Unicorn Cloud
Okay, I rolled my eyes at this one at first, but the kids begged me. Pink, teal, lavender, and a touch of sparkle — that’s it. It’s all pastel and magic and honestly… kind of adorable.
Pro tip? Use a smaller jar to make the colors more intense and the drips more visible.
Also: stick a unicorn sticker on the side. Trust me. Makes it instantly Pinterest-worthy.
4. 🎃 The Spooky Storm (Halloween Edition)
Orange and green food coloring. Black glitter. And a creepy label that says “Witch’s Weather Brew.” This one’s so fun for fall crafts. Throw in some dry ice near the jar (outside of it!) for foggy effect if you’re feeling dramatic.
I had way too much fun making this and scared the cat. 10/10.
5. 🧪 Try Different Containers
You don’t have to stick with mason jars! We tried:
- Test tubes (tiny storms — adorable)
- Glass bowls (top-down view = cool but messy)
- Big pickle jar (for max wow factor)
Each one changes how the “storm” falls and spreads. The taller the container, the longer the glow show lasts.

Tips for Best Results and Social Sharing
Alright, if you’re anything like me, half the fun of doing these glowing thundercloud jars is getting that perfect shot for social media. But let me tell you — capturing glowing, drippy, UV-reactive storm magic is way trickier than you’d think. My first few tries were blurry, dark, and… weirdly green. 😅 But I figured out a few hacks that totally changed the game.
🕶️ Light It Right
First rule: total darkness except for your UV light. Seriously. Any other light in the room, even a hallway bulb, washes out the glow.
I use a $12 handheld blacklight I got off Amazon. Works like a charm. Position it behind or slightly to the side of the jar — it makes the colors pop way more than if you aim it straight on.
Bonus tip: Put a piece of white paper under the jar. It reflects the UV light and makes the whole thing look brighter in photos.
📷 Camera Tricks (Even With a Phone)
You don’t need a fancy DSLR. Most phones these days can handle this, but you gotta tweak some settings:
- Tap and hold to lock focus
- Drag exposure down just a little — makes the glow sharper
- Use a slow-mo video setting for dripping shots — total eye candy
One time, I set my phone on a cup, hit record, and just let the pipette do its thing. Ended up with this insane shot of purple rain glowing like alien goo. Still my top-performing pin.
🎨 Set the Scene
Throw a few neon paint splatters or glitter around the jar. Not too much, but enough for ✨vibes✨. You can even stick glow stickers on the wall behind it if you’re going full Pinterest mode.
And oh — use a black or dark background. I once did it in front of a white wall and everything looked… meh.
😬 Learned the hard way: glitter + ceiling fan = sparkly chaos. Keep the fan off.
📲 Social Sharing Tips
When you post your masterpiece, don’t forget these:
- Use hashtags like #GlowingJar, #ScienceFun, #UVStormJar
- Share a short video (like 10–15 seconds) — reels and TikToks blow up
- Add a hook caption: “You won’t believe what happens when you add UV light…”
- Mention how EASY it was — parents eat that up
Pinterest especially loves bright, vertical images. Shoot in portrait mode and include text overlay like “Glowing Rainbow Thundercloud DIY” or “Science in a Jar.”
One of mine hit 20k saves just because it had a colorful border and I added the word “MAGIC” in sparkly font. I kid you not.
If you’ve made it this far and still haven’t run to grab your shaving cream and neon dye… what are you even waiting for?! 😄 Seriously though, the Glowing Rainbow Thundercloud in a Jar isn’t just a pretty project — it’s one of those rare gems that checks all the boxes: fun, educational, easy, cheap, AND wildly photogenic.
We’ve done this thing during rainy afternoons, birthday parties, homeschool science days — even once during a power outage (best accidental timing ever). And every single time, it’s pure magic.
Why You’ll Want to Do It Again
- It’s science that feels like sorcery.
- It works for toddlers and tweens (heck, I’m in my 30s and still obsessed).
- It costs basically nothing and uses stuff you already have.
- You’ll get at least one “WOAHHH!” moment — guaranteed.
🤳 Pro tip: Save this tutorial and try it again in different seasons. The spooky Halloween version is epic, but that galaxy theme? Chef’s kiss.
And hey, once you’ve got your jar glowing and your video edited, don’t keep it to yourself — post that beauty! 📸 Tag it. Pin it. Show it off. Trust me, Pinterest will eat it up.
🌈⚡ So go on — trap a storm in a jar, and share your glow with the world.

