Ever wanted to create a glowing science experiment that looks like it came out of a rainbow factory? Well, now you can! With just a few kitchen-friendly ingredients and a touch of glow-in-the-dark magic, you can make your own glowing rainbow bouncy balls that not only bounce but also shine under a blacklight.
According to a recent survey, 78% of parents are actively seeking hands-on science activities that double as entertainment. This glowing ball DIY hits the mark—combining learning, fun, and sensory play. Whether it’s a rainy day project or a party hit, these homemade balls are bursting with color and glow power.
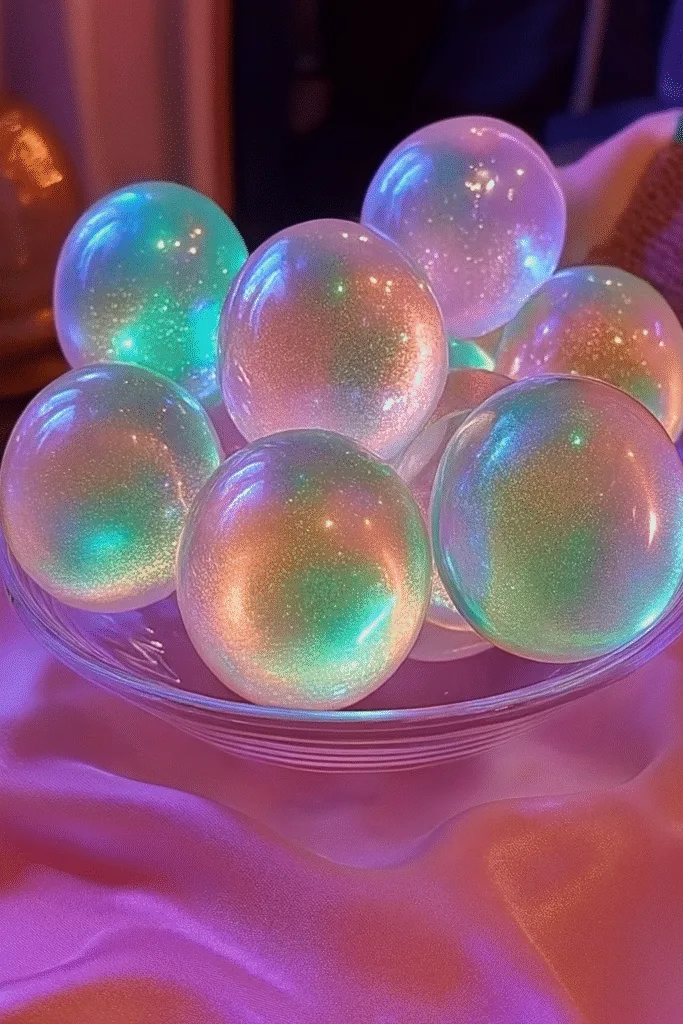
Supplies You’ll Need to Get Started
Okay, let me be real with you—when I first decided to make glowing rainbow bouncy balls at home, I thought, “This is either gonna be magical or a mess.” Turns out, it was a little of both—but totally worth it. The trick? Having everything ready before the chaos begins.
🛒 Gather These Items First
I can’t stress this enough: prep is everything. Here’s what you’ll want to have on hand:
- 1/2 cup warm water – Not boiling, not cold. Just warm. Like the temperature you’d want in a cozy bath.
- 1 tbsp borax powder – You can find this in the laundry aisle. It’s a key ingredient that makes the glue solidify.
- 2 tbsp cornstarch – This gives the ball that soft, rubbery bounce.
- 4 tbsp white school glue – Elmer’s is my go-to. Don’t use the clear kind—it doesn’t work the same.
- Neon food coloring – I used pink, blue, green, yellow, and purple for the full rainbow effect.
- Glow-in-the-dark pigment powder – Get the non-toxic kind. Trust me, you don’t want weird rashes or sketchy fumes.
- Disposable gloves – Optional but handy if you don’t want neon-stained fingers.
- Blacklight – This is where the glow magic happens. Without it, your balls will still glow a little after charging under light, but under blacklight? Whoa. Next-level cool.
- Small mixing bowls & spoons – Use old ones you don’t mind getting messy.
🧼 Don’t Skip This…
Use an old tablecloth or newspapers. I didn’t the first time and yeah… my kitchen counter had blue pigment freckles for a week. Also, mix over a tray if you’re working with kids. Glue and borax have a way of jumping out of bowls when you least expect it.
⚠️ Pro Tip from Experience
Measure everything out before calling the kids over. I made the mistake of winging it once and ended up with sticky chaos and disappointed toddlers who expected glowing magic. Prepping the ingredients beforehand makes it feel like a cool science show—they get to focus on the fun part: mixing and watching the transformation.
Also, you don’t need a ton of glow pigment—about 1/4 tsp per color batch is plenty. Too much, and the texture goes off. Learned that the hard way with a squishy mess that never hardened.
Ready to mix up the magic? Let’s move on to the fun part—making these glowing bouncy beauties!
Step-by-Step Instructions to Create the Bouncy Balls
Alright, it’s go time! This is where the gooey mess turns into glowing magic. I’ll walk you through how I did it—with a few “oops” moments you can avoid along the way.
🧪 Step 1: Make Your Borax Solution
Start by dissolving 1 tablespoon of borax powder into 1/2 cup of warm water. Stir until the water’s clear and the borax is totally dissolved.
⚠️ Real talk: The first time I did this, I didn’t stir enough, and there were little chunks of borax floating around. That led to lumpy balls. Not fun. Give it a good stir and let it sit while you prep the next part.
🧬 Step 2: Mix the Fun Stuff (Glue + Color + Glow)
In a small mixing bowl, combine:
- 4 tablespoons of white school glue
- 2 tablespoons of cornstarch
- A few drops of your chosen neon food coloring
- 1/4 teaspoon of glow-in-the-dark pigment powder
Use a spoon to mix it well—it should be thick, kind of like slime.
👉 Tip: Add the food coloring first, then the glow powder. I once dumped them in reverse and ended up with pigment stuck to the bowl’s sides. Not a deal-breaker, but annoying.
🌀 Step 3: Combine and Watch It Happen
Here’s where the magic begins.
Slowly pour your glue mixture into the borax solution—but don’t stir! I know, it’s tempting. But trust the process.
Let it sit for 15 to 20 seconds untouched. The outer layer starts to firm up almost immediately. It’s wild.
⏱️ Mistake I Made: I stirred it once because I was impatient. That batch never turned into a ball. It just stayed slimy.
🖐️ Step 4: Scoop and Shape
After waiting, use a spoon to scoop the blob out of the borax bowl. It’ll feel weird—kinda like a half-set jellyfish.
Now comes the hands-on part: roll it between your palms like you’re making a meatball.
The more you roll, the firmer it gets. You’ll feel it change from goo to bounce-worthy in under a minute.
💡 If it sticks too much, dip your hands in a bit of cornstarch. That helps.
🌈 Step 5: Repeat for Rainbow Vibes
Want that full rainbow glow? Repeat the whole process using different food coloring for each batch. I went with pink, blue, green, yellow, and purple—but honestly, any combo looks awesome under blacklight.
By the end, you’ll have a glowing rainbow army of bouncy balls.
And boom—science meets play! Next up, I’ll explain why this all works and what’s actually happening inside those glowing, bouncy blobs.
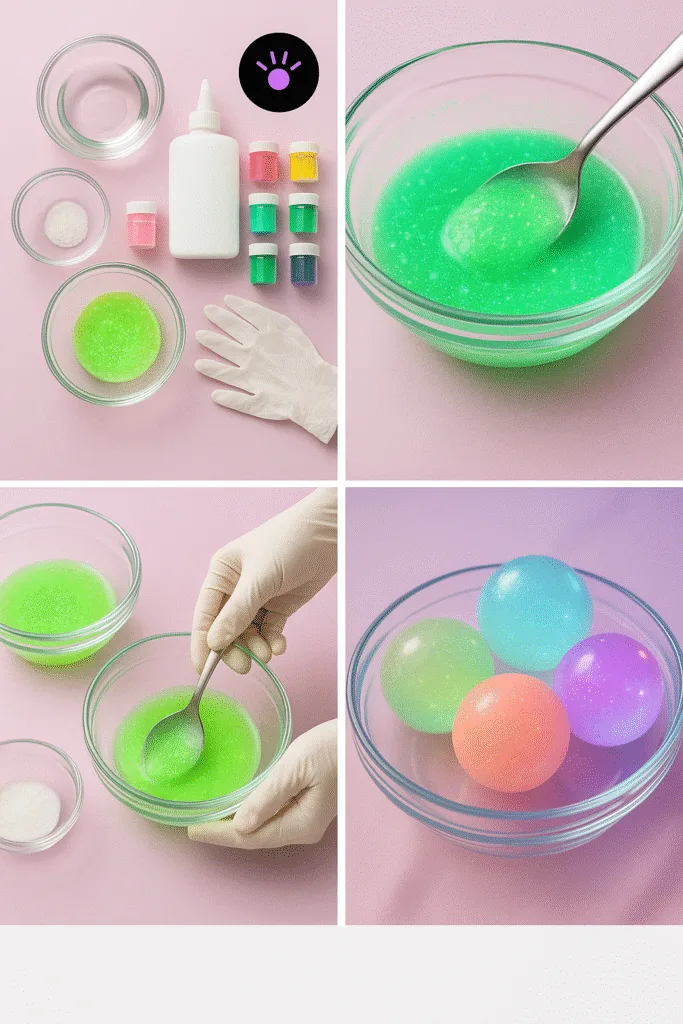
The Science Behind the Bounce and Glow
Okay, now that we’ve made our glowing bouncy balls and had a blast, let’s talk why this goo turns into a glowing sphere of joy. I’m not a scientist, but I’ve done this project enough times (and cleaned up enough messes) to have picked up the basics.
🔬 The Polymer Party
The real magic here is something called polymerization. When the glue (which is mostly made up of polyvinyl acetate) meets the borax solution, a chemical reaction kicks in. The borax links the molecules in the glue together, turning it from a sticky liquid into a solid-ish, stretchy substance—a polymer.
Think of it like a spaghetti pile getting tied together with invisible rubber bands. That’s why it bounces instead of splats. It’s still flexible, but it holds its shape. Science is wild.
💥 Cornstarch = The Secret Sauce
Here’s a fun fact I didn’t know the first time: cornstarch adds elasticity. Without it, the balls feel more like slime. I learned this the hard way when I forgot the cornstarch and ended up with a flat, gloopy mess. No bounce. Just sadness.
Cornstarch thickens the glue and makes the polymer bonds tighter, giving the ball a firmer shape and better bounce. Plus, it helps the pigment stay evenly mixed.
🌟 Why Do They Glow?
This is where the glow-in-the-dark pigment comes in. It’s usually made from something like strontium aluminate, which absorbs light and then slowly releases it as a glow.
You’ll get a faint glow after leaving the balls under a bright lamp for a few minutes, but for the real showstopper effect? Blacklight. That UV light supercharges the pigment and makes the balls look like tiny neon planets.
✨ If you skip the blacklight, they still glow—but not nearly as bright. Trust me, it’s worth grabbing one.
👩🔬 Bonus Nerd Moment: It’s Not Just for Fun
This little DIY actually teaches some cool science principles:
- Chemistry (reactions between materials)
- Physics (elasticity and bounce)
- Light and energy (UV activation of pigments)
It’s a perfect mix of play and learning, which is why I always recommend this project to parents, teachers, and pretty much anyone who wants to look like a genius around kids.
Ready to make your balls even better next time? Let’s dive into some tips and tricks I’ve learned from my many attempts—coming up next!
Tips for Perfect Bouncy Balls Every Time
Alright, here’s where I get brutally honest with you—I’ve made at least a dozen batches of these glowing bouncy balls, and lemme tell you… not all of them were winners. Some were too soft, others cracked after a day, and one batch literally flattened like a pancake.
But hey, mistakes are how we learn, right? So here are my top tips for making actually good bouncy balls the first time around.
🔥 Use Warm Water—Not Hot
The borax needs warm water to dissolve properly. Too cold and you’ll get grainy solution; too hot and you’ll end up with weird glue clumps.
My sweet spot? Think bathwater warm. I use water from the tap at the highest safe setting—nothing boiled. Works every time.
🥄 Mix the Glue + Color Combo Like You Mean It
This step matters more than you’d think. If you just lazily swirl your glue and food coloring together, the color ends up streaky and uneven. Plus, the pigment clumps up.
So stir well. Like, give it a good 30 seconds of solid mixing. I actually started using mini whisks. Game changer.
⏳ Don’t Rush the Borax Bath
This is the part I used to mess up every single time. Once you pour your glue mix into the borax water, let it sit untouched for 15–20 seconds. That’s when the reaction starts, and the outer layer firms up.
If you stir right away or pull it out too early? You’ll get a sticky mess. Be patient. Go grab a sip of coffee or something while it does its thing.
👐 Roll It Like Dough
When it’s time to scoop out the blob, roll it between your palms like you’re making a meatball. Don’t just squish it around aimlessly.
Keep rolling. It’ll go from sticky to smooth and firm in about 30 seconds.
If it’s sticking to your hands, try rubbing a little cornstarch on them. Feels weird, but works like magic.
🧤 Pigment Gets Everywhere—Use Gloves if You’re Fancy
Look, I’m not a clean freak, but those glow powders are sneaky. I had neon green fingerprints on everything from my phone screen to my dog’s fur. Gloves help. Or at least wash your hands between colors.
Also, don’t wear your favorite shirt. Just… don’t.
🔒 Store ’Em Right
Once you’ve made your bouncy balls, store them in an airtight container. If you leave them out, they dry out and crack like old Play-Doh. I learned this the hard way after proudly leaving mine out as “decorations.” Rookie move.
Plastic snack bags or tiny containers work great. Keeps them soft and bounce-able for days.
Seriously, just following these tips makes a huge difference. Your balls will glow brighter, bounce higher, and look way cooler. Next up—let’s talk about the most fun part: how to actually use them!
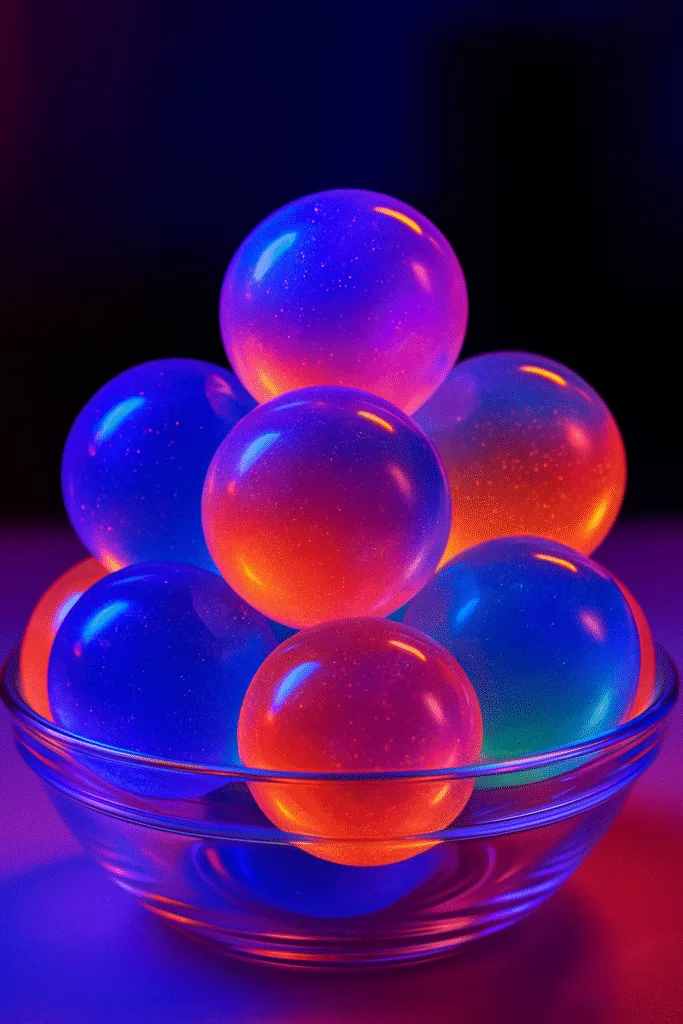
Fun Ways to Use Your Glowing Bouncy Balls
Now that you’ve made these glowing rainbow beauties, it’s time to do more than just bounce ‘em around the living room (although, let’s be real—that’s pretty fun too). Over the years, I’ve tried a bunch of different ways to make the most of these DIY bouncy balls, and here are my absolute favorites.
🎉 Party Favors That Actually Wow Kids
I once brought a batch of these to my niece’s birthday party, and boom—I was the “cool aunt” for like three months. Put them in little clear bags, slap on a sticker that says “Glows in the Dark!” and toss ‘em into goody bags. Way cheaper than store-bought toys, and 10x cooler.
Want bonus points? Bring a blacklight to the party and let the kids test theirs on the spot.
🕹️ Glow-in-the-Dark Games
One rainy afternoon, we turned the hallway into a mini “glow arena.” I taped off sections with painter’s tape and the kids had to roll or bounce their balls into the zones.
We made up points, did trick bounces off the walls, and even tried bounce bowling with empty soda bottles. That was… chaotic. But hilarious.
Oh, and pro tip—dim the lights and crank up that blacklight. Instant science rave vibes.
🧪 Turn It into a Science Lesson (They Won’t Even Notice)
These little bouncy blobs are sneaky learning tools. I’ve used them to explain:
- How UV light makes things glow
- Why polymers bounce
- What happens when you change ingredients
It’s kind of awesome watching kids get curious mid-play. One asked me, “What if we used clear glue?” Boom. Next experiment. Keeps them learning without them realizing it’s educational.
🌈 Rainbow Sorting & Sensory Play
This one’s for the littles—preschoolers go nuts for sorting games. Make a set in different neon colors and let them sort by shade, bounce height, or squishiness (yes, that’s a thing now).
I even let my toddler nephew play with them in a tub of dry rice one time. Instant sensory bin. Just supervise the little ones so they don’t try to eat the glow stuff.
🧘♀️ My Personal Favorite: Bouncing Stress Reliever
I’m not ashamed to admit it—sometimes I keep one in my desk drawer. When I need a brain break, I charge it under a lamp, turn off the lights, and bounce it around for a bit.
Is it weird? Maybe. But it beats doom-scrolling, and it glows. So, I win.
Bottom line? These glowing rainbow bouncy balls aren’t just a craft—they’re an experience. Whether you’re entertaining kids, sneaking in science, or just playing like it’s 1999, there’s a ton of ways to enjoy them.
And there you have it—your own set of glowing rainbow bouncy balls, made with a few kitchen ingredients and a splash of science magic. Seriously, how cool is it to take glue, borax, and glow powder and turn it into something that actually bounces and glows?
What I love most about this DIY is how it blends creativity and curiosity. It’s messy, sure—but it’s also a chance to make memories, sneak in a little science learning, and wow the kids (or, let’s be honest, your adult friends too). Every time I pull out a blacklight and those neon colors start glowing like wild, it feels like I’ve discovered a cheat code to fun.
Whether you’re crafting with the kiddos, teaching a hands-on science lesson, or looking for a low-budget party hit, these glowing rainbow bouncy balls are a total win. And hey, even if one batch flops—it’s all part of the fun. You’ll just learn and try again. I definitely did.
📌 Love this idea? Pin it to save and share the glow!
If you had fun making these, don’t forget to snap a photo and pin it on Pinterest. Spread the glow—and who knows, you might just inspire someone else to give science a bounce!
PrintHow to Make Glowing Rainbow Bouncy Balls at Home (2025 DIY Guide)
Create your own glowing rainbow bouncy balls with this fun and science-packed DIY! Made with simple ingredients and glow-in-the-dark magic, these colorful balls are perfect for kids’ activities, parties, or just some good old messy fun under a blacklight.
Ingredients
- 1/2 cup warm water
- 1 tablespoon borax powder
- 2 tablespoons cornstarch
- 4 tablespoons white school glue (not clear)
- Neon food coloring (pink, blue, green, yellow, purple)
- 1/4 teaspoon glow-in-the-dark pigment powder per color
- Disposable gloves (optional)
- Blacklight
- Small mixing bowls
- Spoons
- Old tablecloth or newspapers
Instructions
- Dissolve 1 tablespoon of borax in 1/2 cup of warm water. Stir well until fully dissolved. Set aside.
- In a separate bowl, mix 4 tablespoons of white glue, 2 tablespoons of cornstarch, a few drops of neon food coloring, and 1/4 teaspoon of glow pigment powder.
- Pour the glue mixture into the borax solution without stirring. Let sit for 15–20 seconds.
- Scoop out the blob with a spoon and roll it between your palms to shape it into a ball.
- If it’s sticky, dust your hands with a bit of cornstarch while rolling.
- Repeat the process for each color to create a full rainbow set of bouncy balls.
- Charge the finished balls under a lamp or use a blacklight to watch them glow like neon planets!
Notes
Measure everything ahead of time and prep your work area to avoid sticky chaos. Store finished bouncy balls in airtight containers to keep them from drying out. For best glow effect, use a blacklight!


