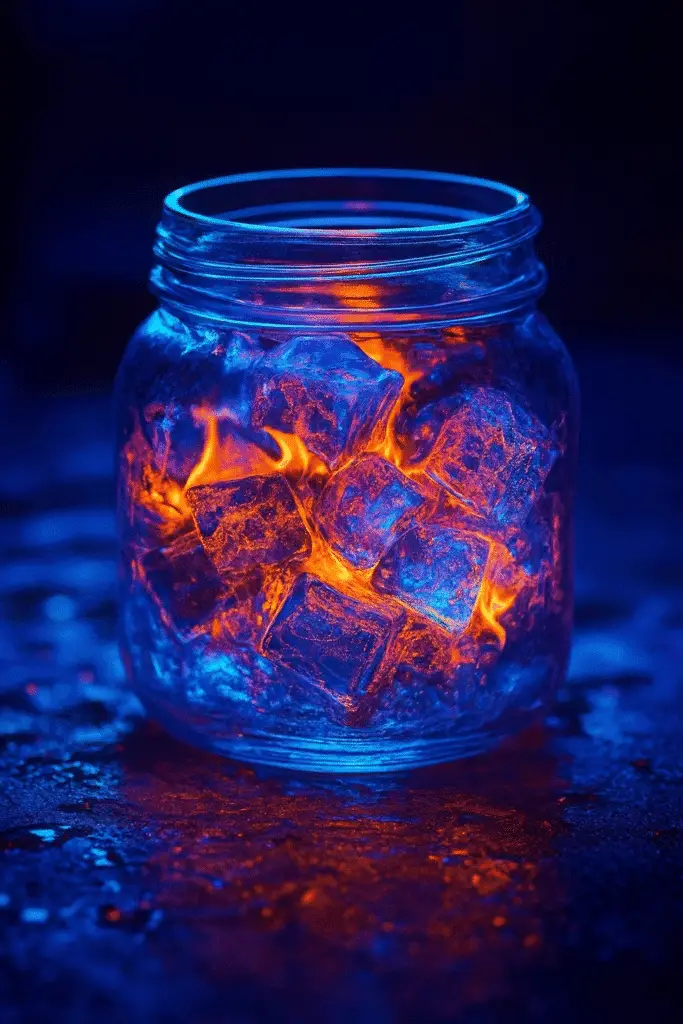
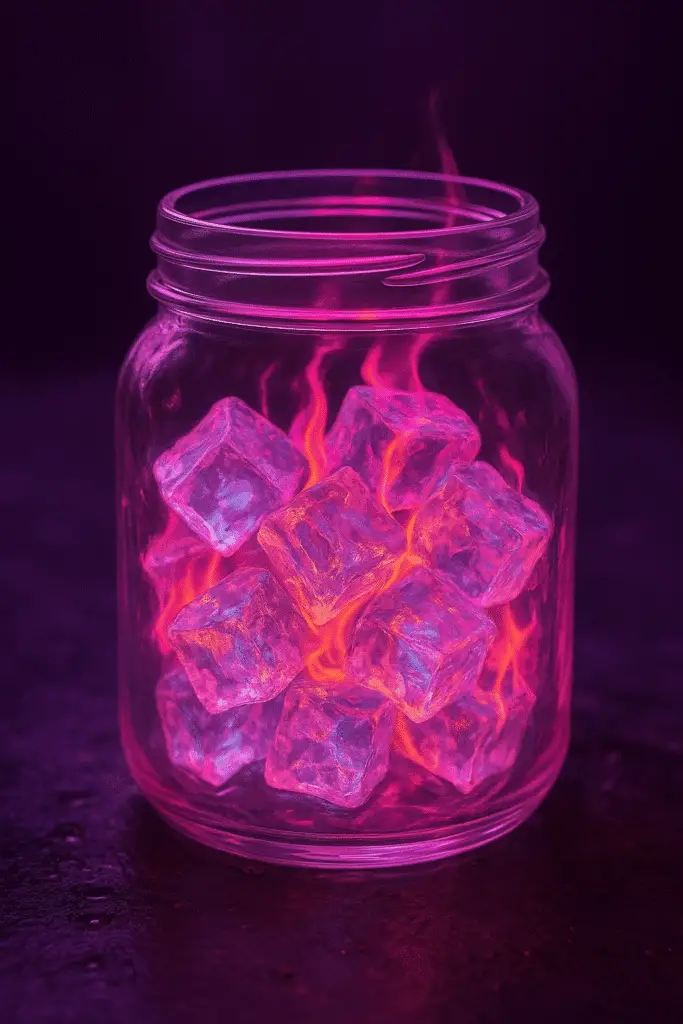
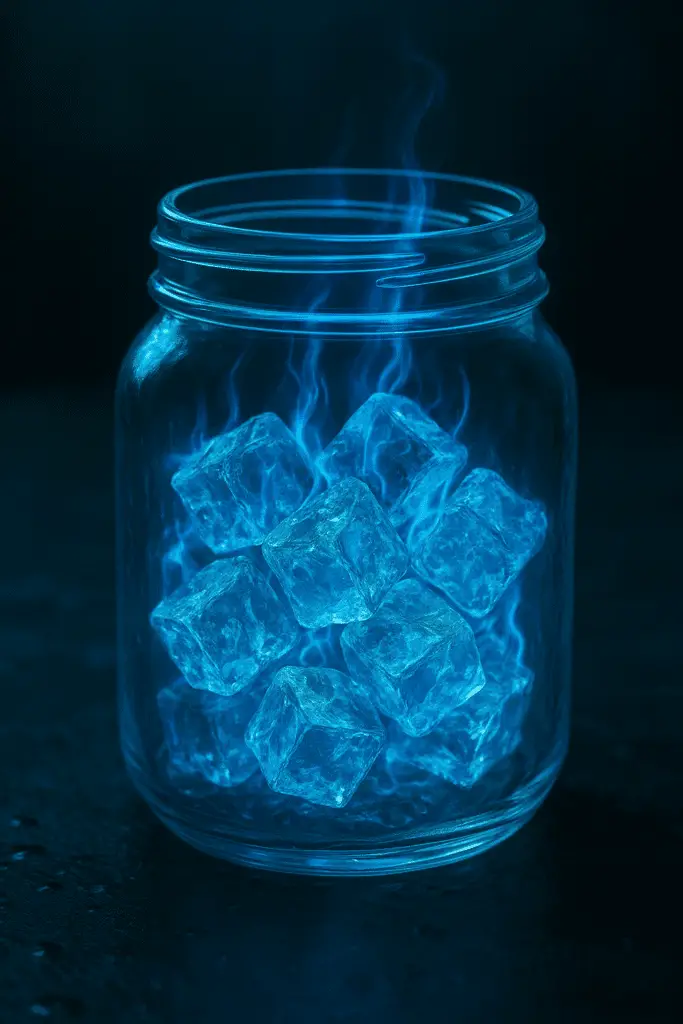
Ever watched a jar transform into a glowing cauldron of color and chaos—right on your kitchen table? The Fire & Ice Reaction in a Jar is one of those rare DIY science experiments that feels straight out of a movie. It’s not just fun—it’s also a fantastic hands-on way to explore thermal reactions, chemical layering, and basic physics.
Picture this: oil, water, food coloring, and a fizzy tablet working together to put on a colorful, bubbling show. I stumbled on this experiment during a rainy Saturday and—boom—instant obsession. You’ll learn, you’ll gasp, and yes, you might even make a tiny mess (but it’s worth it).
Let’s dive into the magic and science behind it!

🔥 What Is the Fire & Ice Reaction in a Jar?
Alright, story time. The first time I tried this Fire & Ice Reaction in a Jar thing, I legit thought I messed it up. I dumped in the oil, added some food coloring, tossed in a fizz tablet… then nothing. Like, crickets. Turns out, I forgot the water. Yep, that’s step one. So here’s what I’ve learned after doing this a bunch (and cleaning up more than I’d like to admit).
The Fire & Ice Reaction is this cool science-meets-art mashup where you combine layers of liquids with different densities—think oil and water—then drop in a fizzy tablet to stir things up. Add ice cubes to make it dramatic, and boom—your jar goes wild with color, bubbles, and steam. It looks like a lava lamp on fast-forward.
💡 The “Fire” Part
Nope, there’s no actual fire (thank goodness), but it looks like there is. The fizz tablet reacts with water and creates carbon dioxide bubbles that zoom upward through the oil. If you use warm water, it adds a little extra oomph—more bubbles, more drama. Toss in red and orange food coloring and it seriously gives off fire vibes.
❄️ The “Ice” Side
This is where it gets even better. You drop in a few ice cubes—ideally colored blue with food dye—and suddenly there’s this clash of hot vs. cold. It’s like watching a science battle in slow motion. The colder water sinks, the warmer stuff bubbles up, and the whole jar feels alive.
🚨 Kid-Friendly But Needs Supervision
Now, I’ve done this with my niece, and trust me—it’s a blast. But that fizzing action? It can overflow real fast if you go too heavy on the tablets. Keep paper towels nearby and maybe skip the carpet. It’s non-toxic, but still, no one wants to mop oil off the floor.
🧠 What’s Actually Happening
On the nerdy side (which I love), it’s all about density and polarity. Oil’s lighter than water, so it floats. Fizz tablets react with water—not oil—and release gas. That gas grabs the colored water and shoves it up through the oil. It’s basic chemistry, but it looks like magic.
And the best part? Every jar turns out different. You can’t totally control it, which makes it even more fun.
So yeah, that’s the lowdown on what the Fire & Ice Reaction in a Jar is. It’s flashy, fun, and way easier than it looks. Just don’t forget the water like I did—or you’ll be staring at a very boring jar.
🧴 Materials You’ll Need
If you’re anything like me, you hate when a DIY project calls for 17 obscure ingredients that you’ve never heard of—like, where do people even find powdered unicorn tears?! Thankfully, this Fire & Ice Reaction in a Jar is way more chill. You probably have most of this stuff in your kitchen already. And if not, a quick grocery run will do the trick. No fancy lab coats required.
🫙 The Basics (a.k.a. Non-negotiables)
Let’s start with the absolute must-haves. Without these, you’re just swirling liquids around in a jar for no reason.
- Clear mason jar or any glass cup – Gotta see the magic happen!
- Water – Regular tap water is fine.
- Vegetable oil – This is what gives the whole thing that lava lamp look.
- Food coloring – Red and blue make the “fire” and “ice” pop. Liquid works better than gel, trust me.
- Alka-Seltzer tablets or any effervescent tabs – These are the secret weapon for fizz and drama.
I once tried using some off-brand fizz tablets from the dollar store… and yeah, don’t. Stick to the name brand. They bubble way better.
❄️ Optional—but Seriously Cool—Add-Ons
If you wanna wow your kids, your students, or just your inner child, toss a few of these into the mix:
- Ice cubes – Especially if you can freeze them with a drop of blue food coloring for that icy look.
- Glitter – Makes it feel extra magical. Just… maybe don’t use it if you’re clumsy like me. I was finding glitter in my sink for a week.
- LED light base – Pop your jar on one of these and it’ll glow like a science fair trophy.
- Small funnel – Keeps things neat. Or not. Up to you.
🛑 Quick Tips to Save You a Cleanup Headache
- Lay down newspaper or an old towel. This baby can get messy if you get wild with the fizz.
- Don’t use hot water if you’re letting kids do it—warm is good enough.
- Avoid tall, narrow jars the first time. The reaction looks way cooler in a wide-mouth mason jar.
I actually once tried it in a wine glass (don’t ask why)—and while it kinda worked, I was scrubbing oil off my table for a good hour. Lesson learned.

🧫 Step-by-Step Instructions
You’ve got your supplies and maybe a small audience gathered. Let’s bring this jar to life. This Fire & Ice Reaction is all about layering, timing, and a little science flair. Here’s how I pull it off every time.
🧊 1. Add the Water Base
Start with about one-third of your jar filled with water. Not half. Not “eyeballed.” About a third—gives you room to work.
If you’re doing the icy theme, mix in a few drops of blue food coloring. Stir it gently so it looks like a frozen lake. For extra drama, freeze some of this dyed water into ice cubes ahead of time and drop those in later.
🫒 2. Layer the Oil
Now slowly pour in vegetable oil until the jar is around 90% full. The oil’s gonna float right on top of the water. That’s not a mistake—it’s density doing its thing.
Use a funnel if you’re worried about spills. Or just pour like your hand isn’t shaking. I’ve definitely over-poured before and ended up wiping oil off the side of the fridge.
🎨 3. Drop in the Color
Next up: food coloring. This is optional but c’mon—color makes the whole thing pop.
Drop a few blobs of red or orange food coloring on top of the oil. It won’t mix right away. It’ll fall slowly through the oil and burst into the water like a little lava bomb. That’s your “fire” effect.
Pro tip: Red on top, blue in the water = chef’s kiss for that fire and ice contrast.
💥 4. Trigger the Reaction
Now for the fun part. Grab an Alka-Seltzer tablet, break it in half, and drop it in. Then sit back and watch.
The reaction starts slow, then suddenly bubbles shoot up like they’re dancing. The fizzing pulls color up through the oil and then lets it drip back down. It’s like a lava lamp got a personality upgrade.
Want to keep it going? Wait for the fizz to settle, then toss in the other half of the tablet.
🧽 5. Clean-Up and Tips
- Let the jar settle before moving it. Hot tip: oil gets everywhere if you’re not careful.
- Put a towel or tray under the jar the first time you try it. Things bubble over quick if you get fizz-happy.
- Wipe the jar after it cools down. And maybe your countertop too. You’ll see.
🧠 The Science Behind the Magic
You know that moment when the bubbles start rising, the colors swirl, and you’re just like—how is this even happening?! Yeah, same here. I had to dig in and figure it out. Turns out, this isn’t just a pretty mess in a jar—it’s loaded with real science. Here’s what’s actually going down inside your bubbling masterpiece.
🧪 It’s All About Density
Oil and water are like that couple at a party who refuse to talk to each other. They just don’t mix. Water is denser, so it sinks to the bottom, and oil floats up to the top. That’s why you see that clear separation in the jar.
Now here’s the kicker: food coloring is water-based. So when you drop it into the oil, it sinks straight through and only starts to spread once it hits the water layer. That little color fall is chef’s kiss—and it’s pure density physics.
⚛️ Polarity—The Nerdy Side of It
Oil and water don’t mix because of something called polarity. Water molecules are polar (they stick together), and oil molecules are non-polar (they do their own thing). It’s like trying to get cats and dogs to cuddle. Not gonna happen.
So when you dump everything in the jar, you’ve basically built a science club with two cliques that refuse to hang out.
💨 What Makes It Fizz and Bubble?
Enter the Alka-Seltzer. This little tablet reacts with water to release carbon dioxide gas. That gas forms bubbles that have to go somewhere—so they shoot up through the oil. And as they go, they drag tiny blobs of colored water up with them.
Once those bubbles pop at the top, the heavier water droplets fall back down, and the cycle keeps going. You get this wild lava-lamp effect that’s 100% based on a simple acid-base reaction.
I didn’t expect to learn chemistry from a jar full of oil, but hey—here we are.
🌡️ Fire Meets Ice—Temperature Play
When you add ice to the mix, you’re not just making it pretty—you’re changing the reaction speed. Cold water slows down the fizz, warm water speeds it up. That’s why adding ice gives you those slower, thicker bubbles, while warm water turns your jar into a fizzy rave.
It’s a thermal contrast thing. Hot and cold water move differently, so when they meet, you get this layered, dramatic reaction. It’s not actual fire and ice, but your brain definitely thinks it is.
🎓 Why This Rocks for Learning
If you’re a teacher or homeschool parent, this is golden. You can use this one experiment to teach:
- Density and layering
- Polarity and why some liquids don’t mix
- Basic chemical reactions
- Temperature’s effect on reactions
- Observation and prediction skills
Plus, let’s be honest—it’s way more fun than memorizing stuff from a textbook. This is learning you can see.

🧠 Fun Variations to Try
Once you’ve done the basic Fire & Ice Reaction once, you’re gonna want to remix it. Trust me—I couldn’t stop. I started throwing in glitter, LEDs, changing colors… basically turning my kitchen into a mini science rave. Here are some fun tweaks to keep it fresh (and maybe even more explosive 👀).
🌌 Glow-in-the-Dark Magic
Okay, this one’s a hit at sleepovers and nighttime events. Add a little glow-in-the-dark paint or glow stick liquid into the water before you layer the oil. Then dim the lights, drop the fizz tab in, and watch your jar come alive.
One time I used green glow paint and it looked like a bubbling potion straight outta Hogwarts.
✨ Glitter Storm Edition
I know, glitter is risky. It gets everywhere. But for this? Totally worth it. Just a pinch into the water before you add the oil. When the reaction kicks in, the glitter dances through the bubbles like a sparkly storm.
Don’t go overboard though. I dumped half a bottle once and ended up with a glitter brick at the bottom. Not my finest moment.
🌈 Rainbow Reactions
Want to get artsy? Try layering food coloring in the water: blue at the bottom, then red drops in the oil. Or go full rainbow with a few small jars, each with different colors—then fizz them all at once.
Great for parties, science fairs, or just spicing up your TikTok feed. I had one where the jar looked like it was burping purple smoke. Instant reposts.
🎃 Holiday Themes
Get seasonal with it!
- Halloween: orange water, black glitter, green fizz = witch’s brew vibes
- Christmas: red and green coloring, plus some gold sparkle
- Valentine’s: pink, red, and heart confetti (if you’re brave)
You can totally use this experiment as table decor and entertainment.
💡 LED Base Drama
This one’s underrated. Set your jar on one of those little LED puck lights. I found a color-changing one at the dollar store. Makes the whole jar glow from underneath, like you’re running a science lab nightclub.
Bonus points if you do this one in a dark room with dramatic music playing.
🔄 Endless Combo Ideas
Once you understand how the basics work, you can mix and match forever:
- Use different oils (olive oil, baby oil) for subtle color changes
- Freeze mini objects inside the ice cubes for a treasure reveal effect
- Try shaped jars (hearts, skulls, beakers) for theme fun
And if something flops? That’s part of the fun. One time I tried colored vinegar instead of water… spoiler: didn’t fizz at all. But hey, live and learn.
If you’re still reading, then you’re probably just as obsessed with the Fire & Ice Reaction in a Jar as I am. And honestly? You should be. It’s simple, it’s stunning, and it sneaks in a whole lotta science without feeling like a lecture. Whether you’re doing this with your kids, your class, or just because you love watching stuff bubble, this experiment always delivers.
Here’s what I learned after doing it way too many times:
- Don’t overfill the jar (been there, mopped that).
- Half a fizz tablet is usually plenty.
- Warm water + red dye = fiery magic. Ice cubes + blue = frosty drama.
- And layering is everything. Seriously.
So go ahead—grab your jar, drop in that tablet, and watch the reaction unfold like a science show in a glass. Then? Snap a pic and pin it on Pinterest! This one’s a total showstopper and perfect for homeschool boards, classroom ideas, or even party inspo.
Tried a new version? Added glitter, glow, or themed colors? I’d love to see it. Tag your pins with something like #FireAndIceJar so we can all ooh and ahh together.
Happy fizzing, my friend. 🔥❄️


Love. It!
You’re a great chef of magic, thank you for sharing.
thank u
I’ll have to try this out with my grandson