Ever looked at a sunlit window and thought, “This needs some color!”? Well, DIY glue suncatchers are a fun, low-cost way to brighten your home while keeping kids entertained. In fact, did you know that over 70% of parents say crafts help their kids relax and focus? That’s huge! With just glue, lids, and a splash of color, you can make magical suncatchers that shine beautifully in the daylight.
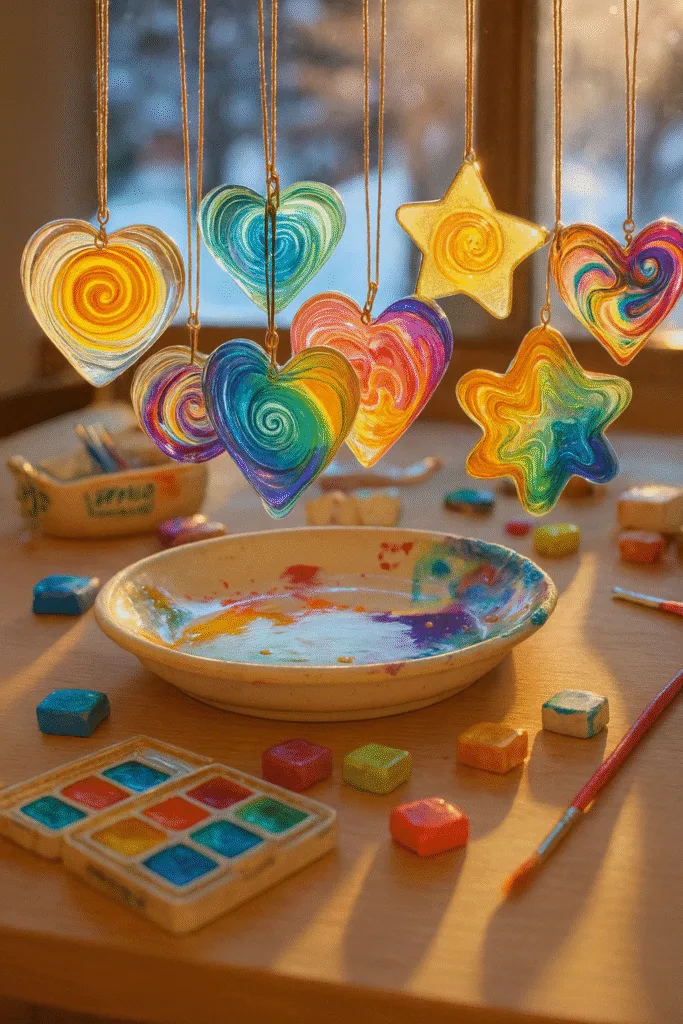
Materials You’ll Need for DIY Glue Suncatchers
Okay, confession time… the first time I tried making glue suncatchers, I completely forgot to use clear glue. I grabbed the old white school glue from our craft bin, thinking, “Glue is glue, right?” Nope. The colors came out super dull and chalky—like watching a rainbow through foggy glasses. So trust me when I say: clear glue is non-negotiable if you want those colors to pop in the sun.
Clear School Glue
This is your canvas, your foundation, your bestie in this whole project. I’ve tested a few brands, and Elmer’s clear glue works the best—it spreads evenly and dries with that beautiful glass-like finish. White glue does work in a pinch, but honestly? You’ll get way better results with clear.
Plastic Lids (Yes, Like From Your Yogurt)
Do not toss those yogurt or takeout lids! They make the perfect mold for your suncatchers. I actually have a stash in a drawer labeled “random craft stuff,” and these lids are always in there. Go for smooth, flat lids—those ridged ones just make it harder to peel the dried glue later.
Food Coloring or Liquid Watercolors
Here’s where the magic happens. I like to use basic food coloring—those little squeeze bottles you find in grocery store baking aisles. But if you’ve got liquid watercolors (especially if you’re homeschooling or teaching), those give such rich, vibrant color. Just a few drops do the trick.
Toothpicks or Skewers for Swirling
Let your inner artist out! Swirling the colors around is my favorite part. It feels like you’re creating tiny galaxies. But fair warning: kids will go ham on this part if you let them. So keep a few extra lids handy—they’ll want to make more.
Glitter (Totally Optional… But Not Really)
Okay, it’s optional. But why wouldn’t you want your suncatcher to sparkle like fairy dust? I use super fine glitter—it blends better and doesn’t sink like the chunky stuff. Just don’t sneeze while you’re adding it unless you want glitter in your eyebrows for three days.
Hole Punch or Skewer
Once it dries, you need a way to hang it up! I use a simple hole punch, but you can also gently twist a skewer through if you forgot (which I totally have—multiple times). Don’t stress if it cracks a bit; a dab of glue can fix it.
String or Ribbon
Go wild here. Use twine for a rustic vibe, ribbon for a pop of color, or fishing line if you want the suncatchers to “float.” We once used yarn… mistake. It frayed like crazy and just looked messy.
Pro Tip: Set everything up on a tray or parchment paper to avoid glue puddles on your table. I learned that one the hard way… my kitchen table still has a glittery glue spot from last summer.
Next time someone says crafts are messy, just nod and say, “Yep—but they’re also magical.”
Step-by-Step Guide: How to Make Glue Suncatchers
I’ll never forget the first time I actually nailed this craft. The glue swirled just right, the colors didn’t blend into a muddy mess, and the final result? Pure sunshine in a lid. But lemme tell you—it took some trial and error. So here’s my no-BS, tested-and-tweaked guide to making DIY glue suncatchers that actually turn out like the Pinterest pictures.
1. Lay Out the Plastic Lids
Start by finding a flat surface that you won’t mind babysitting for the next day or two. I always use a tray or a baking sheet lined with parchment paper—it makes cleanup so much easier and keeps the lids from sliding around. Trust me, glue plus table = permanent art.
Place your clean plastic lids face-up like little bowls. These are your molds. I’ve even used clear takeout lids for bigger pieces.
2. Pour a Thin Layer of Clear Glue
This part is trickier than it sounds. You want a nice even layer—not too thin or it’ll tear, not too thick or it’ll take forever to dry. I aim for about 1/8 inch deep. Just tilt the lid a little to spread it out if it pools weirdly. It’s kinda like pancake batter—get it smooth, but don’t stress about perfection.
3. Drop In Your Color
Here’s the fun part! Let your kids (or your inner kid) squeeze in 2–4 drops of food coloring. Don’t overdo it or it’ll just become a blob of sadness. If you’re using watercolors, a few drops from a pipette or small spoon works best.
Use different colors to experiment—blue and yellow for a tropical vibe, red and purple for a fiery sunset. Or just go rainbow. It’s foolproof.
4. Swirl With a Toothpick
Cue the “oohs” and “ahhs.” Take a toothpick or skewer and gently swirl the colors together. You don’t want to mix them—just swirl like marbling a cake. Go slow and let the patterns form naturally. My daughter once made one that looked exactly like Jupiter. I still have it hanging in my kitchen.
5. Sprinkle Glitter (If You’re Brave)
Totally optional, but I never skip it. Just a little sprinkle over the glue while it’s wet and it’ll dry in place. Pro tip: Tap the glitter from a high distance to avoid clumps. And maybe close the windows first unless you want your entire house to sparkle.
6. Let It Dry (This is the Hard Part)
Here’s where patience gets tested. Leave the suncatchers to dry undisturbed for 24 to 48 hours, depending on the thickness and room temperature. You’ll know they’re ready when they look completely clear and feel firm to the touch. No sticky spots.
I highly recommend putting them somewhere off-limits to curious little fingers—or pets. Learned that one the hard way when our cat walked across one and glittered her paws for a week.
7. Peel from the Lid
Once it’s dry, gently peel the suncatcher from the plastic. If it resists, don’t force it—let it sit a few more hours. If you used a smooth lid, it should come right out in one piece. And wow, that first peel is so satisfying.
8. Punch a Hole and Hang It Up
Use a hole punch to make a small opening at the top. Thread in your ribbon or string, then hang it in a sunny window and watch the colors come to life. Seriously—it’s like stained glass without the danger of broken glass.
Real Talk: I once rushed the drying part and ended up with a gluey disaster that slid down my window like a sad jellyfish. Don’t be me. Wait the full 48 hours if you’re unsure.
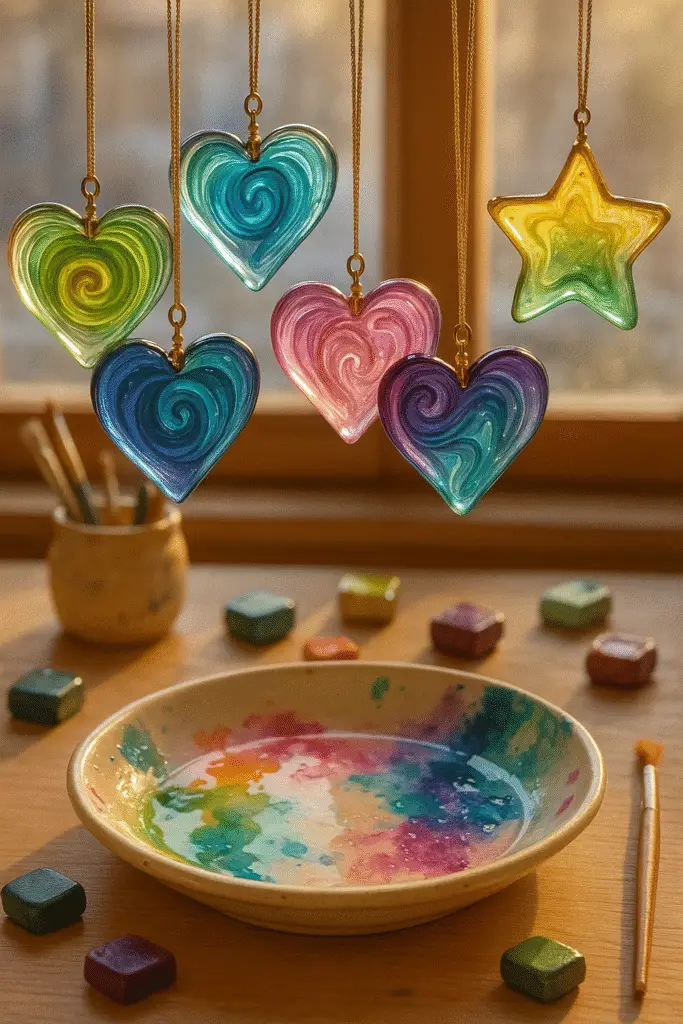
Creative Design Ideas for Suncatchers
Look, once you’ve made one glue suncatcher, it’s game over. You’ll want to make five more—each more wild and colorful than the last. I used to think they were just a quick kid project, but these turned into our go-to rainy day obsession. And once we started experimenting with themes? Oh man, we went full Pinterest-mom mode.
Here are some of the coolest ideas we’ve tried (and a few that totally flopped—but still looked pretty).
🌈 The Classic Rainbow Swirl
This one’s a no-brainer. Use all your food coloring—red, orange, yellow, green, blue, purple—and swirl it just enough to blend the edges without mixing too much. It ends up looking like a tie-dye window sticker. Bonus tip: Start with drops in a circle to create a sunburst pattern. It’s hypnotic.
✨ Galaxy Vibes
Black, blue, purple, and silver glitter. That’s it. Swirl them together gently and you’ll get a night-sky effect. We call these our “space catchers.” I even tried adding a star-shaped sequin once and it dried in place. Just don’t add too much black or it turns into a spooky blob (unless that’s your thing).
❄️ Seasonal Themes
We’ve made hearts for Valentine’s Day, snowflakes in January, and flower patterns in spring. You can guide the design by swirling intentionally or even using cut-out paper stencils under the clear lid to trace shapes with color drops. It’s a game changer for themed crafts.
One time we did a jack-o’-lantern face and it accidentally looked like a melted pumpkin. My son said it was “haunted” and loved it even more.
🌀 Abstract Marbling
If you’re more of a “let the art happen” type, just go abstract. No plan, no pressure. Drop random colors, swirl like crazy, and let gravity and time do the rest. These ones always surprise me. Some end up looking like coral reefs. Others… like spilled paint. But they always catch the light beautifully.
🟥 Bold Color Blocking
Want a cleaner, more modern look? Try color blocking. Use one or two bold colors—say, red and teal—and drop them in solid sections. Don’t swirl too much. When it dries, it almost looks like stained glass art. I gave one of these as a gift last year and it actually got framed!
Craft Hack: If you want cleaner shapes or sections, use a small brush or a plastic spoon to guide the glue and colors where you want them. I used an old nail polish brush once. Worked like a charm.
There’s really no wrong way to do this. Whether it’s a wild swirl or a carefully crafted flower, the way the sunlight hits those colors? Pure magic. And honestly, it feels like a little piece of joy hanging in the window.
How to Display Your Glue Suncatchers
Alright, you’ve got your suncatchers dried, peeled, and lookin’ fabulous. Now what? Time to show them off like the sparkly little masterpieces they are. And believe me, how you display them makes all the difference. I used to just slap them up on the window with tape (guilty), but once I tried some creative ways to hang them, it seriously elevated the whole look.
🌞 Classic Sunny Window Hanging
This one’s a go-to for a reason. Grab a suction cup hook (I got a pack of 6 for $4), punch a hole in the top of your suncatcher, and tie it up with string or ribbon. Hang it in a window that gets direct sunlight—morning sun is my fave. Watching the colors dance on the wall? Pure serotonin.
Oh—and if you’re using fishing line, it’ll look like the suncatcher’s floating. Fancy!
🧵 Create a Mobile
Okay, hear me out—this sounds more complicated than it is. Take a coat hanger or a wooden embroidery hoop, tie multiple suncatchers at different lengths, and boom: instant rainbow mobile. We made one for my daughter’s room and it’s gorgeous when the light hits it in the afternoon.
Pro tip: use suncatchers with lighter colors so the mobile doesn’t feel too heavy visually.
🖼️ Window Frame Collage
If you’ve got a bigger window or glass door, try clustering several suncatchers together. It creates this mosaic effect that looks super artsy. Use mini suction cups or even clear double-sided craft dots to attach them. I did this last Christmas with red, gold, and white suncatchers—it looked like a DIY stained glass window!
🎁 Give Them as Gifts
This was a happy accident. We made extras one year and my kids handed them out to grandparents with handwritten notes. Melted their hearts. Just thread with ribbon, add a tag, and you’ve got a homemade gift that actually gets used.
🔆 Hang Them Outdoors (Carefully)
If you’re feeling brave, you can hang these from a covered patio or balcony. Just be warned—too much moisture or direct rain can mess with them over time. I once tried hanging one on a tree branch… it lasted three days before a bird pecked at it. Still kinda worth it though.
Craft Fail Alert: I once taped one directly onto a window without punching a hole… and it melted in the summer heat. Like goo down the glass. So yeah—hang them properly and keep them outta extreme weather!
Bottom line? These little glue gems are meant to shine—literally. Hang them anywhere they’ll catch the light, and they’ll give you that warm, artsy glow every time you walk by.
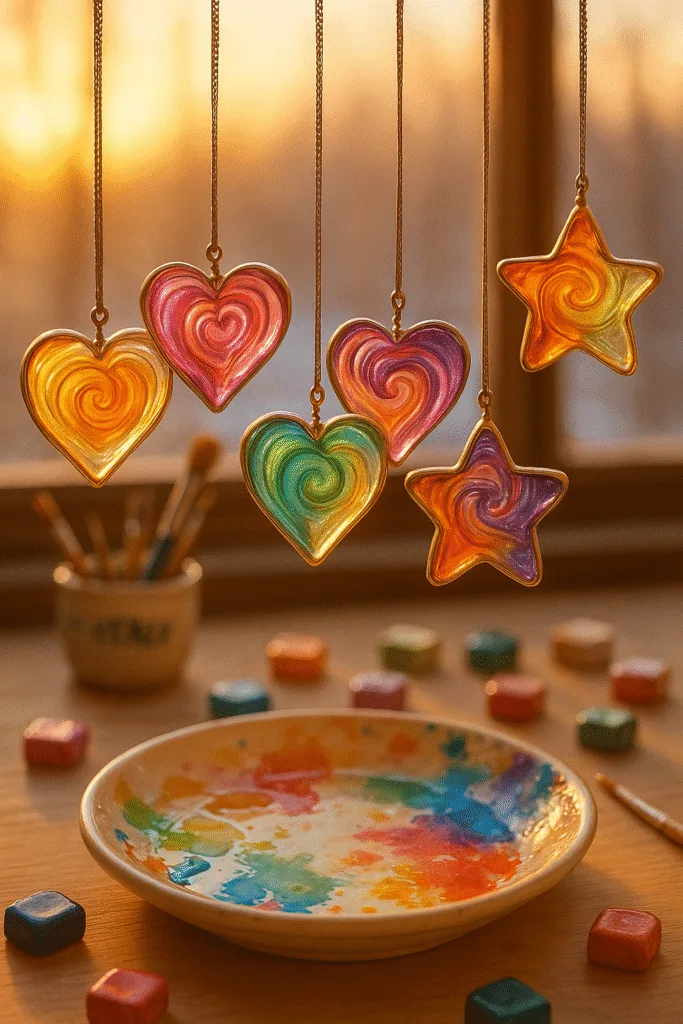
Project Notes & Tips
Alright, so here’s the part where I save you from gluey regrets and “why-is-this-still-wet” moments. Making glue suncatchers is super fun and low-stress—if you know what to expect. Otherwise, you’ll be poking the glue every 2 hours asking, “Is it dry yet?” (Been there.)
Let’s break it down.
🕒 Prep Time: 10 Minutes
Honestly, setting this up is faster than making a PB&J. Lay out your lids, pour the glue, drop the colors, swirl, sprinkle… done. Even with little helpers, this doesn’t take long. The real patience test comes later.
💤 Drying Time: 24–48 Hours
This is where people mess up. You can’t rush this. If you try to peel it too early, it’ll tear, warp, or stay sticky. I usually set them on a shelf and try to forget about them for two days. If it’s humid or your glue layer is thick, lean closer to 48 hours.
I once left one to dry on a sunny windowsill and it hardened in less than a day. That’s the dream, but it doesn’t always happen. Be patient.
🎨 Makes: 3–4 Suncatchers
One regular-size bottle of clear glue usually gets me about 3 or 4 medium lids (like from yogurt tubs). If you’re using wide takeout lids, maybe 2. I always keep an extra bottle on hand—nothing’s worse than running out halfway through a swirl session.
💡 Drying Tips
- Use a baking tray to move them around if needed
- Keep lids flat—any tilt and your designs will slide
- Ventilation helps a ton (fan on low nearby = faster drying)
- Don’t cover them! They need air, not humidity
⚠️ Troubleshooting (AKA Mistake Zone)
- If it tears when peeling: It wasn’t fully dry. Let it sit longer.
- If the glue cracks: Either it dried too fast or was too thin. Try a thicker pour next time.
- If it’s cloudy: You might’ve used white glue or cheap clear glue that fogs up.
- If the hole punch breaks it: Warm it slightly with your hand first—it makes it more flexible. Or use a skewer instead.
Real Talk: One time I used too much food coloring and the whole thing turned black. My kid said, “It looks like a galaxy… that exploded.” We kept it anyway. 😄
These project notes might not be glamorous, but they’re the secret sauce to making sure your glue suncatchers come out lookin’ like sunshine—not sad puddles. So take your time, enjoy the process, and remember: even the messy ones still sparkle.
So here we are—sticky fingers, sparkly tables, and a whole lotta color. Making DIY glue suncatchers isn’t just another craft project—it’s a little moment of magic that hangs in your window and says, “Hey, we made this.” Whether you followed the rainbow swirl route or went full abstract chaos (like I often do), you’ve created something that literally lights up your space.
I’ve done these suncatchers with toddlers, tweens, even my grumpy brother-in-law during a family weekend. They’re that simple and that satisfying. And you know what? Every single one turned out different. That’s the beauty of it.
So, next time you’re stuck inside on a rainy day or need a quick-but-awesome weekend craft? Grab the glue, lids, and color it up. Hang them in your windows and let the sunshine do the rest.
💌 Loved this craft?
Share your glue suncatchers on Pinterest so others can try it too! Snap a pic, write a quick caption, and pin it—you might just inspire someone else to turn their leftovers and glue into something sparkly. ☀️✨




Awesome
Absolutely love…