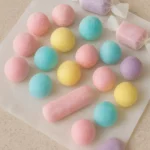
Ever wished you could hold a piece of the moon in your hands? 🌙 Well, now you can—sort of! DIY glowing moon rocks are a simple, fun, and sensory-friendly craft that kids (and adults) will absolutely love. With just a few pantry staples and some glow-in-the-dark paint, you’ll mix science and creativity into a magical activity that lights up playtime. Whether it’s for a rainy day project, a birthday party, or a space-themed adventure, glowing moon rocks bring wonder right into your home.
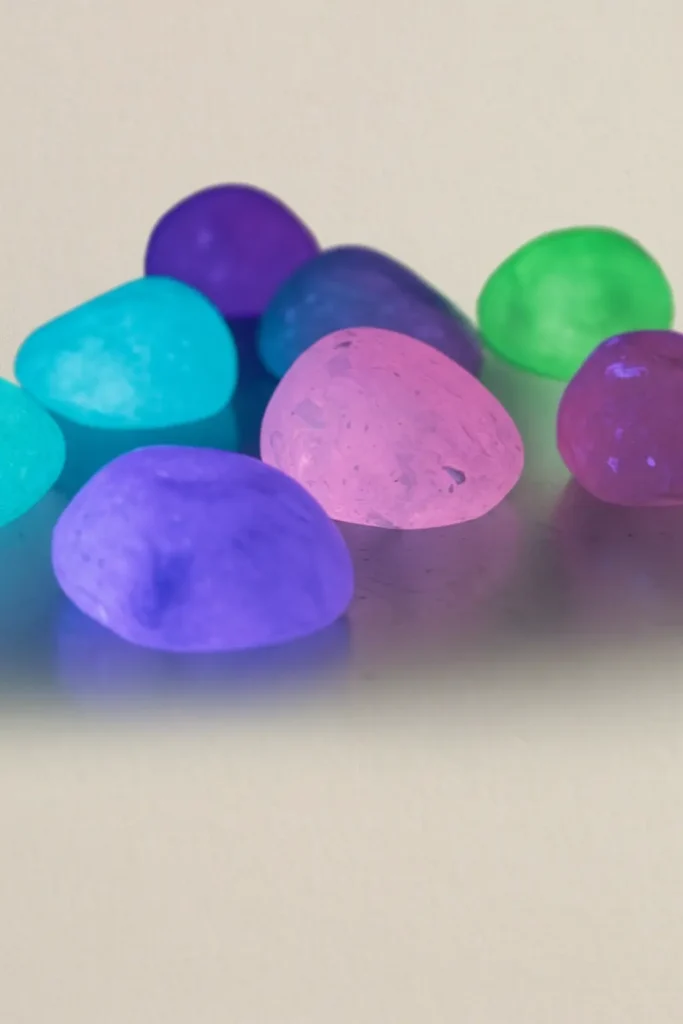
Materials You’ll Need for DIY Glowing Moon Rocks
When I first tried making glowing moon rocks, I thought I’d need some fancy craft supplies from a specialty store. Nope. Turns out, everything you need is probably sitting in your kitchen cabinet right now. The only “special” ingredient is the glow-in-the-dark paint, and honestly, that’s half the fun to shop for—my kids love picking out the brightest neon colors.
Pantry Staples That Work Like Magic
Flour, salt, and water—basically the holy trinity of kids’ crafts. If you’ve ever made homemade play dough, you know the drill. Flour gives the rocks their body, salt keeps them from being too soft, and water ties it all together. One time, I forgot the salt and ended up with these weird, floppy “rocks” that looked more like pancakes. Lesson learned.
Then there’s the oil. Just one tablespoon makes the dough smoother and way easier to shape. Skip it, and you’ll be fighting crumbly clumps that won’t stick.
Glow Paint – The Secret Ingredient
Glow-in-the-dark paint is where the magic happens. I’ve tried glow powder too, but paint is way easier for kids to mix in. Non-toxic is a must, especially if your little ones are still at the stage of sticking everything in their mouths. And don’t skimp on the paint. I once thought, “eh, two tiny drops will do.” Nope. The glow was so faint you had to squint in a pitch-black closet to see it. Stick with a solid 2 tablespoons for that bright lunar glow.
Tools You’ll Want on Hand
Nothing fancy here: just a mixing bowl and spoon. If you want to avoid a flour explosion on your kitchen counter (ask me how I know 🙃), use a plastic tray underneath for easy cleanup. Wax paper on a baking sheet also comes in handy if you’re drying them in the oven.
Kid-Proofing the Setup
This is optional, but I always lay out everything before calling the kids over. The one time I didn’t, my son grabbed the glow paint bottle and squeezed it like it was ketchup. Neon green handprints on the fridge? Yep, still there as a reminder.
👉 In short: gather flour, salt, water, oil, glow paint, a bowl, spoon, tray, and maybe some wax paper. Nothing intimidating. Half the fun is realizing you can make something so magical with everyday stuff.
Step-by-Step Guide to Making Glowing Moon Rocks
The first time I tried making these, I went in without reading any directions (classic me). Let’s just say my “moon rocks” looked more like lumpy biscuits. So here’s the step-by-step version I wish someone had handed me—less trial and error, more glowing success.
Step 1: Mix the Dry Ingredients
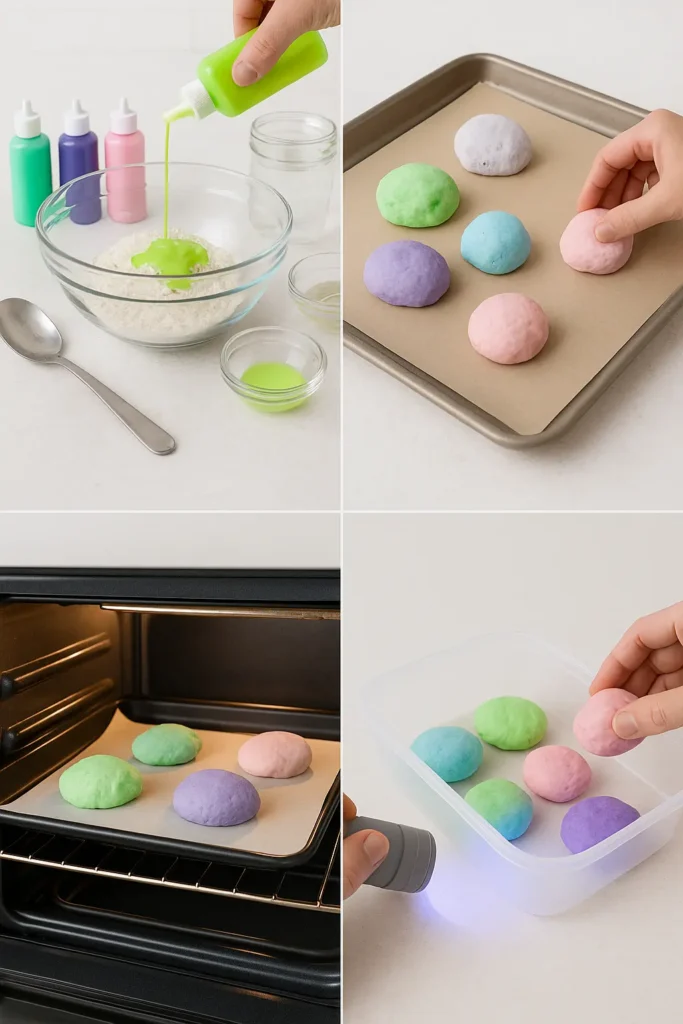
Start with one cup of flour and a quarter cup of salt. Easy, right? But here’s a tip—sift the flour first. I skipped that once and ended up with weird clumps that made my rocks bumpy. If you don’t care about the texture, skip it, but if you want smooth “meteor-style” rocks, it’s worth the extra 10 seconds.
Step 2: Add the Wet Stuff
Pour in ¼ cup water, 1 tablespoon oil, and 2 tablespoons of glow paint. Stir until it turns into a soft dough. This is where kids go wild. Mine always fight over who gets to pour the glow paint—it’s basically liquid magic. If the dough feels dry and crumbly, just drizzle in a little more water. If it gets too sticky (been there), add a sprinkle of flour until it feels just right.
Step 3: Shape Your Rocks
This part is pure fun. Roll the dough into little pebbles, chunky boulders, or even weird asteroid shapes. Don’t stress about perfection—moon rocks are supposed to look rugged. Once, my daughter shaped one like a heart, and honestly, it glowed so beautifully that we still keep it on her nightstand.
Step 4: Dry or Bake
Now, patience comes into play. If you leave them out on a tray lined with wax paper, they’ll dry in about 24–48 hours. But if your kids are like mine (zero patience), baking at 200°F for an hour or two works wonders. Just check every 15 minutes. I once forgot about a batch, and let’s just say we ended up with “burnt meteorites.” Still kind of cool, though.
Step 5: Charge and Glow
The last step is the payoff. Place your moon rocks under a lamp or in direct sunlight for at least 20 minutes. Then flick off the lights and—boom!—they glow like little galaxies in your hands. Watching my kids’ faces light up (literally) the first time was priceless.
👉 And that’s it! Simple steps, no special equipment, and a whole lot of glow. The hardest part is not making too many—you’ll suddenly have a mini “moon quarry” on your kitchen counter.
Tips for the Best Glow Effect
Here’s the thing about glow-in-the-dark projects: they can either be jaw-dropping or super underwhelming. I’ve had both outcomes. The first time I made moon rocks, I thought they’d light up like neon lanterns. Instead, they gave off this sad, faint glow that you could barely see unless your eyes adjusted for ten minutes. Since then, I’ve learned a few tricks to really make them shine.
Charge Them Like Crazy
Glow paint is like a rechargeable battery—it needs light fuel. I used to just hold mine under a regular lamp for a minute, but that barely worked. Now, I either stick them in direct sunlight for a couple of hours or blast them under a bright LED flashlight for 10–15 minutes. Huge difference. My kids actually fight over who gets to “charge” the rocks because they love seeing them soak up the light.
Go Bold with the Paint
Don’t be shy with the glow paint. I tried to “save” some once by adding just a few drops, and the rocks turned out super disappointing. Two tablespoons is the sweet spot for most batches, but if you want extra glow, add a little more. Bonus tip: neon green and blue always glow the brightest in the dark. Pink looks cool in daylight but doesn’t shine as much.
Size Matters
Smaller rocks charge faster and glow more evenly. Big chunky boulders look amazing, but the insides don’t glow much since the paint is mostly on the outer layer. If you want dramatic glowing orbs, make several medium-sized ones instead of one giant rock.
Add Sparkle
This one’s just for fun. One day, I tossed in a pinch of glitter, and wow—it looked like stardust trapped in the rocks. Totally optional, but if you’ve got a space-obsessed kid, they’ll think you pulled the stars straight from the sky. Just be prepared for glitter to travel everywhere (I’m still finding sparkles in my couch cushions).
Keep Expectations Real
Not every rock is going to glow like a flashlight. Some will be dimmer, some will shine like crazy—it depends on the paint, the light source, and honestly, a bit of luck. My tip? Make a bunch, then pick out your favorites for display or play.
👉 With the right prep—charging, bold paint, and maybe a sprinkle of glitter—you’ll get glowing moon rocks that really wow. The trick is treating them more like little science experiments than perfect craft projects. That’s where the magic happens.
Fun Ways to Play with Your Glowing Moon Rocks
Once you’ve got a pile of glowing moon rocks, the big question is: now what? My kids definitely don’t let them just sit on a shelf. These little glowing gems have turned into everything from treasure hunt loot to DIY night lights. Here are a few of the ways we’ve played with them (and some mistakes we’ve made along the way).
Space-Themed Scavenger Hunts
The first game we tried was hiding them around the living room, then turning off all the lights. The kids ran around squealing, “Found a meteor!” every time they spotted one glowing under the couch or behind a pillow. It was hilarious… until I forgot where I hid one and found it a week later inside a shoe. Pro tip: keep a mental map or you’ll be stepping on “asteroids” in the dark.
Sensory Bins and Play
Moon rocks make an awesome addition to sensory bins. We filled a big plastic tub with black beans (to look like outer space), then tossed in the glowing rocks. My youngest loved digging through the “galaxy” to find hidden treasures. If you’ve got toddlers, this one’s a huge hit—it keeps them busy for ages.
Party Decorations
We used them for my daughter’s space-themed birthday, and honestly, they stole the show. I scattered them across the table, dimmed the lights, and it looked like a mini galaxy. One mom asked if I ordered them online, and I had to laugh—nope, just flour, salt, and paint. The kids ended up taking some home as party favors, which was both adorable and convenient (fewer rocks for me to store).
DIY Night Lights
This one happened by accident. My son left a glowing rock on his nightstand after charging it, and it gave off just enough glow to calm him down at bedtime. Now he insists on having at least two “moon rocks” glowing by his bed every night. It’s not bright enough to read by, but it’s cozy and kind of magical.
Classroom or Learning Projects
If you’re a teacher or just love sneaking a little science into play, these rocks are perfect. We used them for a mini “space lab” at home, where the kids pretended they were astronauts collecting samples. It turned into a whole afternoon of pretend play, complete with a cardboard rocket ship.
👉 The beauty of glowing moon rocks is that they’re not just crafts—they’re invitations to play, imagine, and explore. Whether it’s a scavenger hunt, a party centerpiece, or a bedtime buddy, they bring a little extra magic to everyday moments.
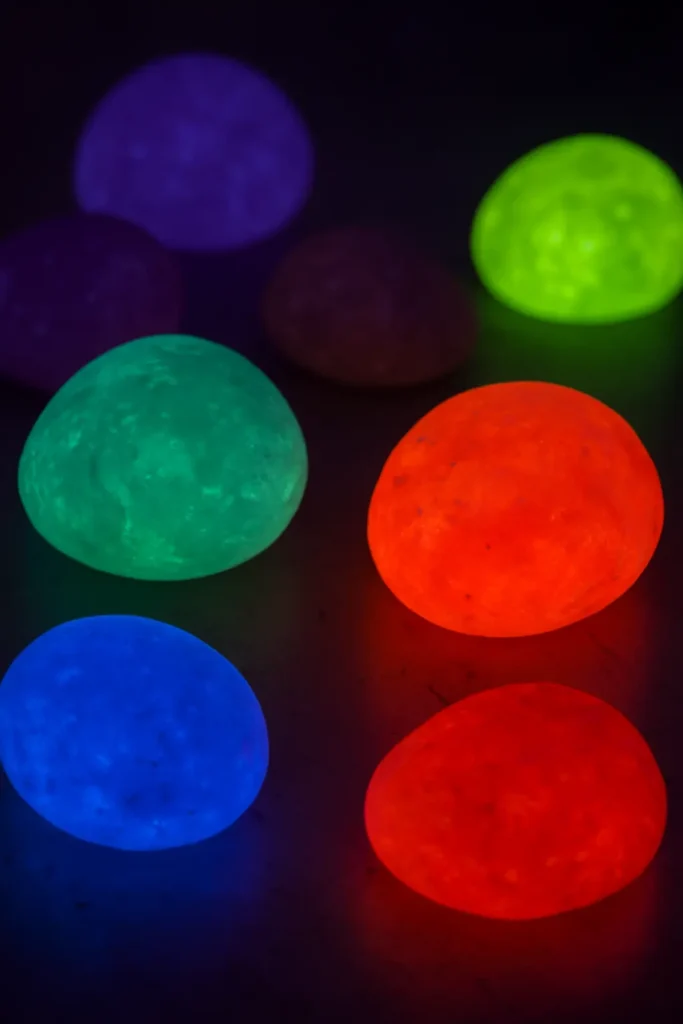
I’ll be honest—when we first made these, I figured it’d be a one-and-done craft. But glowing moon rocks have somehow stuck around in our house like old friends. They’ve survived scavenger hunts, birthday parties, and even a couple of “oops, it fell in the bathtub” moments. And every single time we charge them up and turn off the lights, the magic comes back.
The best part? They’re ridiculously easy. A little flour, a splash of glow paint, and suddenly you’ve got glowing treasures that can spark a whole evening of play. It’s the kind of craft that mixes science and imagination so smoothly that kids don’t even realize they’re learning along the way.
So if you’ve been looking for a rainy day project, a fun party idea, or just an excuse to play with something that glows—give these DIY glowing moon rocks a shot. Trust me, once you see them light up in the dark, you’ll wonder why you didn’t try it sooner.
And hey—don’t keep the glow to yourself! Pin this project on Pinterest so more families can join in on the magic. Because honestly, the world could always use a little more glow. ✨
PrintDIY Glowing Moon Rocks: How to Make Them at Home in 2025
Create magical, glowing moon rocks with your kids using simple pantry staples and glow-in-the-dark paint—an out-of-this-world sensory craft that combines fun, science, and creativity.
Ingredients
- 1 cup flour
- ¼ cup salt
- ¼ cup water (plus more as needed)
- 1 tablespoon oil
- 2 tablespoons glow-in-the-dark paint
- Optional: glitter for sparkle
Instructions
- Mix 1 cup flour and ¼ cup salt in a bowl. Sift the flour first for smoother rocks.
- Add ¼ cup water, 1 tablespoon oil, and 2 tablespoons glow-in-the-dark paint. Stir into soft dough. Adjust with more water or flour as needed.
- Shape dough into small rocks, boulders, or creative forms like hearts or asteroids.
- Let rocks dry on wax paper for 24–48 hours, or bake at 200°F for 1–2 hours, checking every 15 minutes.
- Charge finished rocks under bright light or sunlight for at least 20 minutes. Turn off the lights and enjoy the glow!
Notes
For the best glow, use bright neon paint and fully charge rocks in direct sunlight or under a strong LED. Add glitter for a starry effect. Smaller rocks glow more evenly and charge faster.


