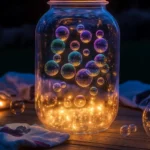
Ever wanted to bring a bit of science magic into your home? With a few common kitchen supplies and a splash of creativity, you can craft your very own Glowing Bubble Lamp that lights up the dark and fascinates everyone who sees it. This isn’t just another DIY—it’s a hands-on chemistry experiment that bubbles, glows, and sparks curiosity.
Did you know that baking soda and dish soap can create mesmerizing reactions? Throw in some color and light, and you’ve got a homemade lamp that looks like something straight out of a sci-fi movie. Whether you’re a parent looking for a weekend project, a teacher planning a fun science demo, or just someone who loves crafty light-up decor—this project is for you!
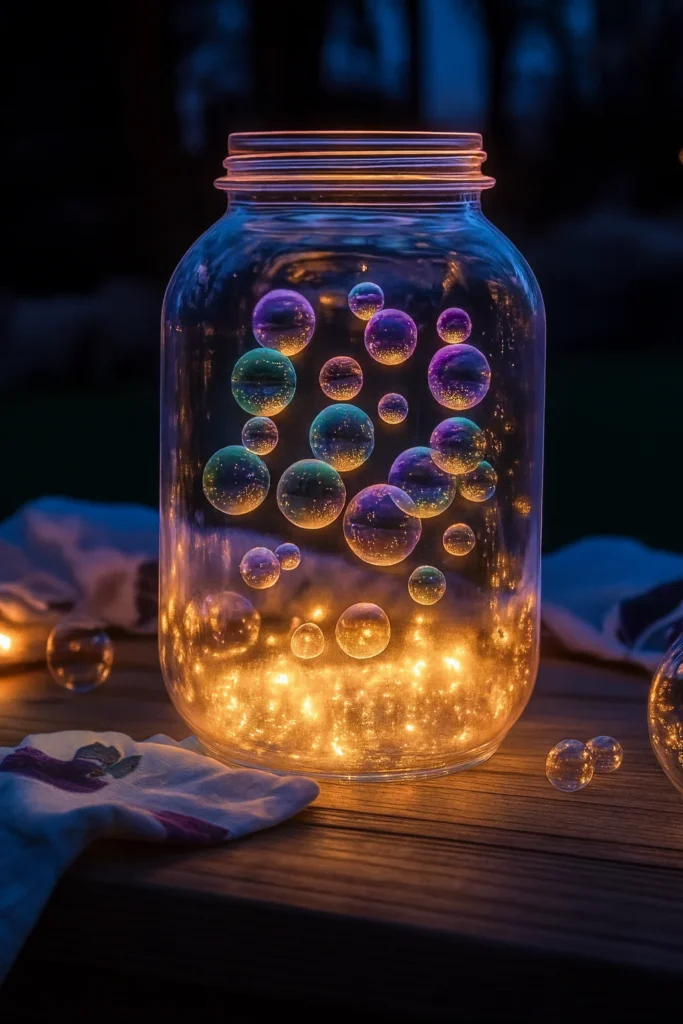
What Is a Glowing Bubble Lamp? (The Science Behind the Glow)
Okay, so before I show you how to whip one up, let me just geek out for a sec—because the glowing bubble lamp is not just some Pinterest-worthy DIY. It’s legit science. The first time I made one with my niece, I honestly thought, “How have I never done this before?!” It was like a lava lamp and a potion bottle had a magical baby.
So, what’s actually going on?
It all starts with baking soda. This stuff’s not just for cookies—it’s a mild base, and when it reacts with an acid (like vinegar, but we’re not using that here), it fizzes like crazy. In our lamp, the dish soap traps those little gas bubbles created by the chemical reaction and turns them into a foam party in a jar. The result? Glowy, bubbly magic.
Now toss in food coloring, and everything becomes a bit more hypnotic. Want neon pink bubbles? Go for it. Blue with swirls of green? Totally doable. I’ve even tried layering colors, which turned out looking like a galaxy in a bottle—straight up mesmerizing.
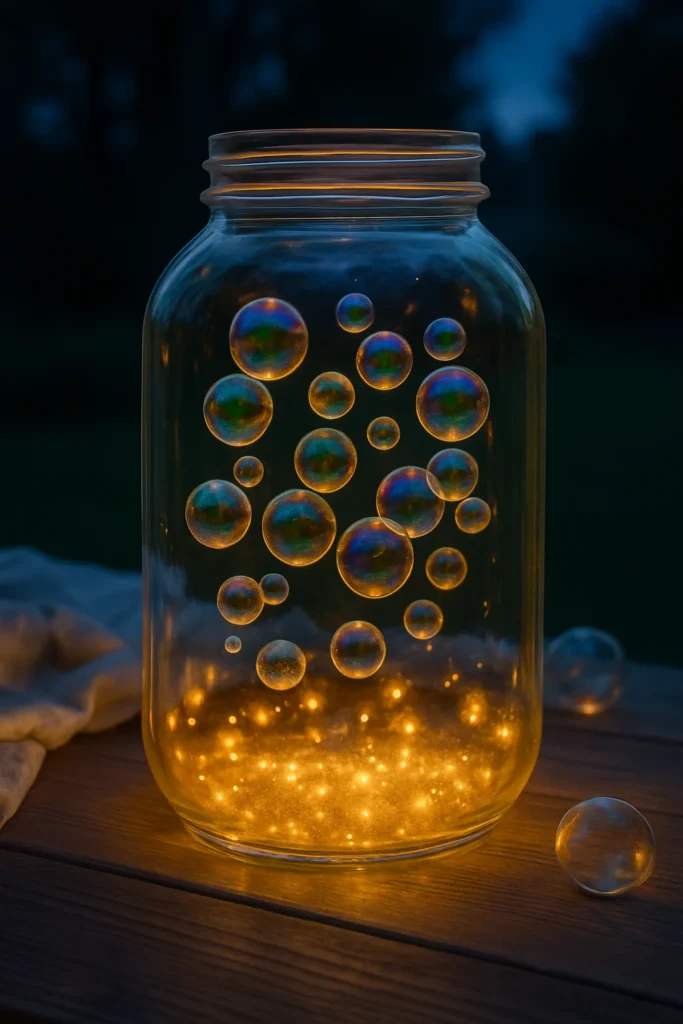
Then comes the kicker: the glow stick or LED light. My niece stuck a purple glow stick at the bottom of hers, and boom—instant sci-fi vibes. I’m not kidding, we sat in the dark just staring at it like moths to a flame. The glow bounces through the liquid and reflects off the bubbles, creating this surreal light show that looks way more complicated than it is.
Why do the bubbles glow?
Here’s the science-y part. When light hits the soap-filled bubbles, it reflects and refracts in all directions. Because the bubbles are transparent and moving, the light gets scattered in this really cool way—almost like a tiny disco ball. If you’re using an LED, the steady light source creates a more consistent glow, but if you use glow sticks, the light flickers a bit as the liquid inside mixes. It’s like watching live art.
Fun fact:
The same light-bending principle is used in fiber optics and even some nature—like fireflies. Not that we’re creating actual bioluminescence (I wish), but we’re faking it really well with kitchen chemistry.
I gotta say, if you’re looking for an entry-level STEM project for kids that feels more like play than learning, this is it. You get a dose of science, art, and sensory magic all in one bubbly jar.
Materials You’ll Need to Make One at Home
I used to think you needed fancy lab supplies to make something glow in the dark. Turns out? Nope. Just raid your kitchen and that junk drawer where random glow sticks go to die. You probably already have everything you need to make a glowing bubble lamp—which makes it even better, especially if you’re dealing with bored kids on a rainy afternoon.
Here’s what you’ll need (and why each one matters):
- 1 cup warm water – Warm, not boiling! Helps dissolve the baking soda faster.
- 1 tablespoon baking soda – This is your base, literally. It’s the key to making the bubbles form when the mixture reacts.
- 1 teaspoon dish soap – This traps gas into bubbles. More soap = foamier fun.
- 1–2 teaspoons food coloring – Totally optional, but come on… you need color for full visual effect.
- Clear plastic bottle or wide-mouth jar – Trust me, go with something see-through. You wanna see all the bubble action, right?
- Small LED light or glow stick – This is the magic maker. Either one works, but I found those little waterproof LED puck lights shine the brightest.
- Optional: straw – Want to go full mad scientist? Blow air into the mix for extra bubble chaos. My nephew went nuts with this.
My take after testing a few combos:
Skip tall, narrow bottles. The bubbles tend to stack and clog. A mason jar or recycled salsa jar gives way more visibility and room for the glow show. Oh, and if you’re buying glow sticks, don’t get the dollar store ones—half of them are duds.
One time, I grabbed a jar that had leftover glitter from a slime project. Accidentally created a disco lamp. Total win.
Keep the setup simple, especially if you’re doing this with younger kids. Let them pick the food coloring—that alone turns into a 10-minute debate in my house. “I want purple!” “No, galaxy blue!” 😂
Pro tip? Set up your glowing bubble lab on a tray or baking sheet. It will bubble over if your kid gets straw-happy. You’ll thank me later.
Step-by-Step Instructions (Kid-Friendly & Fun)
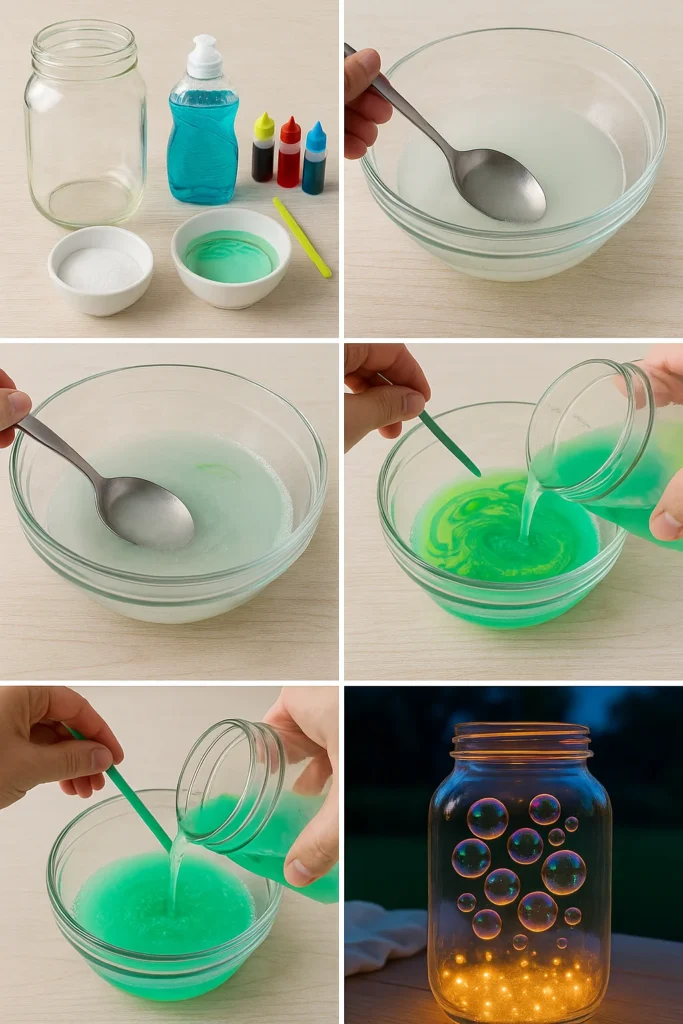
Alright, let’s get into the good stuff. If you’ve got your ingredients laid out, this whole process takes like 5 minutes—unless your kid turns it into an experiment in color mixing like mine did last week. 😂
Here’s how we do it:
1. Mix the warm water and baking soda
I usually just eyeball it into a bowl and stir with a spoon until it looks all dissolved. No clumps. If you hear fizzing already—slow down! You might’ve added something too soon.
2. Add the dish soap
This part is surprisingly satisfying. Give it a gentle stir so it doesn’t foam up too much yet. You’re building the foundation here. Soap = bubble magic. If you want a frothy lamp, go heavier on the soap.
3. Stir in the food coloring
Pick your poison—I mean, your palette. We went for a teal color last time and it looked incredible with a blue LED. Let the kids mix colors, just maybe keep the black food dye hidden unless you’re cool with goth bubbles.
4. Pour the mix into your clear jar
Fill it about halfway. Too full and it’ll overflow once the bubbles kick in. Too low and it’s just… sad. Like a tiny bubble puddle. Balance is key.
5. Drop in your glow stick or LED
Here’s the “oooooh” moment. I like LED lights best—especially the little submersible puck lights. You just twist them on and dunk ’em. But glow sticks work too—snap, shake, drop. Instant glow.
6. Optional: Use a straw to blow bubbles
My son’s favorite part. He goes full tornado mode, blowing nonstop until the lamp looks like a witch’s cauldron. It’s chaotic—but fun. Just make sure the straw is clean. Learned that the hard way once. 😬
7. Turn off the lights and enjoy!
Seriously. Kill every light you can and just watch. The bubbles catch the glow and swirl around like magic. It’s a surprisingly calming little light show.
Final tip? Record a video in slow-mo. Watching those bubbles move and glow like lava is weirdly hypnotic. And yeah, I may have posted mine to Pinterest with dramatic music. No shame.
Tips for the Best Glow Effect
Alright, I’ve made, like, a dozen of these glowing bubble lamps at this point. Some turned out amazing—others? Kinda looked like swamp water. 😂 So here are all the little tricks I’ve learned to make your lamp really shine, literally.
Use warm water—not hot, not cold
I totally melted a cheap plastic bottle once because I poured boiling water in thinking it would “supercharge the glow.” Nope. Warm water dissolves baking soda just fine and keeps everything safe and kid-friendly.
Add more soap for bigger bubbles
Want a lamp that foams like a lava fountain? Add a bit more dish soap. It creates thicker, longer-lasting bubbles. Just don’t go overboard or you’ll lose the light effect under a mountain of suds. Learned that during our “bubbles to the ceiling” experiment. Never again.
Go LED for the brightest light
Glow sticks are fun, but they’re dim and don’t last long. If you want something that lasts the whole evening (and maybe even doubles as nightlight decor), grab a small submersible LED light. The ones for floral arrangements work great. I keep a pack in my craft drawer now.
Layer your food coloring for a galaxy effect
My favorite combo: a few drops of blue, one drop of purple, and swirl lightly. It looked like deep space in a jar. You don’t have to mix it thoroughly—let the colors do their thing naturally. The less you stir, the more you get those wild color streaks.
Want sparkle? Add glitter (carefully)
Okay, don’t @ me for this. Yes, glitter can be messy. But if you add just a pinch of fine glitter, it floats in the bubbles and catches the light like stardust. Just don’t dump it in—it sinks and clumps. I learned that the sparkly sludge way.
Reuse and refresh
After an hour or so, the bubbles settle and the glow fades. Don’t toss it! Just stir it up again or drop in a fresh glow stick. I’ve even refrigerated a lamp and used it the next night. Still worked!
Honestly, the key is playing around. Every time you tweak the ingredients just a little, you get a new look. Some are vibrant, some are chill and pastel-like. And yes, I’ve 100% made one just for myself—no kids, just me, some snacks, and my glowy bubble jar.
Creative Variations and Experiment Ideas
Once you’ve made your first glowing bubble lamp, you’re gonna want to make, like, five more. Trust me. And that’s where things get really fun. After our third lamp, my kids and I started going off-script—and some of the results were straight-up awesome. Others… well, let’s just say we had a “black hole” incident with too much black dye. 😅
Neon & UV Color Experiments
We found this neon food coloring set at a craft store—total game changer. Under a blacklight? It looked like a rave in a bottle. If you’ve got a UV flashlight hanging around (or even a party blacklight), use it to amp up the glow. The brighter the color, the better the show.
Bottle Shape = Big Visual Difference
Tried using a tall wine bottle once (don’t judge), and the glow looked like a magic wand. On the flip side, short squat jars make the lamp feel like a little glowing cauldron. We even used a square glass vase one time—it looked like pixelated light in water. So cool.
Glitter Galaxy
Okay, this is my favorite. Add a pinch of fine glitter and swirl the colors gently—don’t mix. The glitter floats with the bubbles and gives a “galaxy in motion” effect. Blue, purple, and a little silver glitter = instant space vibes. The kids called it the “Milky Way jar.”
Straw Bubble Towers
Let the kids blow into the lamp with a straw and you’ll get a mountain of glow bubbles. Just remind them to blow, not sip. (Yes, someone sipped once. No, it wasn’t me. Maybe.) It’s chaos, but super fun for messy play.
Theme Ideas (Great for Holidays & Parties):
- Halloween: Use orange glow sticks + green dye = creepy swamp lamp
- Ocean Vibes: Teal and blue dye, shell stickers on the jar
- Unicorn Magic: Pink, purple, and glitter like there’s no tomorrow
- Fire & Ice: Half red bubbles, half blue (layer carefully)
- Science Fair: Label the jar with fun facts and “Glow Reaction in Progress”
Honestly, it’s one of those projects you can remake for any season or mood. We even made “grumpy” lamps with dark purples and greens for when someone had a rough day. Somehow, blowing bubbles in a glowing jar just… helps.
And there you have it—your own little laboratory of light and bubbles, made from stuff you already had lying around. Whether you followed the classic method or went wild with glitter and galaxy themes, a glowing bubble lamp isn’t just a DIY—it’s an experience.
It’s science, it’s art, and honestly, it’s just plain fun. Kids get hands-on learning. Grown-ups get some serious Pinterest-worthy vibes. And hey, if your kitchen turns into a mini science lab for an hour, that’s part of the magic.
So next time you’re stuck indoors, planning a party, or just in need of a mood lift, whip up a batch of bubble magic. Try new colors. Use different jars. Toss in LED lights and let your creativity shine.
✨ Now it’s your turn! Made a glowing bubble lamp you’re proud of? Share it on Pinterest and tag it with #GlowingBubbleLampDIY so we can see your creation glow! ✨
PrintDIY Glowing Bubble Lamp: Make Your Own Magical Light Show at Home (2025)
A DIY science-meets-art project that uses kitchen chemistry to create a glowing, bubbling light show in a jar. Fun, educational, and mesmerizing for kids and adults alike.
Ingredients
- 1 cup warm water
- 1 tablespoon baking soda
- 1 teaspoon dish soap
- 1–2 teaspoons food coloring
- Clear plastic bottle or wide-mouth jar
- Small LED light or glow stick
- Optional: straw for blowing bubbles
Instructions
- Mix the warm water and baking soda until dissolved.
- Add the dish soap and gently stir.
- Stir in the food coloring of your choice.
- Pour the mixture into your clear jar, filling it halfway.
- Drop in a glow stick or submersible LED light.
- Optional: use a straw to blow air into the mixture for extra bubbles.
- Turn off the lights and enjoy the glowing bubble lamp!
Notes
Use warm—not hot—water for safety. Go heavier on the soap for a foamier effect. LED lights work best for long-lasting glow. Add glitter or layer food coloring for fun variations. Set the jar on a tray to catch any overflow.

