Have you ever seen your kid completely mesmerized by something squishy and fluffy? That’s the magic of DIY foam dough—a super simple, hands-on activity that turns everyday ingredients into hours of creative fun. With just cornstarch and shaving cream, you can whip up a batch in minutes. According to early childhood educators, sensory play boosts motor skills and encourages imaginative thinking. Let’s dive into how you can bring this soft, sculptable joy into your home—with a little help from your pantry!
What Is DIY Foam Dough?
Okay, so let me tell you how I stumbled into the wonderful squish-fest that is DIY foam dough. It was a rainy Saturday, I had two bored kids, a clean house I wanted to keep clean, and no patience left for glitter explosions or finger paint disasters. I Googled something like “easy sensory activity” and boom—foam dough popped up. Two ingredients? No cooking? I was skeptical but desperate.
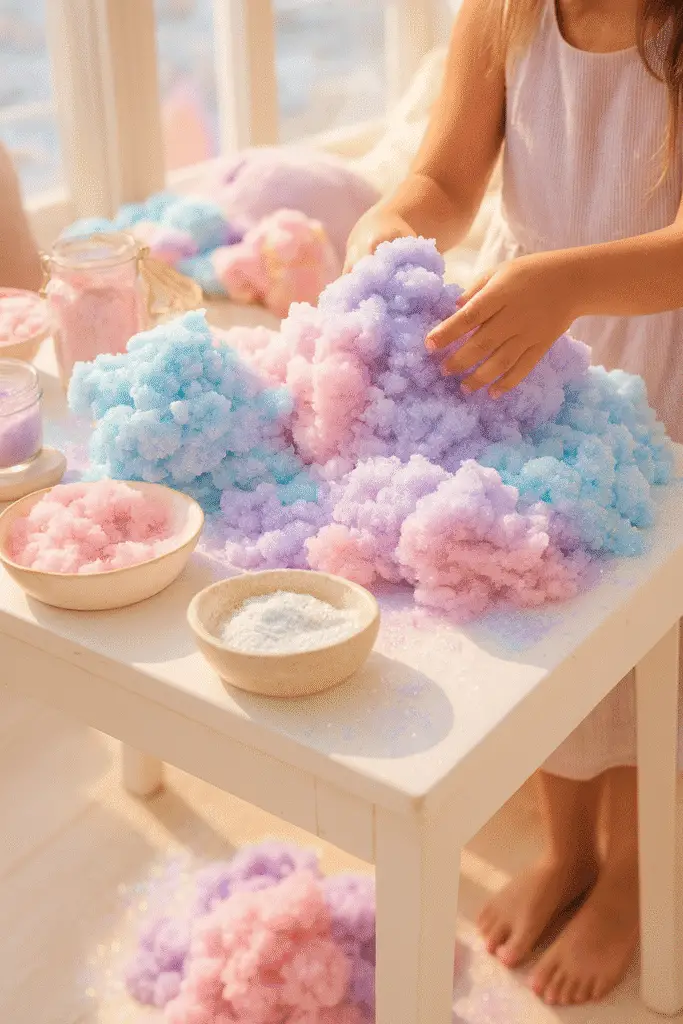
So what is this stuff? Basically, it’s a magical combo of shaving cream and cornstarch that turns into the fluffiest, most moldable dough you can imagine. It’s not quite like slime, not quite like playdough—it’s like if a cloud and a marshmallow had a baby. And the best part? You probably have everything you need sitting under your bathroom sink and in your pantry.
Why It Works for Kids (and Honestly, Adults Too)
The texture is what makes it such a hit. It’s soft, squishy, and a little cool to the touch. If your kid is into anything messy, tactile, or “gooey,” this’ll be a home run. My youngest actually said, “It feels like whipped cream but more fun.” Honestly? Pretty accurate. We spent an hour just pressing it into cookie cutters and pretending to make “magic pancakes.”
It also doubles as a sneaky learning tool. While they’re squishing and rolling and shaping, they’re working on fine motor skills, hand strength, and creativity. I didn’t even realize how educational it was until my kid’s occupational therapist mentioned she uses it in sessions!
Is It Safe?
Short answer—yeah. Long answer—it’s made from non-toxic ingredients, but you probably shouldn’t let them eat it. (Although one of mine did try… and learned quickly that shaving cream tastes nasty.) That said, always supervise littles just to be safe, especially if they’re still in the “everything goes in my mouth” phase.
Pro Parent Tip:
If you’ve got a sensory-sensitive kid, introduce it slowly. Maybe just let them poke it with one finger at first. And definitely skip the glitter if you’re not up for a full-on sparkle invasion.
So now when I say “DIY foam dough,” I’m talking about more than just a mix of ingredients—it’s an afternoon of peace and creativity in a bowl. And for me, that’s a win every single time.
Ingredients You’ll Need
The first time I made DIY foam dough, I was honestly shocked at how simple it was. Like, two ingredients simple. I kept reading the recipe thinking I was missing something. Nope—it really is just cornstarch and shaving cream. That’s it. No fancy flour, no boiling water, no obscure oils that cost $12 at a craft store. Just good ol’ pantry and bathroom basics.
The Essentials
- 1 cup cornstarch – This is the base that gives the dough structure. It’s that silky white powder you probably only use for gravy and then forget about.
- 1 cup shaving cream – Make sure it’s the white, foamy kind. Gels won’t work. I tried once with a blue gel shaving cream, and all I got was a slimy mess that looked like something from a horror movie. Stick with the classic barbershop-looking stuff.
These two are your heroes. Just mix them together, and boom—you’ve got a fluffy, moldable dream in a bowl.
Fun Extras (Totally Optional… but Totally Fun)
Once you’ve nailed the base, you can start adding in the extras. Here’s what I keep on standby:
- Food coloring – Just a few drops will give you pastel vibes. Too much and your kid might look like they got into a paintball fight.
- Glitter – It makes the dough sparkle, but beware: glitter multiplies like rabbits. Use sparingly if you value your sanity.
- Kid-safe essential oils – A drop or two of lavender or lemon can make the dough smell amazing. Honestly, it makes me want to play with it more.
Pro Tip from My Kitchen Disaster Journal:
Always mix the shaving cream into the cornstarch—not the other way around. Trust me, it’s way less messy. I learned this the hard way when I dumped cornstarch into a bowl of shaving cream and it puffed up like a science fair volcano.
Also, don’t worry about exact measurements. Foam dough is forgiving. If it’s too sticky, add a little cornstarch. Too crumbly? More cream. You’ll know when it feels right—it should be fluffy, but hold its shape when molded.
Now every time I open the cupboard and see cornstarch, I smile. Not because I’m thinking about thickening sauces, but because I remember how much joy came from one afternoon and two simple ingredients.

Step-by-Step Instructions
Okay, now we’re getting to the good stuff—actually making the dough. This is where the magic happens. And listen, I’m not a crafty Pinterest mom by any stretch (my idea of “creative” is letting the kids use stickers and markers), but even I couldn’t mess this one up. If I can do it, you totally can too.
Step 1: Dump and Squirt
Start with a big mixing bowl—trust me on this. I once used a cereal bowl and ended up with foam dough stuck in my watch, under my nails, and somehow in the dog’s fur. Pour in 1 cup of cornstarch, then squirt in 1 cup of shaving cream right on top.
I usually eyeball it, but if you’re more precise, go ahead and measure. The ratio is 1:1, but again, this recipe is pretty forgiving.
Step 2: Mix It Up
You can start with a spoon, but let’s be real—you’re gonna end up using your hands. That’s half the fun anyway. Squish, fold, knead. It’s kinda like making biscuits, except fluffier and way more satisfying.
You’re looking for a texture that’s light, pillowy, and moldable. Not soupy. Not dry. Somewhere in between. If it’s sticky, sprinkle in a little extra cornstarch. If it crumbles, add a small squirt of shaving cream and knead again.
Step 3: Add the Fun
Once your base is just right, now’s the time to let the kids go wild:
- A few drops of food coloring? Boom, rainbow dough.
- Some glitter? Now it’s unicorn sparkle dough.
- A little lavender oil? Calming bedtime dough (my personal fave).
Just a warning—once you add color, you may want to wear gloves. Unless you’re cool walking around with green Smurf hands for the day. I wasn’t. My toddler thought it was hilarious though.
Step 4: Play Time!
That’s it. You’re done. Roll it, pat it, squish it flat. Grab some cookie cutters, plastic knives, even measuring spoons. My kids love pretending they’re baking cupcakes with it. One time, they made “foam pizzas” and insisted on delivering them room to room. Honestly, it kept them busy for two solid hours. That’s worth gold in my book.
Clean-Up? Surprisingly Chill.
If it gets on the table, a quick swipe with a damp cloth does the trick. Just don’t let it dry on clothes or carpet unless you want to explain why your rug is now “crunchy.”
So yeah, that’s all it takes. Just dump, squirt, squish, and play.
Creative Ways to Play With Foam Dough
Once you’ve made a batch of DIY foam dough, the real fun begins. Honestly, the possibilities are endless—and I say that as someone who has watched their child turn a blob of dough into a “dragon’s pancake castle.” (Don’t ask. I didn’t.)
Cookie Cutters Are Your Best Friend
I raided our baking drawer and pulled out every cookie cutter we had—stars, hearts, dinosaurs, even a lopsided gingerbread man. Turns out, foam dough works beautifully with these molds. The kids love pressing them in and peeling the shapes out like they’re doing magic.
Tip: Let the dough rest for a minute before cutting shapes. It holds form better and doesn’t stick as much.
Roll It, Ball It, Squish It
Some days, the fancy toys stay in the drawer and we just roll little balls, squish them flat, stack them into towers, or smash them just for the sensory feel of it. And you know what? That’s enough. It’s calming. Even I find myself zoning out and rolling little “dough marbles” when the kids aren’t looking.
Pretend Food Is a Hit
My daughter once made a whole “bakery” setup. There were foam cupcakes, cookies, and a very sad-looking hotdog. But she was proud, and I swear she spent over an hour selling “treats” to her stuffed animals. This stuff is perfect for pretend kitchens, play cafes, or dramatic play setups. It’s soft enough to mold but firm enough to hold simple shapes.
Sensory Play Bins
If you’ve got a plastic tub, toss in some foam dough, a few spoons, toy animals, or small tools. Bam—instant sensory bin. One time I hid tiny dinosaur figures inside the dough and turned it into a “fossil dig” activity. That was a huge hit. Bonus: it also became an excuse to teach about dinosaurs without anyone realizing it was educational.
Learning Through Play (Sneaky, Right?)
- Form letters for early literacy practice
- Make numbers and count them
- Shape animals and talk about habitats
It doesn’t have to be Pinterest-perfect. The messier and sillier it is, the better the engagement.
Unexpected Hit: Foam Dough Storytime
One rainy afternoon, I pulled out a book and we read it while playing with the dough. As we read, the kids tried to shape the characters or scenes from the story. It was chaotic, hilarious, and surprisingly effective at keeping them focused.
If you’ve never seen a foam dough taco with a googly eye in it, you’re missing out on peak creativity.
Clean-Up & Storage Tips
Let me be honest—I hate messy crafts. There, I said it. I love the idea of sensory play, but the moment glitter touches the floor or dough ends up in the dog’s fur, I start to twitch. That’s why I was so pleasantly surprised by how low-maintenance foam dough actually is.
Storage That Saves the Dough (and Your Sanity)
First time we made foam dough, I figured it would dry out within an hour and I’d toss it. But nope! It actually keeps pretty well—just toss it in an airtight container or a ziplock bag. I’ve kept batches fresh for up to 48 hours, sometimes longer if you add a little extra shaving cream the next day to fluff it back up.
Here’s what I’ve learned:
- Store in a Tupperware-style container with a solid seal
- Add a few extra spritzes of shaving cream if it starts to dry or crumble
- Keep it in a cool place (not under a sunny window unless you want foam soup)
Honestly, that last tip was learned the hard way. I left a batch on the windowsill. It became… a weird pancake of sadness.
Quick Clean-Up Tricks
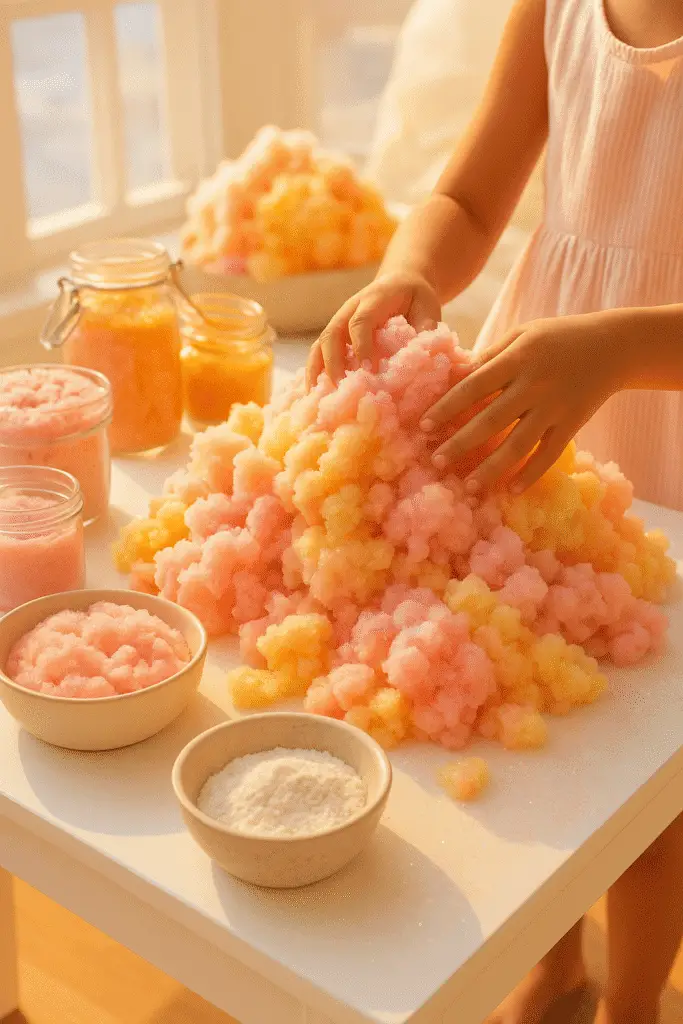
This part is my favorite—foam dough wipes up like a dream. When playtime’s over, just grab a damp cloth or paper towel and swipe up any residue. The texture is dry enough that it doesn’t smear like paint or get oily like slime.
A few real-world lessons:
- Don’t let it dry completely on the table—it turns into crusty flakes that take more elbow grease
- Avoid carpet play unless you enjoy scrubbing weird white patches out of the fibers
- If it hits clothes? Shake it out before washing. Trust me, it won’t stain, but it can clump in the wash if left in big blobs
What About the Glitter?
If you added glitter (you brave soul), expect a few sparkles to linger. I now refer to them as “joyful parenting confetti.” You can cut down the sparkle spread by using a plastic play mat or old sheet under the play area.
Bonus Mom Hack:
Keep a roll of masking tape nearby. A quick dab with sticky tape pulls up leftover dough bits from rugs, couch cushions, and yes—your toddler’s hair.
So while most crafts leave your kitchen looking like a war zone, DIY foam dough is the unicorn of sensory play—easy to make, super fun, and shockingly easy to clean up. That’s a win in my book any day.
So here’s the deal: if you’ve got cornstarch, shaving cream, and a restless kid (or two), you’ve already got everything you need for a seriously fun, low-stress afternoon. DIY foam dough isn’t just a quick craft—it’s a squishy little lifesaver.
It’s the kind of activity that feels like cheating because it’s that easy. But the smiles? The giggles? The tiny masterpieces shaped into wonky hearts and glittery dinosaurs? Totally priceless. I’ve done this on rainy days, sick days, even right before dinner just to stop the whining for 20 minutes. It works.
And cleanup? A dream. No food dye explosions, no stuck-on glue. Just soft dough and soft memories.
If this fluffy, no-fuss craft saved your afternoon too, go ahead and pin it on Pinterest—share it with other parents, teachers, babysitters, or anyone who needs a go-to activity that actually delivers.
Because let’s be real—we’re all just out here trying to keep our kids entertained without destroying the house.


