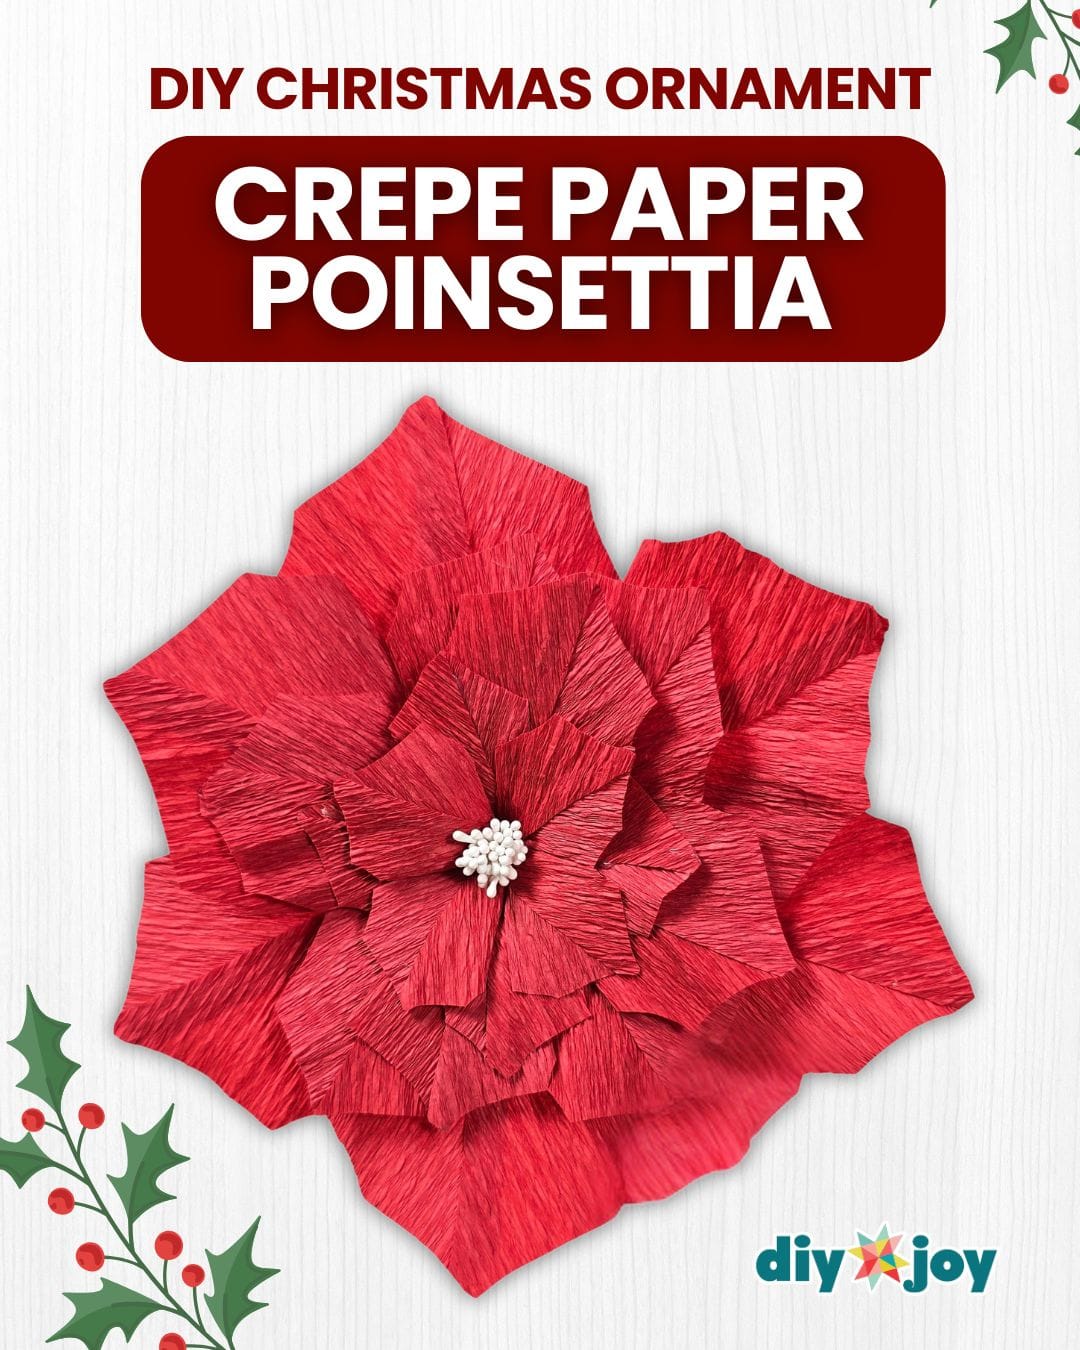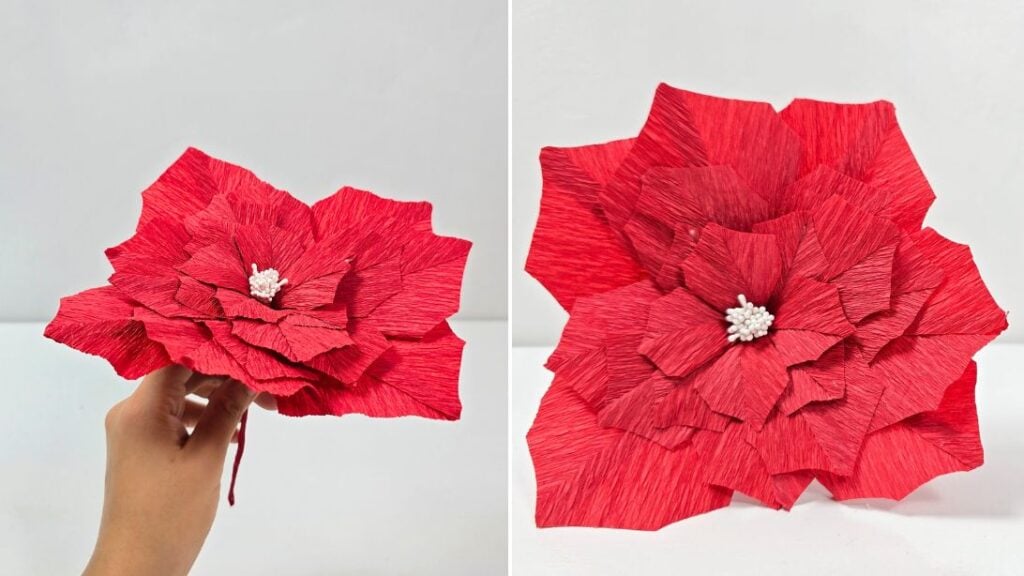
Christmas is just around the corner, and by now, I’ve made several DIY Christmas ornaments that are scattered all over my home. They instantly add a festive vibe and make every corner feel warm and holiday-ready. Among all the decorations I’ve created over the years, a few have earned a special spot on my favorites list — and one of my top picks is this stunning crepe paper poinsettia.
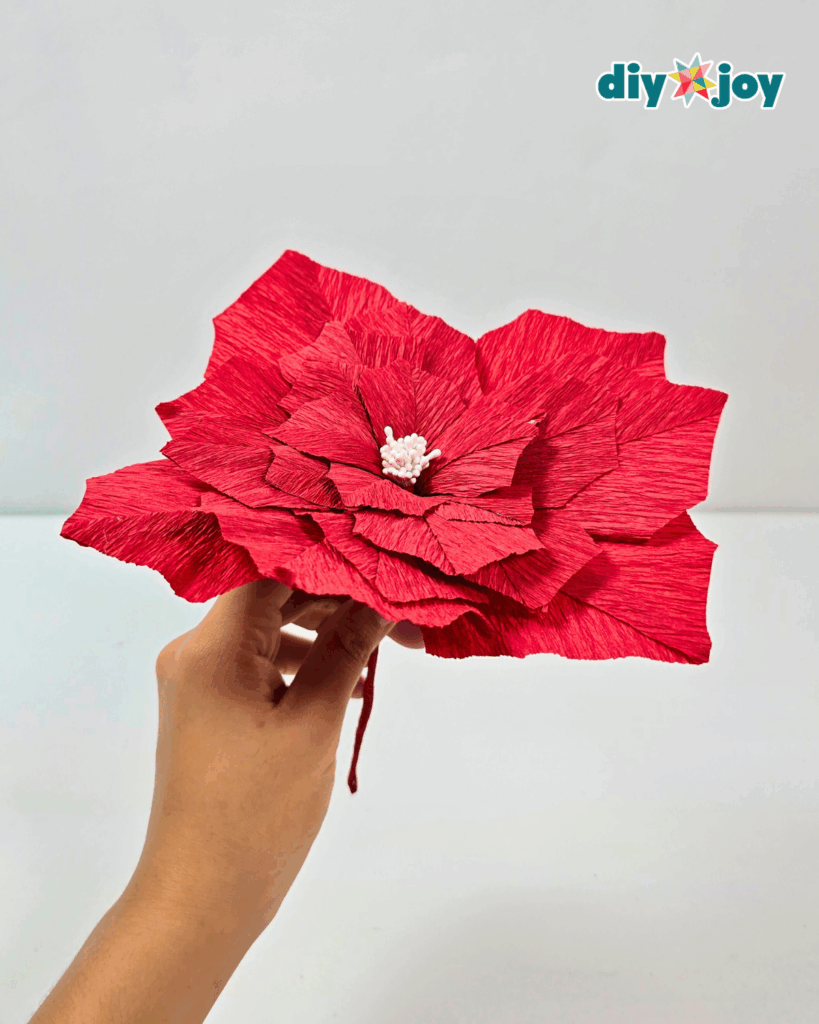

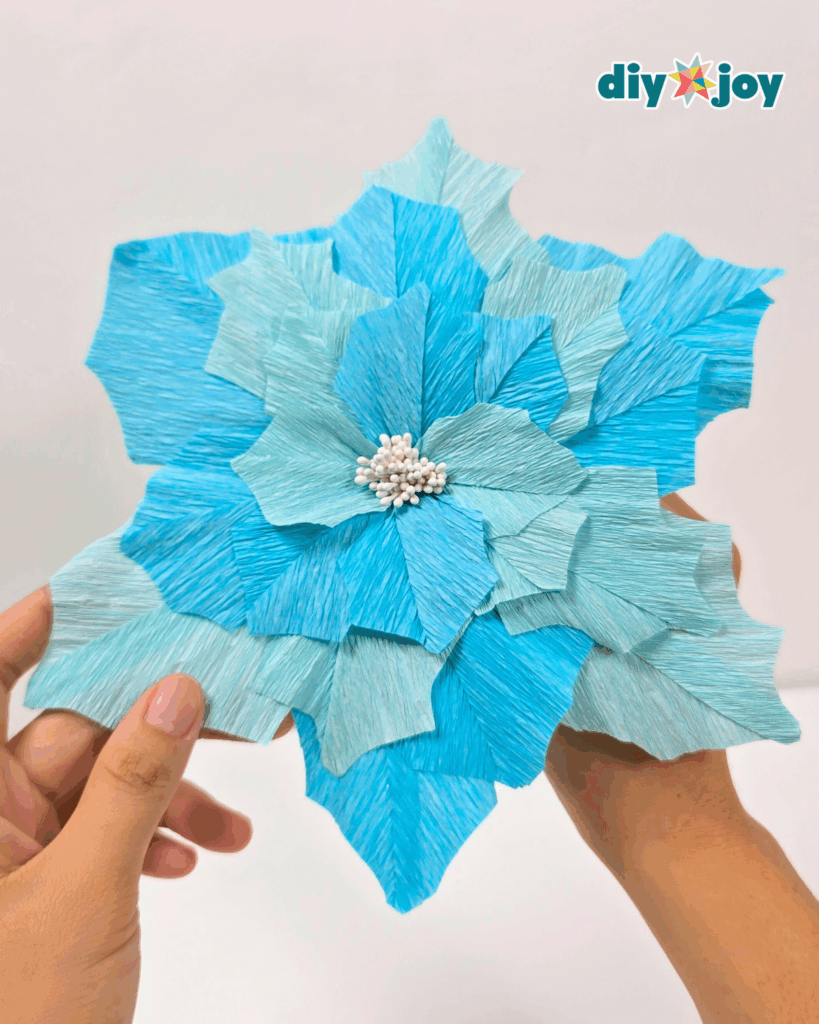
What I love most about this craft is how realistic it looks — it’s almost like holding a real poinsettia! The attention to detail is incredible, and the best part is you can make them in a variety of colors to match your holiday decor. These flowers aren’t just for your Christmas tree; they can beautifully adorn your holiday table, top a gift, or even fill a gift bag if you’re feeling extra creative.
RELATED: DIY Christmas Ornaments | Glitter Foam
This project is also very budget-friendly. A single roll of crepe paper can yield multiple poinsettias, and you can finish a few flowers in just one sitting. With a little time and patience, you could even complete a whole bouquet in a day — perfect for gifting or decorating your home.
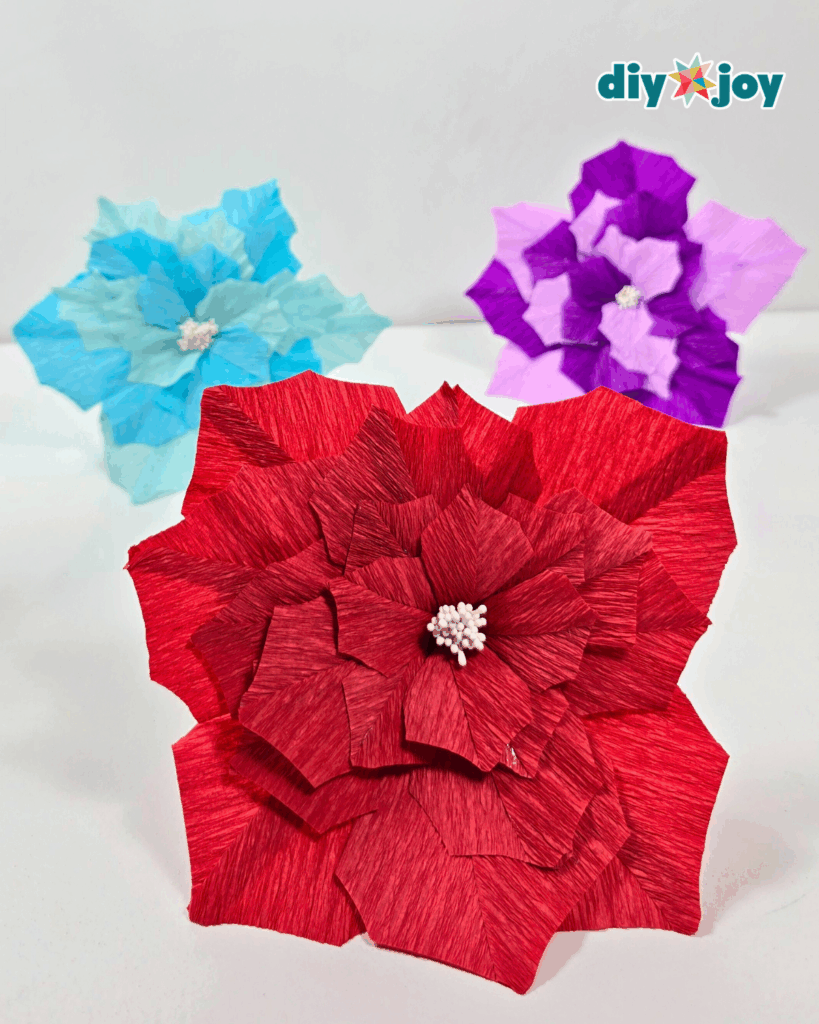

Follow the step-by-step tutorial below and learn how to make your own DIY crepe paper poinsettia Christmas ornaments just in time for the holidays. Bring a handmade, festive touch to your celebrations and enjoy the process of creating beautiful, personalized decorations this season!
How to Make a Crepe Paper Poinsettia Ornament
Step 1: Make the Petals


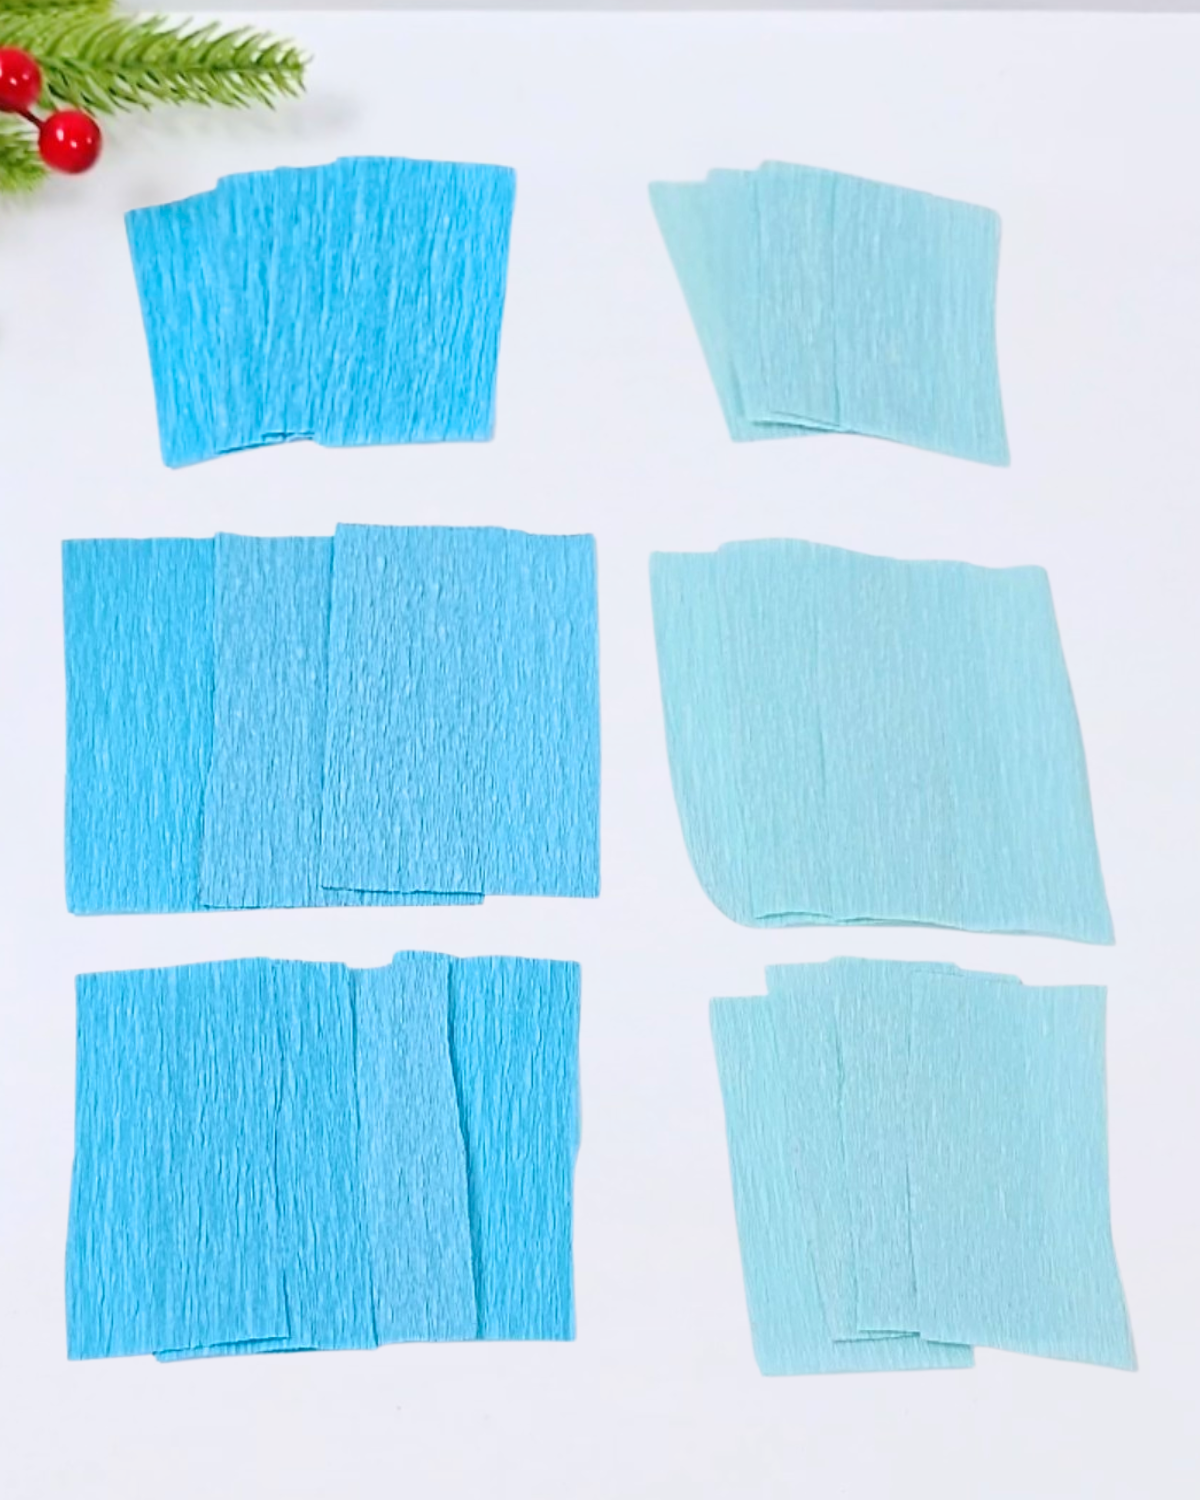
Cut your crepe paper in aqua blue and baby blue — both colors will have the same cuts. Using one light and one dark shade helps the petals look fuller and more dimensional.Mesurements:
Large = 3 pcs of 3 x 5 inches
Medium = 4 pcs of 2 x 4 inches
Small = 4 pcs of 1.5 x 2.5 inchesStep 2: Cut and Align the Petals


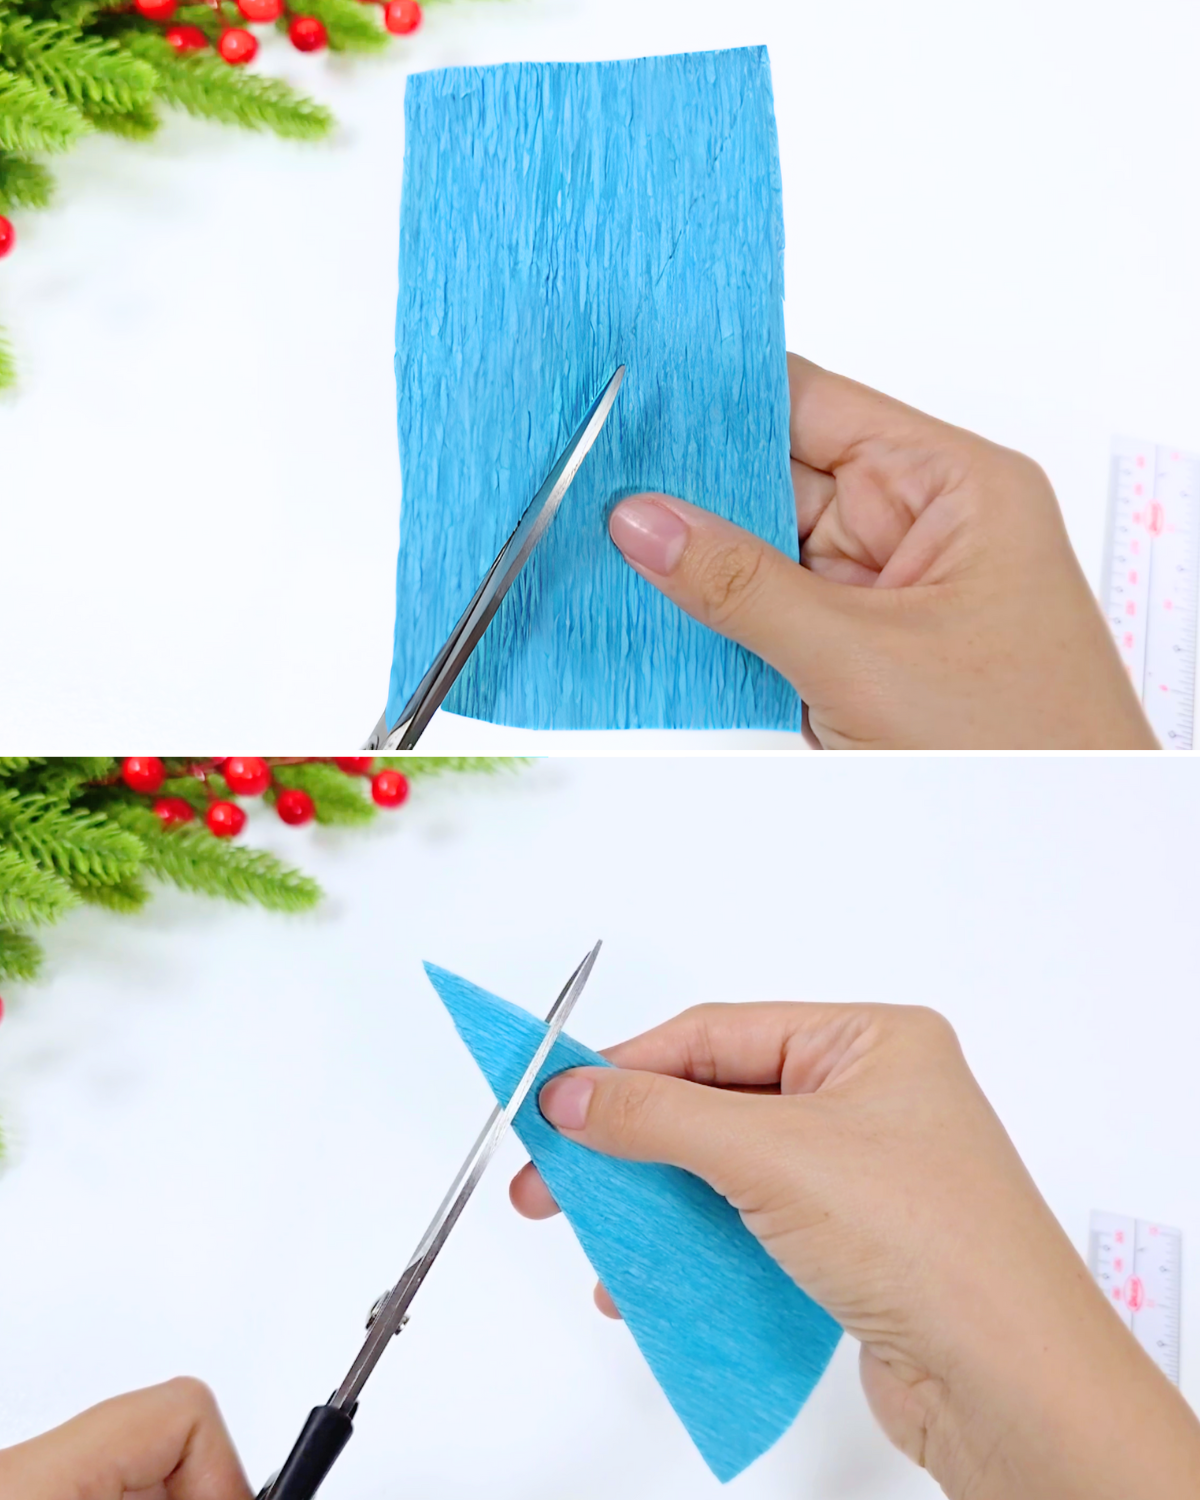
Use a ruler to draw a diagonal line on the cut crepe paper, then carefully cut along the line. Stack the pieces together, even them out, and trim the tip off about an inch. Repeat this step for all cut crepe paper pieces.Step 3: Attach the Floral Wire and Shape the Petals


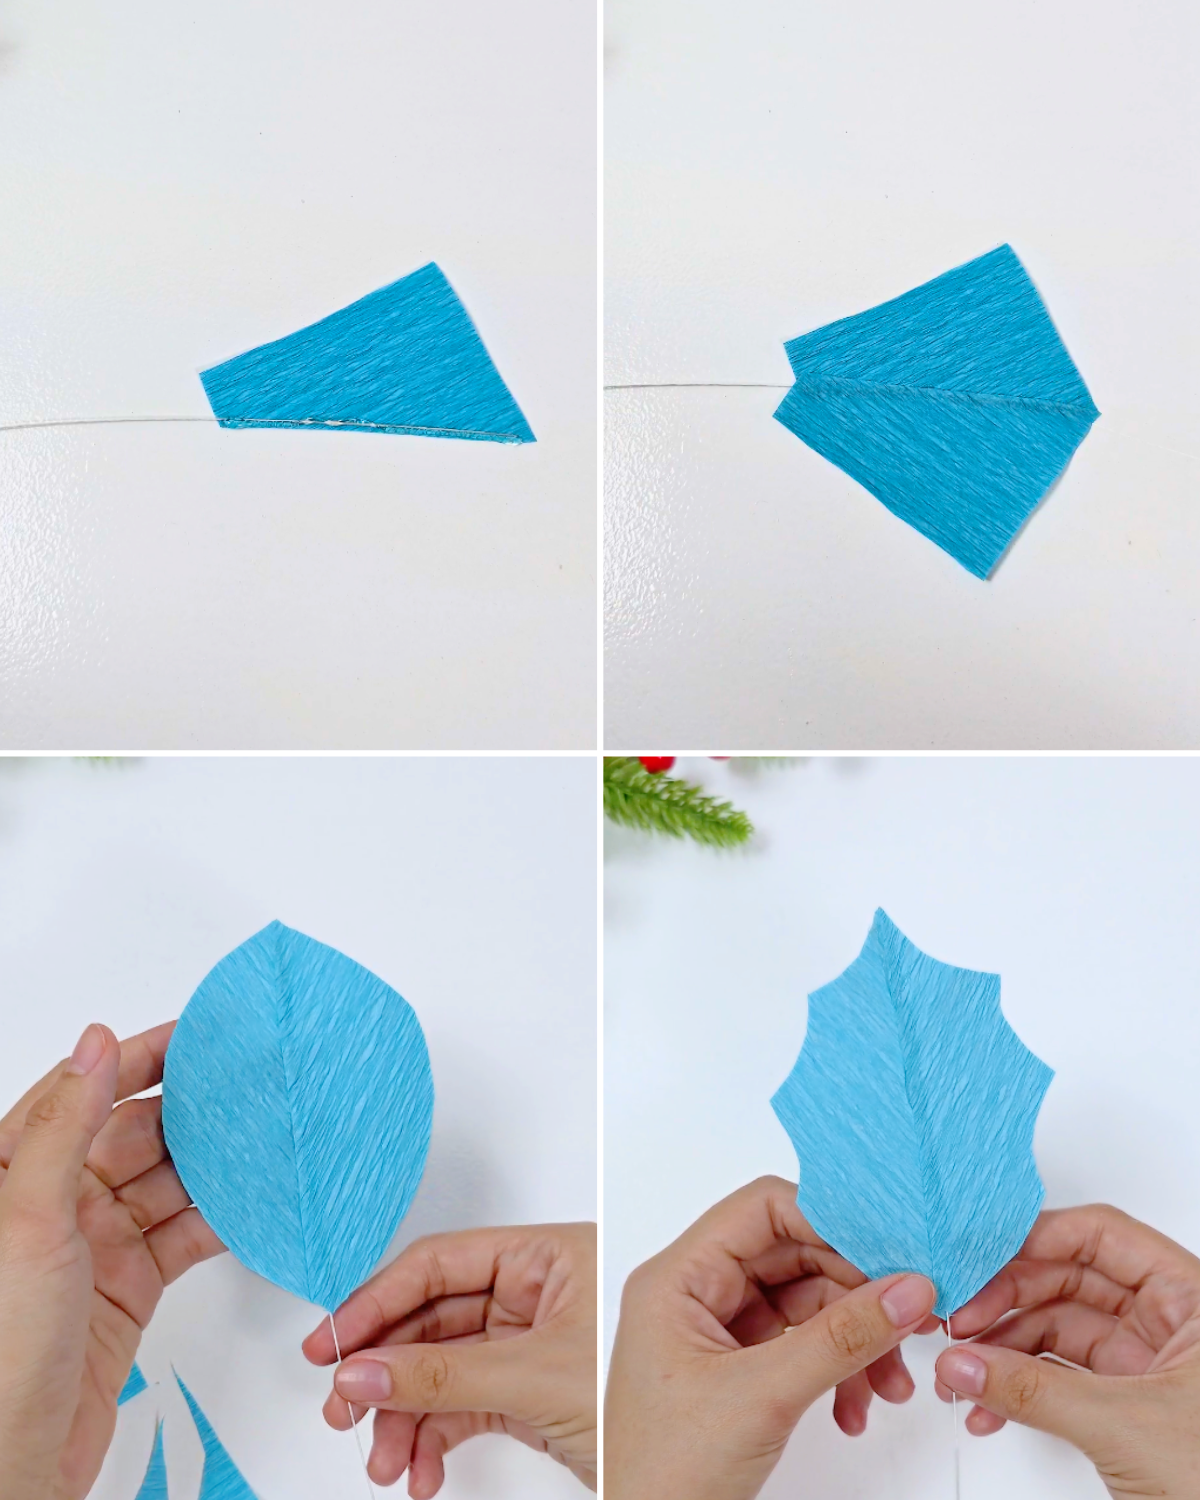
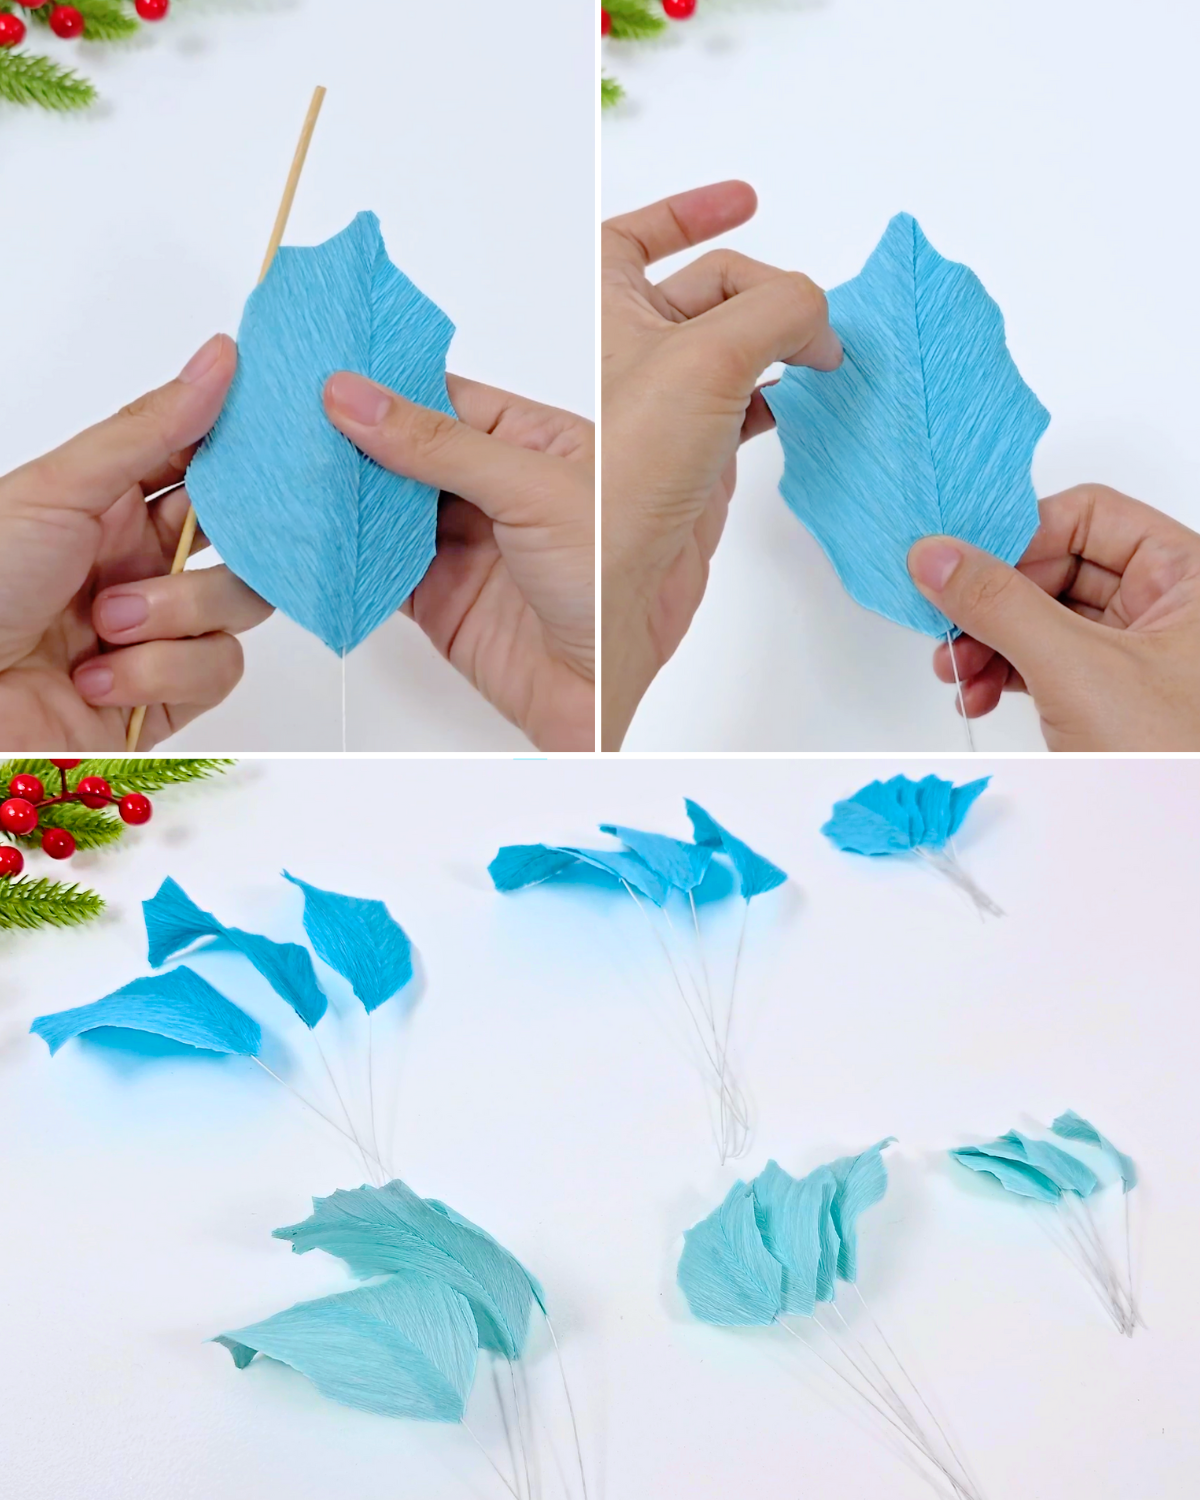
Place a floral wire along the diagonal edge of the half-cut crepe paper. Add a small line of hot glue to secure it in place, then place the other half on top of the wire to enclose it. Once the glue sets, trim the petal into a round or slightly oval shape, then carefully cut the edges with a curve to create a natural leaf-like look.Step 4: Curve the Petals


Use a skewer to gently curl each petal, then run your finger along the petals to add subtle lines, and then bend the floral wire slightly to shape them. Repeat until all petals are prepared.Step 5: Assemble the Flower


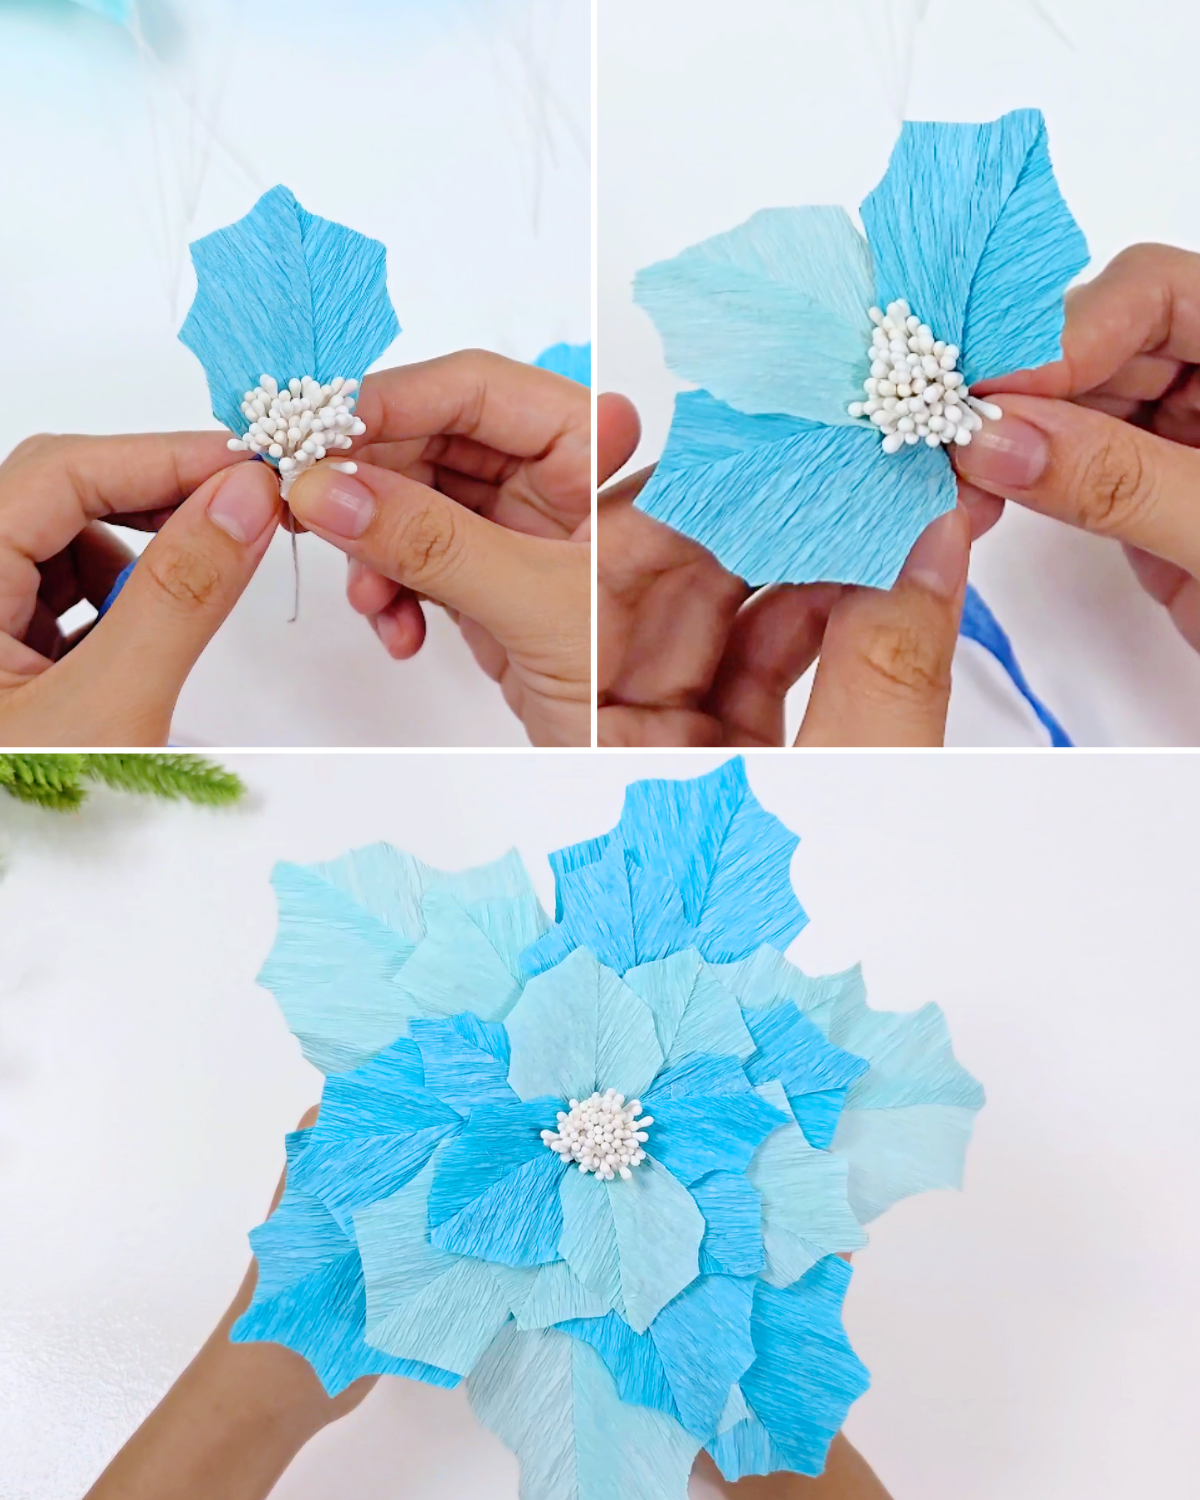
Start with the smallest petals, attaching the first one to the stamen with floral tape. Alternate the colors to avoid placing the same shade side by side. Continue layering by size, adding the medium petals next, and finish with the largest petals.
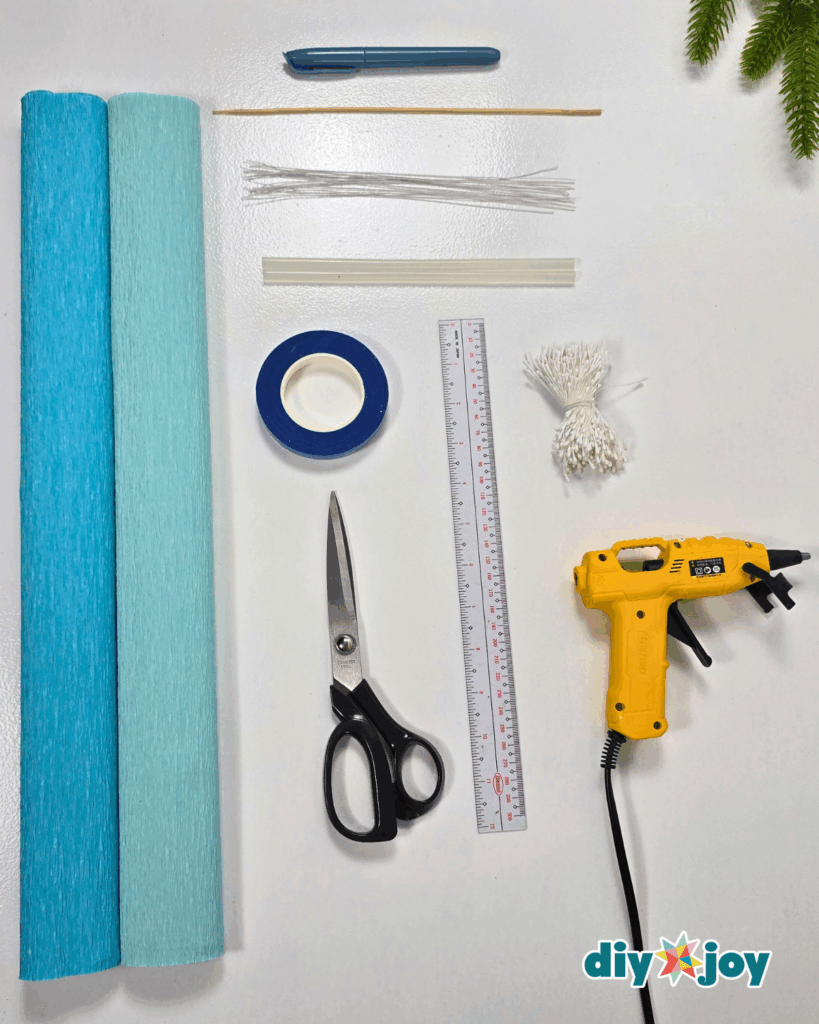
Materials
- Italian Crepe Paper
- Floral wire, white
- Hot Glue Gun and Glue Sticks
- Scissors
- Stamen
- Floral Tape
- Skewer
- Ruler
- Pencil
What You’ll Need to Make a Crepe Paper Poinsettia:

![]()
![]()
💡 Pro Tip
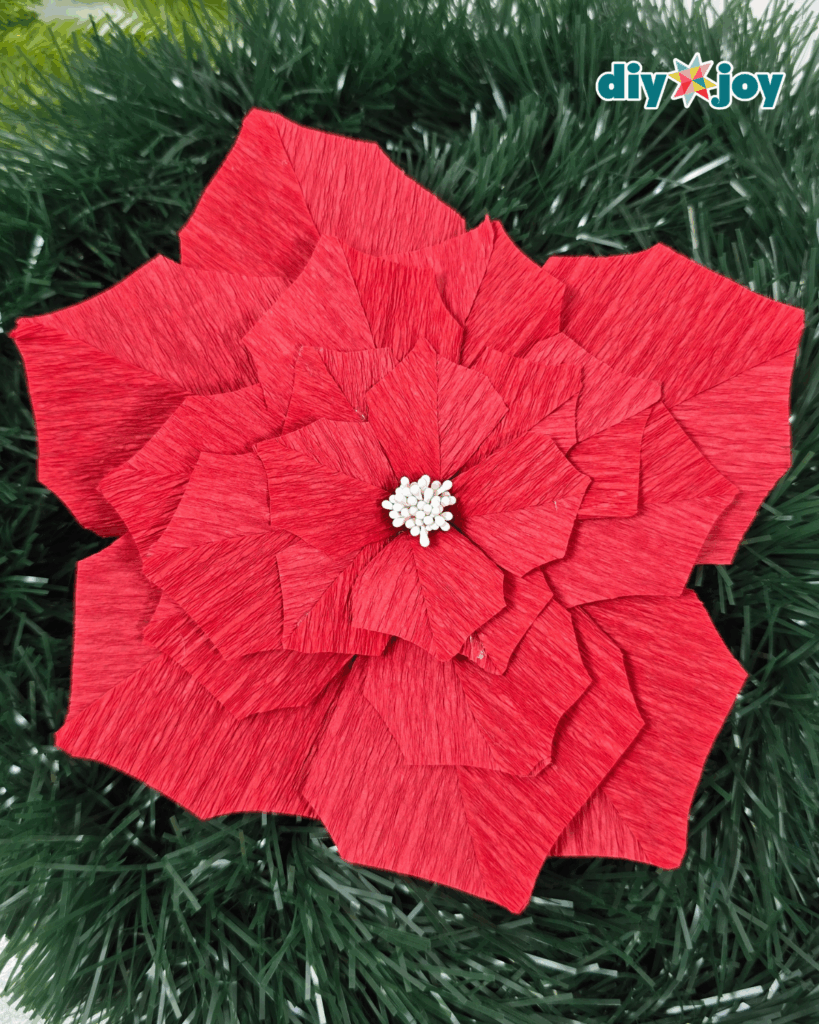
For a more lifelike look, gently stretch and curl the edges of your crepe paper petals before assembling. Try mixing shades of red, pink, and white to create depth and variety — they’ll look stunning on your DIY Christmas tree or as accents on wrapped gifts!

What’s Viral Today

*If you love this craft, then visit our official website, follow our Facebook page, and subscribe to our YouTube channel for more!

