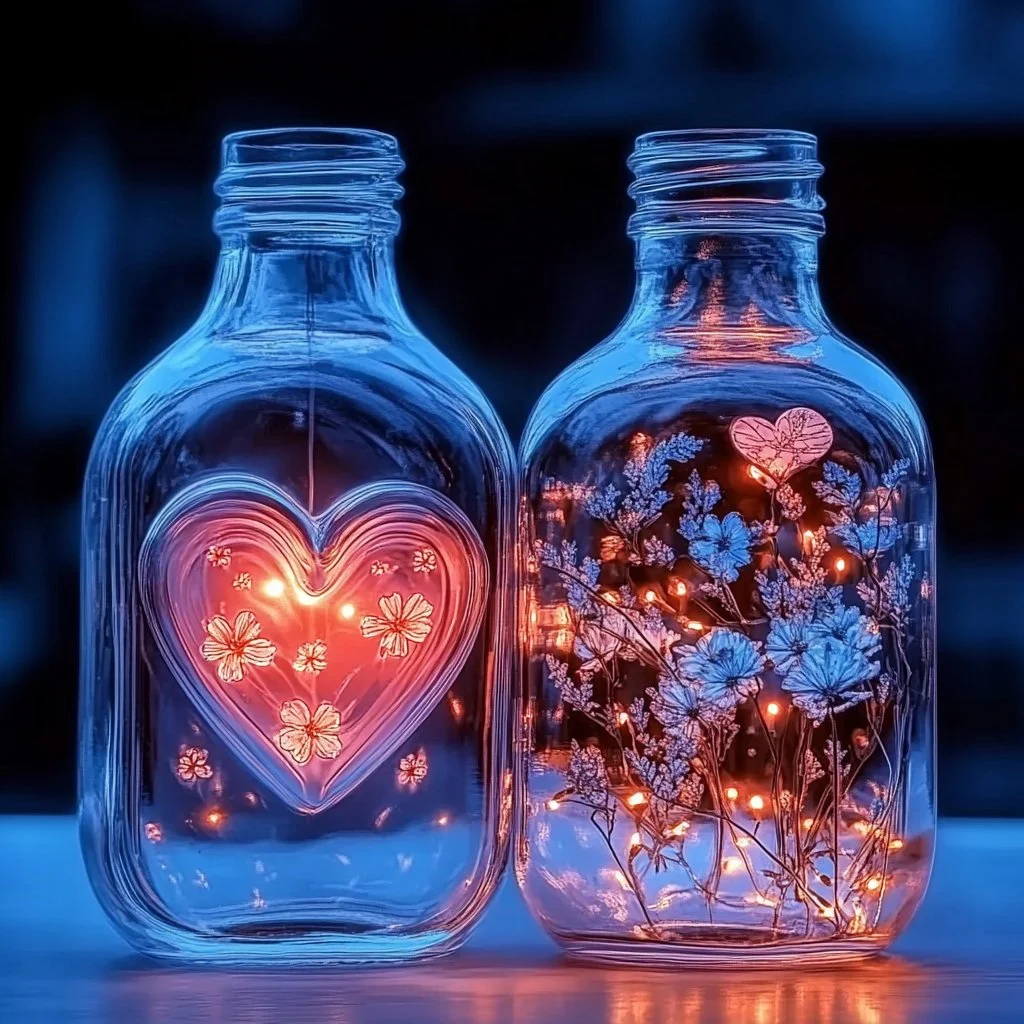
Creating a DIY calm down bottle can be a fun and therapeutic activity for both kids and adults alike. These sensory bottles, filled with various materials, help individuals manage anxiety, improve focus, and promote relaxation. The gentle movement of the contents not only captivates the eye but also encourages mindfulness—allowing for a moment of peace in a busy day. Whether you are looking to create a tool for a child who needs help with self-regulation or simply want an aesthetically pleasing decoration, crafting a calm down bottle can be a rewarding endeavor. This guide will walk you through the simple process of making your own unique calm down bottle, equipped with tips, variations, and answers to common questions.
Why You’ll Love This DIY Calm Down Bottle:
- Promotes Relaxation: The soothing visuals can help reduce stress and anxiety.
- Encourages Mindfulness: Shaking the bottle fosters a moment of focus and contemplation.
- Customizable: Tailor the colors and materials to suit your preferences or themes.
- Simple to Make: Requires minimal supplies and effort.
- Educational: Great for teaching kids about cause and effect while providing sensory enrichment.
- Versatile: Can be used for various purposes—calm down, decoration, or even as a gift.
Materials
- Clear plastic bottle (with a secure lid)
- Glitter (fine, coarse, or both)
- Clear glue or liquid school glue
- Warm water
- Food coloring (optional)
- Small decorative items (sequins, beads, tiny toys, etc.)
- Funnel (optional, but helpful)
- Hot glue gun (to secure the lid; optional)
Full Step-by-Step
1. Gather Your Materials
Collect all of the materials listed above. You can use a funnel to make pouring easier, especially if you have smaller decorative items.
2. Prepare the Bottle
Make sure the bottle is clean and dry. Remove any labels or stickers for a polished look.
3. Add the Base
- Pour 1 cup of warm water into the bottle. This will be the base of your calm down bottle.
- Optional: Add a few drops of food coloring for a vibrant hue.
4. Mix in the Glue
- Add about 2 tablespoons of clear glue to the water. This helps slow down the movement of the glitter and other items, creating a soothing effect.
5. Add Glitter and Decorative Items
- Sprinkle in glitter (about 1-3 teaspoons).
- Add your chosen small decorative items. This could be sequins, beads, or even small figurines.
6. Fill the Bottle
- If using a funnel, pour additional warm water until the bottle is almost full, leaving enough space for the lid.
- Screw the lid on tightly, ensuring all contents will stay secure.
7. Secure the Lid (Optional)
For added safety, you can use a hot glue gun to seal the lid, preventing any leaks or spills.
8. Shake and Enjoy
- Give your calm down bottle a good shake and watch the mesmerizing movement of the glitter and items as they swirl and settle.
Tips & Variations
- Experiment with Textures: Use different types of glitter, beads, or even small stones to change the sensory experience.
- Seasonal Themes: Create themed bottles for holidays or seasons (e.g., snow-themed with white glitter for winter).
- Colorful Layers: Instead of mixing everything in one layer, you could create a layered effect by waiting for each layer to settle before adding the next.
- Essential Oils: Add drops of essential oils like lavender for an aromatic calming effect (ensure they’re safe for kids).
Frequently Asked Questions
1. Can I use something else instead of glue?
Yes, you can use hair gel or liquid soap as an alternative to glue for a thicker consistency.
2. What if I don’t have clear glue?
Liquid dish soap can be a good substitute. Just keep in mind that it may alter the movement slightly.
3. How do I clean the bottle if I want to reuse it?
Rinse it with warm soapy water, ensuring that you remove any leftover glue or glitter.
4. Is this safe for small children?
If used under supervision and with secure lids, these bottles are generally safe. Just ensure no choking hazards are included.
Suggestions
- Share this craft with friends or in a classroom to promote relaxation techniques among children.
- Use different sizes of bottles for varied experiences.
- Encourage kids to design labels or themes for their bottles to enhance creativity.
Final Thoughts
A DIY calm down bottle is not only an engaging craft but also a tool that many can benefit from in their daily lives. We’d love to hear about your creations! Share your version or any customize tips in the comments below!
Description
Create a calming and therapeutic sensory bottle filled with glitter and decorative items to help manage anxiety and promote relaxation.
- Gather your materials and use a funnel for smaller decorative items.
- Prepare the clean and dry bottle by removing any labels.
- Pour 1 cup of warm water into the bottle; optionally add food coloring.
- Add about 2 tablespoons of clear glue to the water.
- Sprinkle in glitter (about 1-3 teaspoons) and your chosen decorative items.
- Pour additional warm water until the bottle is almost full and screw the lid on tightly.
- Use a hot glue gun to secure the lid if desired.
- Shake and enjoy watching the glitter and items swirl.
Notes
Experiment with different textures, seasonal themes, or add essential oils for an aromatic effect.
- Prep Time: 15 minutes
- Cook Time: 0 minutes
- Category: Craft
- Method: Crafting
- Cuisine: N/A
Nutrition
- Serving Size: 1 bottle
- Calories: 0
- Sugar: 0g
- Sodium: 0mg
- Fat: 0g
- Saturated Fat: 0g
- Unsaturated Fat: 0g
- Trans Fat: 0g
- Carbohydrates: 0g
- Fiber: 0g
- Protein: 0g
- Cholesterol: 0mg

