Ever watched a butterfly flutter by and wondered, “How do those wings get so vivid?” 🌈 In this exciting colorful butterfly experiment, we blend simple science with stunning art to create vibrant butterflies that aren’t just eye candy—they’re learning tools! Whether you’re a teacher, parent, or curious DIY-er, this experiment is a fantastic way to explore chromatography, color mixing, and insect anatomy. Let’s get our hands (and wings) colorful!
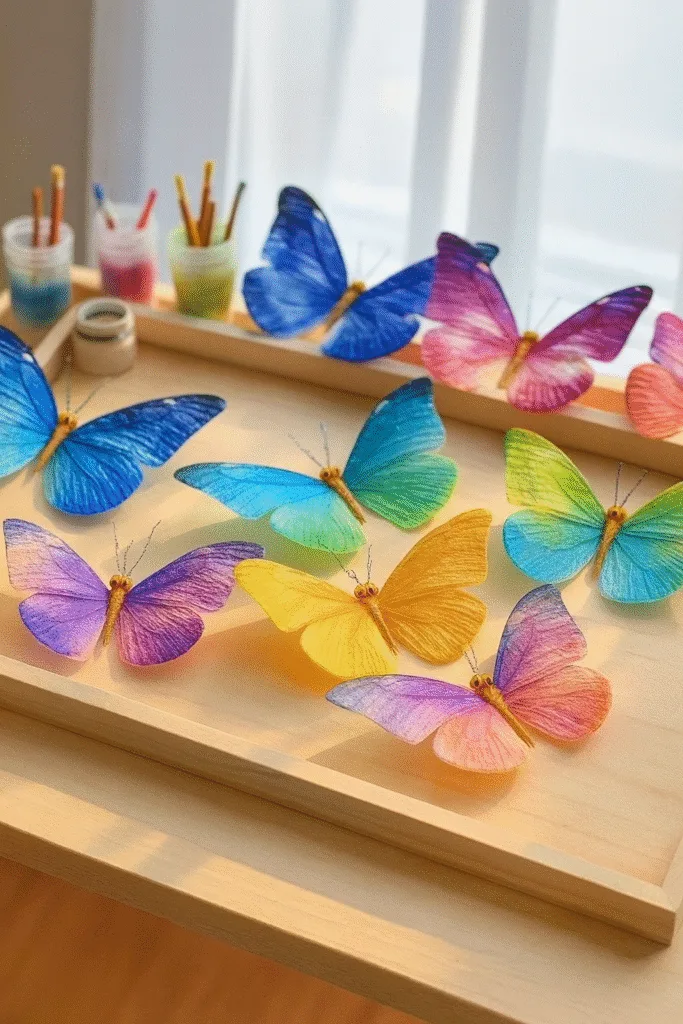
What Is the Colorful Butterfly Experiment?
Okay, so I gotta tell you about the time I stumbled into one of the most magical science activities ever — the colorful butterfly experiment. I was looking for something to keep the kids off screens for an hour, and this popped up in a random Pinterest rabbit hole. It looked too simple to be awesome… but wow, I was wrong. Turns out, this experiment mixes science and art in a way that actually makes you feel like a wizard. 🎨🧪
Science Meets Art (and a Bit of Chaos)
At its core, this experiment is all about chromatography. Yeah, big word. But what it really means is that we’re separating colors. You know how black ink isn’t just black? It’s actually a mix of colors, and this project shows you exactly what those hidden colors are.
You take coffee filters, scribble on them with washable markers, add a few drops of water, and BAM! The colors spread out like tie-dye magic. I didn’t even know half the markers had blues and greens hidden inside them.
And here’s the kicker — it’s not just about making something pretty (though you will want to hang them up like artwork). There’s actual science happening. The water climbs the paper through something called capillary action, and as it moves, it carries the pigments from the ink with it. The different pigment particles move at different speeds, so they separate out into these beautiful streaks of color.
Why It’s a Hit Every Time
What blew me away was how much the kids loved it. Like, full-on wide-eyed “whoa!” moments. I even caught my partner sneaking in a round of butterfly-making after dinner. It’s that satisfying. And honestly, it’s low mess (unless you give glitter to toddlers, which… rookie mistake on my part 😅).
We turned it into a mini science lesson without the groans. Talked about insects, color mixing, and even a little chemistry. And it doesn’t matter if you’re 6 or 60 — there’s something really joyful about watching those colors bloom across the paper.
Lessons I Wish I Knew Before
One time I used permanent markers instead of washable ones. Huge fail. The water did nothing, and I was sitting there wondering why it wasn’t working. So, PSA: always double-check your markers. Also, don’t over-saturate with water or you’ll just get brown soup. A few drops in the center is perfect.
And don’t skimp on drying time. If you’re impatient (guilty), the wings crumple and you end up with mutant butterflies.
Materials Needed for Your Butterfly Experiment
You’d think for something this cool you’d need a full-on science kit, right? Nope. Everything I needed was either in the junk drawer, craft box, or a quick dollar store run. That’s the beauty of it — simple stuff that turns into magic. Here’s the real-deal list based on what actually worked for us (and what didn’t).
The Essentials
- Coffee Filters – These are the MVPs. I tried paper towels once… meh. Filters hold the ink better and create that dreamy spread when the water hits. Go for the round kind if you can.
- Washable Markers – Gotta be washable! Crayola worked great. Sharpies? Not so much. Like I mentioned before, permanent markers don’t separate the colors – they just stain the paper. Learned that one the hard way.
- Small Cups of Water – Just a bit. I used old yogurt cups. No need to get fancy.
- Droppers or Spoons – For adding the water slowly. A spoon works fine if you’re careful. I used a medicine dropper we had lying around, and it gave way more control.
- Pipe Cleaners – These make the butterfly bodies and wrap the wings. They’re fun, bendy, and give your butterflies some flair.
- Clips or Clothespins – Optional, but helpful if you want to hang them to dry or clip the center to make the butterfly shape pop.
Fun Extras (Not Required, but Totally Worth It)
- Googly Eyes – Because everything’s better with googly eyes. Seriously.
- Glitter – Proceed with caution. I let the kids use it once and I’m still finding sparkles in my kitchen drawer six months later.
- Paper Plates – Good for workspace setup, especially if you don’t want marker bleed on your table.
- Aprons or Old T-Shirts – Washable markers are mostly washable. That purple one though? Yeah… it had other plans.
What I Wouldn’t Bother With
I tried using food coloring once, thinking it might give deeper colors. Total flop. It just soaked through the paper and left no separation. Stick to markers. Also, cardstock or thick paper doesn’t work — too stiff and the water won’t travel right.
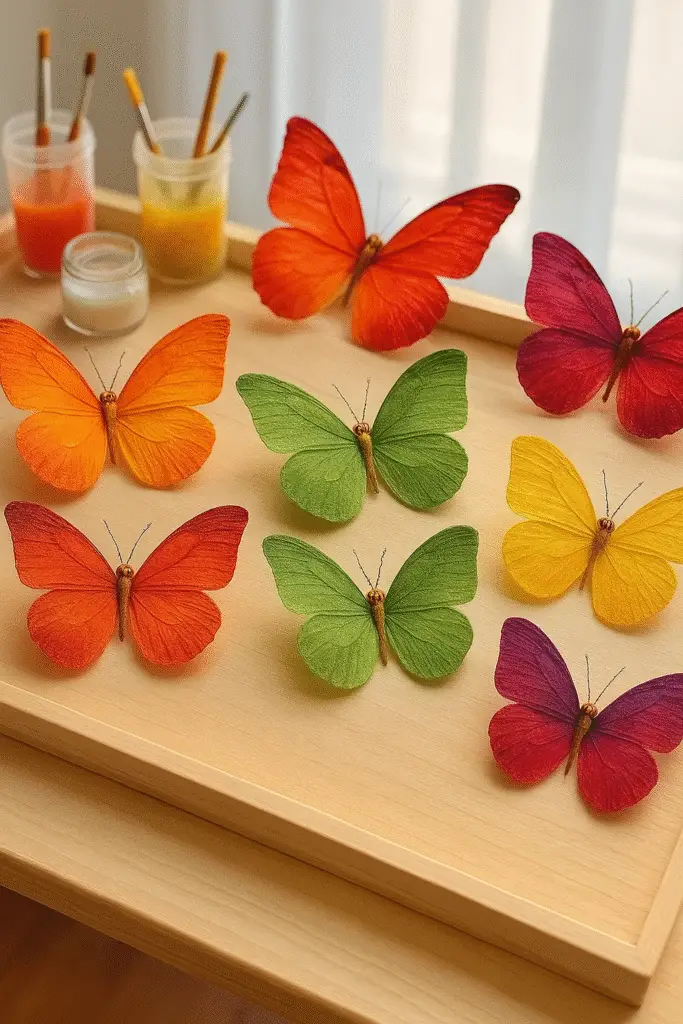
Step-by-Step Guide to Creating Colorful Butterflies
Alright, here’s where the fun really kicks in. If you’re anything like me, you love a craft that doesn’t require 17 complicated steps or a degree in rocket science. This butterfly experiment? Super doable. I’ve done it with a group of kindergartners and a very uncrafty uncle — both had a blast. 😄
Step 1: Scribble Like You Mean It
Grab your coffee filters and flatten them out. Then just go wild with your washable markers. Circles, stripes, dots — doesn’t matter. The more color you use, the cooler the effect. I like to keep the marker mostly in the center of the filter so the water has room to move outwards.
Pro tip: Don’t use just one color — try overlapping blues and pinks, or greens and oranges. That’s where the wow happens. Just don’t color the whole thing solid, or it’ll all bleed into mud.
Step 2: Water Time!
Now for the science-y part. Use a spoon or dropper to add a few drops of water right in the middle of the colored area. Watch it spread. It’s weirdly satisfying — the ink sort of dances across the filter. The first time I did it, I straight-up gasped. No joke.
Let it sit and do its thing. Resist the urge to poke at it. Trust me, it’s like watching paint dry… but way prettier.
Step 3: Let It Dry (Yes, You Gotta Wait)
This part takes some patience. About 20-30 minutes in a sunny spot usually does the trick. I’ve rushed it with a hair dryer before and ended up with crinkly disasters. If you want that nice, soft wing look, let them air dry naturally.
Step 4: Fold and Form the Butterfly
Once dry, fold the filter accordion-style — just back and forth like a fan. Pinch it in the middle and twist a pipe cleaner around it. Leave some pipe cleaner sticking out on top to make antennae.
Boom. You’ve got a butterfly!
Step 5: Add Your Personal Touch
Want to level up? Glue on googly eyes, add glitter (sparingly!), or twist the antennae into curly shapes. I even used little sticker gems once, and my niece swore they were “magical crystals.” 😂
It’s seriously that easy. And somehow, every single butterfly turns out totally different. Kind of like snowflakes, but way more colorful. Ready for the science behind why those colors go crazy?
The Science Explained – Why the Colors Spread
Okay, confession time: I used to think ink was just… ink. Like, one solid color. But this experiment totally changed how I see it. There’s actually a whole rainbow hiding inside that black or purple marker — and this little butterfly trick pulls it right out. 🤯
So, What Is Chromatography?
Fancy word, simple idea. Chromatography is just a way to separate things that are mixed together. In our case, we’re separating out the different pigments in the ink. Some inks are made up of several dyes mashed into one. When you add water, those dyes dissolve and start to travel through the paper at different speeds.
Here’s the cool part: the heavier pigment molecules move slower, and the lighter ones zoom ahead. That’s why you’ll see, say, green turning into blue and yellow as it spreads.
I remember the first time we used a black marker — expecting a boring gray puddle — and ended up with shades of pink, turquoise, and even brown. It was like ink fireworks. 🎆
Capillary Action: The Real Star of the Show
So, how does the water even move through the paper? That’s where capillary action comes in. It’s the same thing that helps plants suck water up from their roots.
Basically, the tiny fibers in the coffee filter pull the water upward, kind of like a sponge. And as the water moves, it drags the ink along with it. It’s sneaky science — looks like art, works like a lesson.
I tried explaining this to a 7-year-old once and just said, “It’s like the paper’s drinking the water and burping out color.” Not totally accurate, but hey — they remembered it!
Pigments, Solubility, and Surprises
Every marker brand does this differently. Some separate beautifully, others… not so much. Crayola’s blue goes wild with streaks of purple and green, but a cheap dollar store brand? Meh. Barely moved.
So yeah, it’s not just about the colors you pick — it’s the chemistry behind the ink itself. If you’re doing this as a classroom activity, test out a few brands first. Makes a big difference.
Next up, let’s talk about how to turn this experiment into an actual lesson or classroom project — trust me, it’s way more than just a rainy day activity. Ready?
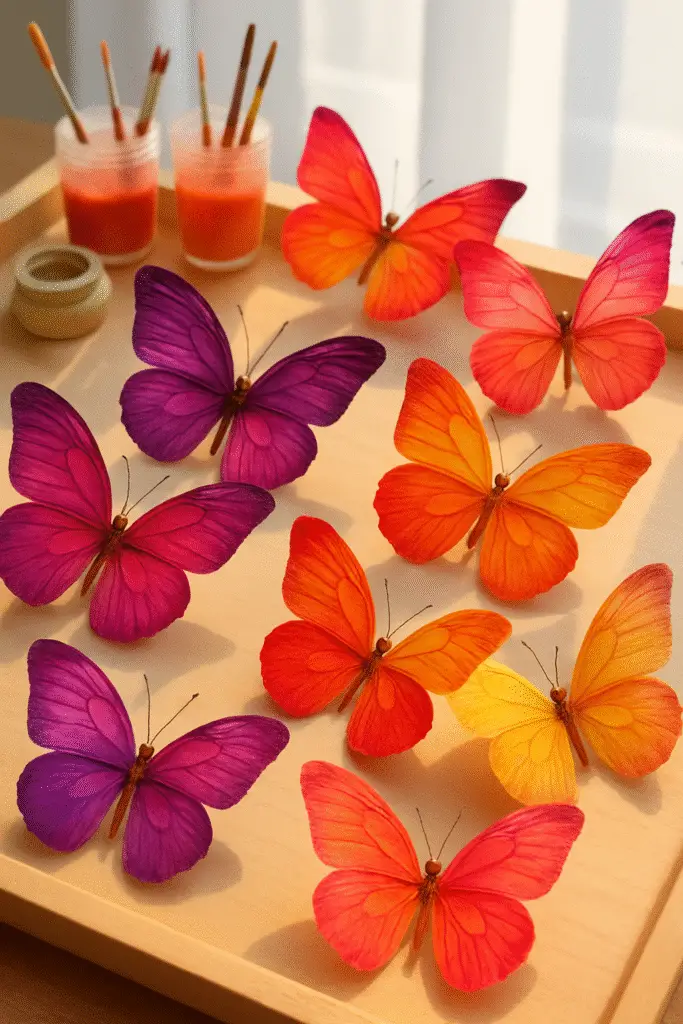
Educational Applications and Variations
So here’s the deal: this butterfly experiment isn’t just artsy-fartsy fun (though yeah, it totally is). It’s also an undercover science lesson. I’ve used it in classrooms, homeschool co-ops, even a birthday party where we somehow turned a butterfly craft into a full-on STEM hour. 🧠🎉
Classroom Gold – Science Meets Art
Teachers, listen up. This activity checks so many boxes: it teaches scientific principles like chromatography and capillary action, introduces elements of color theory, and lets kids get creative without a mess of glue or paint. Plus, the end result is adorable — perfect for decorating bulletin boards or classroom windows.
I once had a student say, “It’s like the colors are alive!” That right there? That’s engagement. That’s learning sticking.
You can even slide in a mini lesson on insects and butterfly anatomy. Have students draw wings that mimic real butterfly patterns after their filters dry. Boom — you’ve just added biology to your chemistry-art mashup.
Tailor It to Any Age Group (I Mean Any)
Little kids? Focus on colors and basic cause-and-effect. “Watch what happens when we add water!” Instant giggles.
Older kids? Add a hypothesis component. Like, “Which marker color will spread the most?” Let them record observations, chart results, and explain what they think happened. You’ve just turned it into a full-blown scientific method exercise.
Even teens get into it if you frame it right. I had a high school group tie this into a lesson about ink composition and industrial chromatography. Yes, really. And they were into it!
Science Fair or Display Board? Yes Please.
Want to turn this into a science fair project? Easy. Have students test multiple brands of markers or different types of paper (coffee filters vs. paper towels vs. printer paper) and compare the results. Chart the pigment separation distances, analyze which brand had the best spread — it’s real data. Just dress it up with some butterfly cutouts and a catchy title, and you’re good to go.
A Few Variations That Worked (and Some That Didn’t)
- Butterfly Mobile: Hang multiple butterflies from a stick or embroidery hoop. We made one in class and it looked like a rainbow cloud of fluttering wings.
- Butterfly Life Cycle Add-on: Use this as part of a full butterfly unit. Kids create larvae, cocoons, and then finish with the chromatography butterflies.
- Glitter Wash Disaster: Tried mixing glitter glue into the water once. Nope. Total fail. The glue clogged the filter and nothing spread. Kids were not impressed. 😂
And that’s a wrap on the colorful butterfly experiment — a wild mix of science, art, and a whole lotta fun. 🦋 Whether you’re a teacher looking to spice up your lesson plan, a parent wrangling a rainy afternoon, or just someone who loves a good hands-on activity, this one’s a total winner.
What I love most? Every butterfly turns out different. Some swirl like tie-dye shirts, others streak like watercolor paintings. No two are the same — just like the kids (or adults!) making them.
We learned a bunch about chromatography, played with color theory, and got our hands a little messy in the best way. And hey, it’s not just about the end product — it’s about watching the magic happen in real time. That little gasp when the colors start to spread? Pure gold.
So go ahead, give it a try! Make a few, snap some pics, and share your creations on Pinterest. I’d love to see what your butterflies look like — and who knows? You might just inspire someone else to give science a colorful spin.
🖼️ Pin it. Share it. Spread the wings of creativity.


