What if I told you that you could literally bottle the stars? Okay, not the real stars — but pretty close! This whimsical craft lets you capture the night sky in a jar using simple materials you probably already have at home. It’s a hit with kids, a joy for adults, and let’s be honest… who doesn’t want their own little glowing galaxy on the shelf?
Whether you’re planning a cosmic-themed party, a quiet night with the kids, or just need a quick win for a rainy afternoon, this project is fast, calming, and downright mesmerizing.
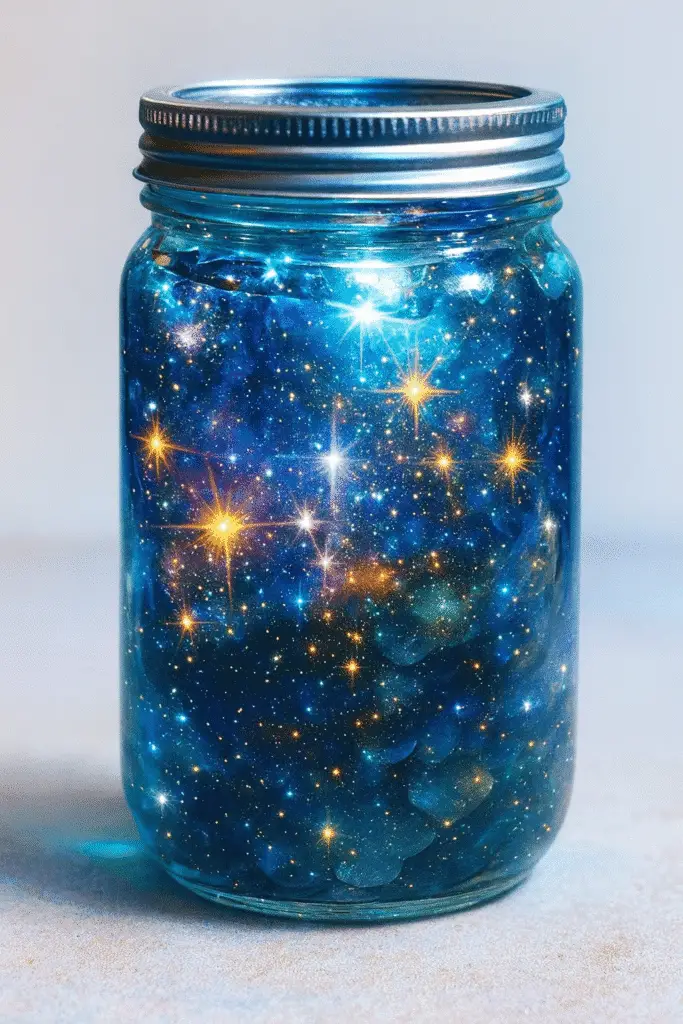
What You’ll Need for Your Starry Jar
Okay, let me start by saying — you don’t need anything fancy. Honestly, when I first made this, I literally rummaged through my junk drawer and pulled out half of the stuff. If you’ve got kids, a craft bin, or just that one drawer where random glitter somehow lives… you’re halfway there.
🔧 The Essentials
So here’s what you’ll want:
- A clear glass jar with a lid — Mason jars work great, but I’ve also used an old pickle jar (washed, of course… unless you want a stinky galaxy).
- ½ cup of water — tap water is totally fine.
- ½ cup of clear glue — this is what gives it that floaty, dreamy vibe. Elmer’s glue works like a charm.
- 1 tablespoon of fine glitter — silver and gold are super pretty, but rainbow glitter gives off serious cosmic energy.
- 1 teaspoon of glow-in-the-dark paint or glowing powder — non-toxic stuff, especially if little hands are involved.
- Food coloring (optional) — blue, pink, and purple are my go-to galactic trio.
- Spoon or stir stick — because stirring with your finger gets messy fast.
I once tried using regular glitter and neon paint without checking if it was glow-in-the-dark. Rookie mistake. Looked cool in daylight but… zero glow at night. 😩 You have to charge the glow paint under light — sunlight is best, but a flashlight works too.
Oh! And if you’re feeling extra — grab some star-shaped confetti. I got a pack for $2 at a dollar store, and let me tell you… it took the whole thing from “cute” to “cosmic masterpiece.”
🌟 Little Tips I Learned the Hard Way
- Don’t overdo the glitter. If you dump in half the bottle (like I did once, thinking more = better), it just looks like a glitter swamp.
- Tight-fitting lid is key. These things get shaken a lot, and a leaky jar is a glow-in-the-dark disaster waiting to happen.
- Use a jar with smooth sides — designs or logos make it harder to see the full effect of the “night sky” inside.
There’s something weirdly satisfying about gathering all the pieces for this. Like you’re prepping for a mission to space… but in sweatpants.
Step-by-Step Guide to Make Your Galaxy Jar
This part is where the magic literally happens. The first time I made one of these, I expected a Pinterest fail moment. You know the ones. But nope — this actually worked. And not just “okay” worked… it looked like I bottled a nebula.
🥣 Step 1: Mix the Water and Glue
Grab a bowl and mix ½ cup of water with ½ cup of clear glue. I use a spoon, but if you’re a stir-stick kind of person, no judgment. The mixture should be smooth — kind of like watery syrup.
💡 Tip: If your glue is super thick, warm it slightly (I leave the bottle in a bowl of warm water). It makes stirring way easier.
✨ Step 2: Add the Glitter
Now toss in your glitter. A tablespoon is enough, but if your soul says “more sparkle,” listen to it. I like to mix silver and multicolor glitter — makes it look like little shooting stars are floating inside.
I made the mistake once of using chunky craft glitter — bad idea. It just sank like sad space debris.
🌟 Step 3: Add the Glow-in-the-Dark Power
This is the fun part. Stir in 1 teaspoon of glow-in-the-dark paint or powder. The paint gives a cloudy glow; the powder glows brighter but settles a bit more. I’ve used both — no regrets either way.
👩🔬 Pro move: Try painting the inside of the lid with glow paint too. It gives off a gentle top-down glow!
🌈 Step 4: Add Food Coloring
Totally optional, but worth it. Add a drop or two of food coloring — start small! I like mixing blue and purple for that dreamy galaxy look. If you’re brave, throw in a tiny bit of pink.
Just don’t go wild with color. If it gets too dark, the glow effect weakens. Learned that after trying to make a “black hole jar.” Spoiler: it was just… black.
🫙 Step 5: Pour It into the Jar
Carefully pour everything into your clear jar. Use a funnel if you’ve got butterfingers (me). Once it’s in, seal the lid tight. Shake it gently to mix — don’t go full tornado mode or you’ll get bubbles.
I once forgot to tighten the lid and… well, let’s just say my kitchen floor had cosmic vibes for a week.
🔦 Step 6: Charge It and Watch It Glow
Now the best part. Place your jar under a bright light for a few minutes. I usually leave mine on a sunny windowsill or blast it with a flashlight for 30 seconds. Turn off the lights, and boom — your galaxy glows like it’s fresh outta space.
It’s ridiculously satisfying. I still turn off the lights and stare at mine like a kid watching fireflies. It’s calming, hypnotic… borderline magical.
Creative Tips for a More Magical Jar
Okay, so you’ve got the basic galaxy jar down — but now you wanna upgrade it, right? Oh man, this is the fun part. The first one I made was cool. The third one? Out-of-this-world amazing. I learned a few tricks that’ll take your jar from “pretty neat” to “how the heck did you make that?!”
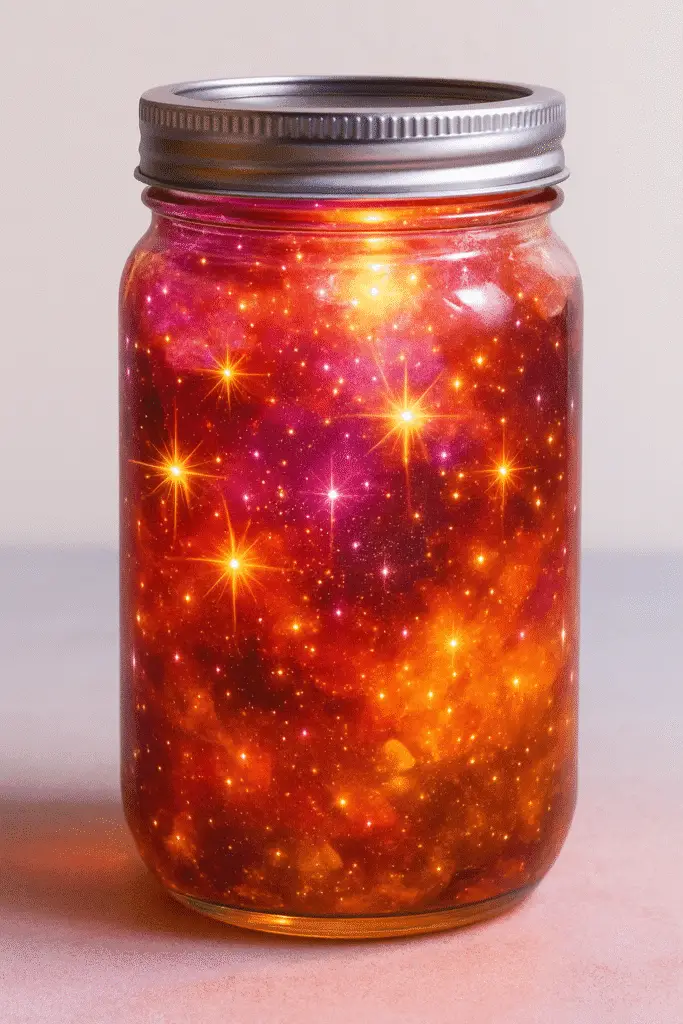
🎨 Layer Your Colors Like a Nebula
Don’t just mix all the food coloring in at once. Try layering!
Here’s what I do:
- Mix up three small batches — one blue, one pink, one purple.
- Pour them into the jar one at a time, super slowly.
- Let them swirl naturally. Don’t stir.
It ends up looking like an actual swirling galaxy. I swear it even made my brother say “whoa,” and he’s not impressed by anything.
✂️ Add Star Confetti or Glow Stars
Y’all, this was a game-changer. I found a little pack of star-shaped confetti at a party store and threw some in the jar. It caught the light in such a way that it literally twinkled. Also tried tiny glow-in-the-dark stars once — they floated around like they had their own orbit.
⚠️ Just don’t add too many or it’ll start looking like cosmic soup.
🔦 Flashlight Hack for Better Glow
Here’s the deal — if you just leave it in a dark room and expect it to shine bright like Venus… you’ll be sad. The glow-in-the-dark paint needs charging. I use my phone’s flashlight for 30–60 seconds, and boom — instant glow-up.
Sunlight is best, though. I leave mine on the windowsill during the day and it glows like crazy at night. Kinda like solar panels, but for crafts.
🎩 Paint the Lid for Extra Cosmic Vibes
This one’s for the overachievers (aka me after too much coffee). Paint the inside or top of your jar lid with black paint. Then take a toothpick, dip it in white paint, and dab little stars or even a moon. Makes the whole thing look like it’s sealed with a piece of sky.
I tried doing a tiny rocket ship once. Looked like a potato, but it was my potato rocket, okay?
Seriously, playing around with this project feels like mixing potions and building stars at the same time. You’ll find your own favorite “cosmic formula,” but hopefully these tips save you some of the glittery chaos I went through.
Why Everyone Loves This Craft (And You Will Too)
Listen, I’ve done a lot of DIYs — the messy, the Pinterest-fail, and the “why did I even try this?” types. But this one? This is the rare project that everyone falls in love with. Like, seriously… toddlers, teens, even grumpy uncles who say they “don’t get crafts” — they all ended up wanting their own jar.
🧘♀️ It’s Weirdly Calming
You wouldn’t think swirling glitter in a jar could chill you out, but it totally does. I keep mine by my desk. Whenever I’m stressed or stuck in a doom scroll, I shake it, turn off the lights, and just… vibe. It’s like a lava lamp, but cuter and less ‘70s.
My niece calls it her “space snow globe” — and honestly, that’s exactly what it feels like.
⏱️ It Only Takes 15 Minutes (For Real)
Some crafts say they’re quick… and then three hours later your kitchen looks like a crime scene. But this one? I timed it — 15 minutes, tops. It’s literally mix, pour, shake, glow. Perfect for kids with zero patience or adults with zero time.
And cleanup? Surprisingly easy. As long as you don’t spill the glitter (been there), you’re golden.
🌌 It Doubles as Decor and a Nightlight
This might sound wild, but I actually gave one of these as a gift once — and the person still has it on their nightstand two years later. At night it gives off this soft, dreamy glow that’s perfect for bedrooms, especially for kids who hate the dark. And during the day? It just looks like a little galaxy hanging out in a jar.
I’ve even seen folks put fairy lights around the outside for extra ✨drama✨.
🎁 It’s the Perfect DIY Gift
I don’t always have time to hand-make gifts, but when I do? This is my go-to. Add a ribbon around the lid and a little tag that says “you’re out of this world,” and bam — thoughtful, cute, and not too try-hard. Teachers, neighbors, secret Santas — everyone loves this thing.
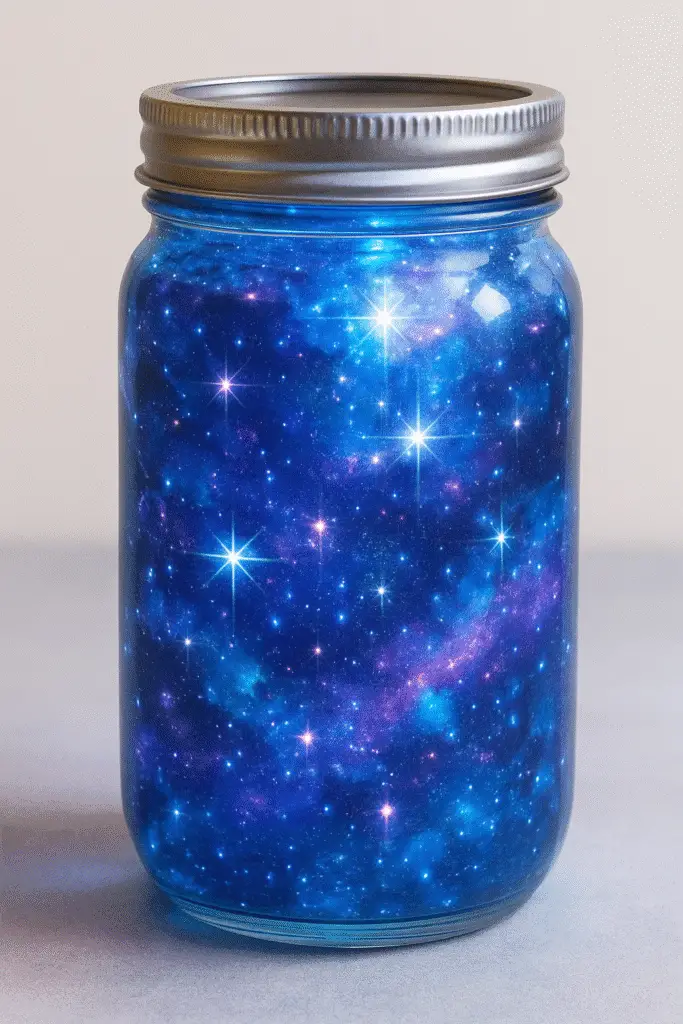
At the end of the day, there’s something magical about holding your own little chunk of “night sky.” And the fact that you made it yourself? Even better. You’re not just crafting — you’re capturing stardust, friend. 🌟
So there you have it — a super simple, totally magical way to capture the night sky in a jar. Whether you’re doing this with your kids on a rainy afternoon or just need a little galaxy glow for yourself, this DIY hits all the right notes: fast, fun, and absolutely enchanting.
And the best part? Every jar turns out a little different. Some swirl like a nebula, some sparkle like star clusters — but all of them feel like a tiny universe you made with your own hands. There’s something kinda powerful about that.
If this post inspired your inner stargazer, don’t keep it to yourself — save it to Pinterest and share the magic! 🌌✨


