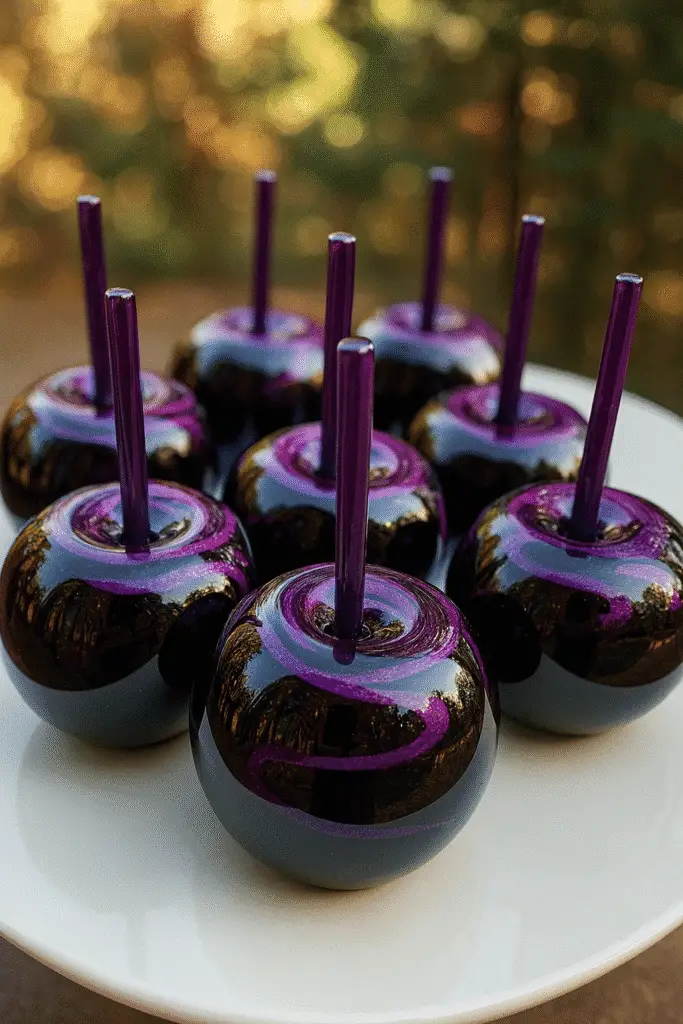
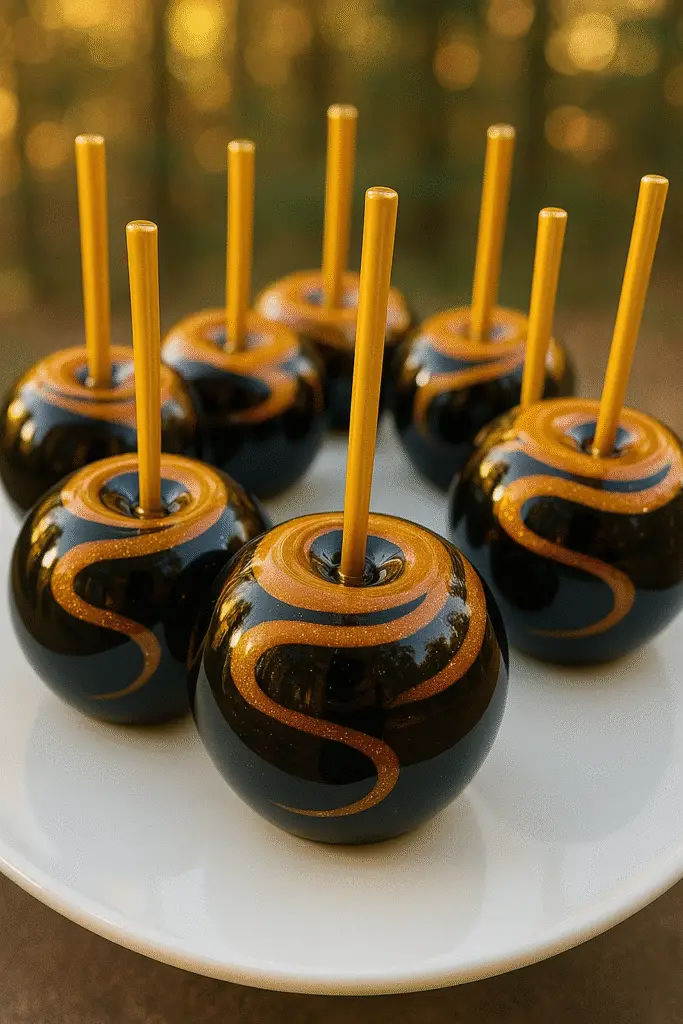
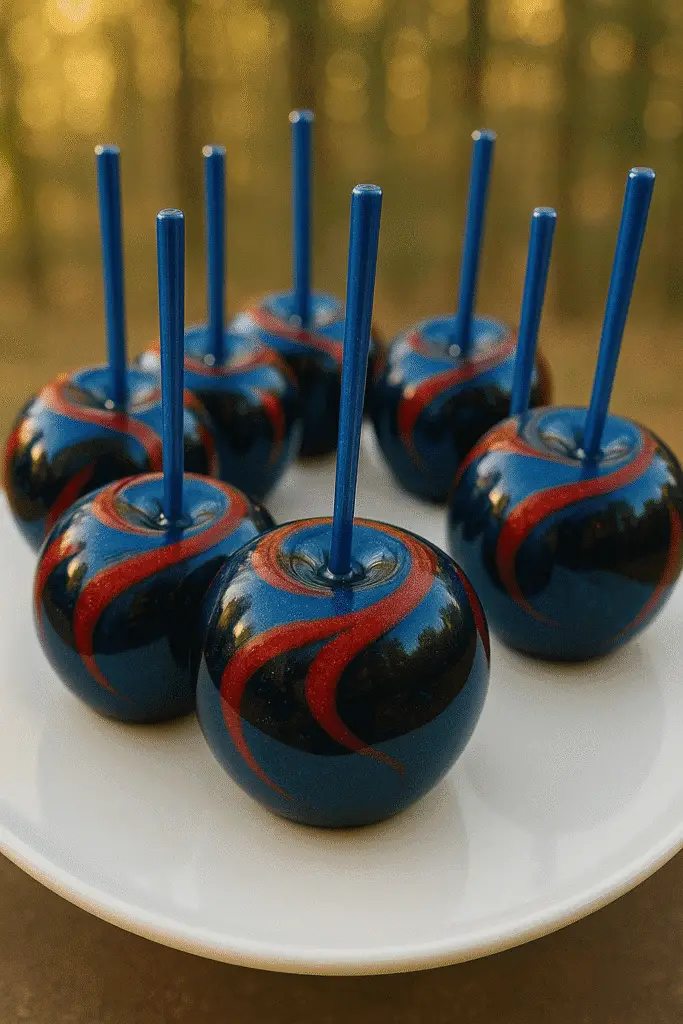
“They look like they came from a witch’s cauldron…” That’s what people say when they see these mesmerizing Black Poison Swirl Candy Apples. Halloween desserts are all about presentation, and this recipe delivers both style and taste! With just a few simple ingredients, you can transform ordinary apples into dark, glossy, spooky showstoppers. Perfect for Halloween parties, fall festivals, or even themed weddings!

Ingredients for Black Poison Swirl Candy Apples
When I first tried making Black Poison Swirl Candy Apples, I made the rookie mistake of grabbing Red Delicious apples. Big no-no. They looked gorgeous at first, but the candy shell just didn’t cling right, and biting into one felt like chewing cardboard dipped in glass. Lesson learned — stick to apples with that perfect balance of tart and crisp. My go-to now? Granny Smith for the tang, or Honeycrisp if I want a juicy crunch that still holds up under the candy coating.
Picking the Apples
You want apples that are firm, with no soft spots. Bruises will show through the glossy coating, and let me tell you, nothing ruins the illusion of a spooky “poison apple” faster than a lumpy, misshapen fruit. I usually give mine a quick dunk in boiling water to strip off that weird wax grocery stores coat them with. It makes all the difference — the candy grabs on like glue instead of sliding off in sad little streaks.
Sweet Essentials
The base of this recipe is super simple:
- Sugar (2 cups) → white granulated works best. Brown sugar will give you a caramel vibe, but it won’t get that glassy black finish.
- Corn syrup (½ cup) → I know some folks hate using it, but honestly, it prevents crystallization and keeps that coating smooth.
- Water (½ cup) → just enough to get things melting evenly.
The first time I skipped corn syrup, my pot turned into a gritty sugar rock. I sat there staring at it, wondering if I could salvage it with water. Spoiler: nope. Into the trash it went.
Flavor Magic
Here’s where you can get creative. I stick to vanilla extract for a warm base, but a few drops of cinnamon extract? Chef’s kiss. Adds this subtle kick that pairs beautifully with tart apples. If you’re feeling bold, clove or anise could give you an even darker, witchy flavor — though fair warning, not everyone at a kids’ party will thank you for that experiment.
The Spooky Swirl
Of course, the star is the food coloring. I use a mix of black gel (½ tsp) and purple gel (¼ tsp) to get that eerie marbled look. Gel works better than liquid because it gives a rich, opaque color without watering down the candy. When I first tried liquid dye, I had to dump in half the bottle, and even then the apples looked more gray than black.
So, keep it simple: firm apples, sugar + corn syrup + water, and a little bit of food coloring wizardry. You don’t need much to make these apples scream Halloween.
Step-by-Step Instructions
The first time I tried making Black Poison Swirl Candy Apples, I thought, “How hard can this be?” Turns out, harder than I expected. My apples ended up looking like sad blobs because I rushed the process. So here’s my step-by-step, with all the little lessons I wish I knew from the start.
Step 1: Prep Those Apples
Wash the apples really well. Even if they look clean, they’re usually covered in that glossy supermarket wax. I boil a pot of water, dip each apple for about 10 seconds, and then dry them thoroughly. It’s amazing how much better the candy clings after this step. Skip it, and you’ll end up with patchy spots where the coating just slides off. Been there, not fun.
Stick a candy stick right into the center. Push firmly, because once that apple hits thick candy syrup, a loose stick means it’ll flop right off. I had one roll across the counter once — black syrup trailing everywhere like something out of a horror movie.
Step 2: Make the Candy Syrup
This is the part where patience is your best friend. Combine the sugar, corn syrup, and water in a medium saucepan. Stir gently until the sugar dissolves, then… hands off. Don’t stir again. That was my first mistake — I stirred, and suddenly the whole thing crystallized into a gritty mess.
Bring it up to 300°F (the “hard-crack stage”). I can’t stress this enough: use a candy thermometer. If you try to guess, you’ll either get undercooked syrup that never hardens, or burnt sugar that tastes like a campfire gone wrong. I’ve made both mistakes, and neither is fun to clean off your stove.
Step 3: Add the Spooky Colors
Once the syrup hits 300°F, take it off the heat right away. Add your black gel food coloring, then a little purple gel for that magical swirl. I swirl a fork through gently — too much mixing and you lose that marbled effect. Oh, and do this fast. The candy starts setting quicker than you think.
Step 4: Dip & Swirl the Apples
Now the fun part. Hold the stick and dip each apple into the hot syrup, twisting slowly to coat it completely. Don’t rush. Let the excess drip off while giving it a gentle swirl to create those mesmerizing black-purple streaks. Place each finished apple on a parchment-lined tray to harden.
The first time I made these, I used wax paper instead of parchment. Big mistake. Half my apples stuck like glue, and peeling them off felt like ripping a bandage off a hairy arm. Trust me: parchment or silicone mat only.
Step 5: Cool & Harden
Let them cool at room temp. Don’t stick them in the fridge — condensation ruins the glossy finish. Within 20 minutes, they should be hard as glass and ready to serve.
And just like that, you’ve got creepy, shiny apples that look like they came straight out of a fairytale.

Tips for the Perfect “Poison” Look
Okay, so here’s the truth: the first batch of my Black Poison Swirl Candy Apples looked more like burnt barbecue sauce than anything spooky. I thought the black coloring alone would do the trick — nope. They just looked flat, dull, and not at all like the elegant “poison apple” vibe I was going for. But after a couple of tries (and some sticky disasters), I found a few tricks that make them look wicked cool.
Get That Marble Effect
Don’t overmix the coloring. Seriously. One time, I stirred so much it all blended into one solid black. Sure, it looked spooky, but it lacked that magical swirl. The secret? Just drag a toothpick or fork once or twice through the syrup after adding the purple coloring. Less is more here.
Drizzle for Drama
Want them to look like they’re literally oozing poison? Use a spoon to drizzle a bit of extra candy over the apples after dipping. It creates these eerie ripples that harden into a glossy, textured layer. I did this by accident once (because I had too much syrup left) and everyone thought I planned it that way. Happy accidents, right?
Add a Little Sparkle
I’m not talking glitter bombs, but a pinch of edible black glitter or a swipe of metallic purple luster dust makes them look like they’re glowing under candlelight. Last year, I brought a tray to a Halloween potluck and people couldn’t stop taking pictures. Honestly, they’re more photogenic than I am.
Sweet & Salty Twist
Here’s an unexpected move: sprinkle a tiny bit of flaky sea salt over the warm coating. It sticks while the candy is setting, and you get that sweet-salty combo that makes people raise an eyebrow — then go back for seconds. Not everyone loves it, but if you’ve got adventurous eaters, it’s a game-changer.
Presentation is Half the Magic
Don’t just toss them on a plate. I learned that the hard way when mine stuck together in one giant candy clump. Instead, line them up on parchment and set them with some fake cobwebs, black candles, or even a creepy cauldron bowl for serving. Half the fun is how dramatic they look sitting out at a party.
So yeah, it’s not just about making the candy apples — it’s about making them look like they could actually poison Snow White. And that’s when you know you’ve nailed it.
Serving & Storage Ideas
So, you’ve made your glossy Black Poison Swirl Candy Apples and they look like something straight out of a gothic fairytale. Now comes the fun part — showing them off. Honestly, half the joy of these apples is in how you serve and store them. Trust me, I’ve had both major wins and a couple of cringe-worthy fails here.
Serving at Parties
Here’s what I learned the hard way: don’t just plop them in a bowl. I tried that once, and by the time guests arrived, three apples had tipped over and glued themselves together into one giant monster apple. Total mess. Now, I stand them upright on parchment paper or in a foam block (sticks down) so they look like a spooky apple “forest.” It’s dramatic, easy, and guests can grab one without the whole display collapsing.
If you’re going full Halloween mode, surround the apples with plastic spiders, cobwebs, or even dry ice fog. One year, I set them up around a fake cauldron, and it was the star of the table. People thought I’d hired a party planner. Nope — just me, a cauldron from the dollar store, and a lot of dry ice.
Wrapping for Favors
If you’re handing these out as party favors (and honestly, they make killer favors), wrap each apple in a clear cellophane bag and tie it with a black or purple ribbon. They look fancy, and guests don’t end up with sticky fingers. One little tip: spray the inside of the bag lightly with cooking spray before sliding in the apple. Sounds weird, but it keeps the candy coating from sticking to the plastic.
Storage Tips
Okay, let’s be real. These aren’t something you make a week in advance. The candy shell starts to break down after a couple of days, especially if it’s humid. I usually make them the day before a party and store them at room temp in a cool, dry spot. Don’t refrigerate — the condensation will ruin that glossy finish and turn them into sticky nightmares.
If you’ve got leftovers (rare in my house), eat them within 48 hours. After that, the apples start to soften under the candy shell. I once tried to keep them for four days… yeah, let’s just say the apple inside wasn’t exactly crisp anymore.
A Little Extra Magic
Want to go over the top? Add name tags to each apple with spooky titles like “Witch’s Bite” or “Cauldron Core.” Kids eat that stuff up, and honestly, adults love it just as much.
So whether you’re serving them up on a Halloween buffet table or wrapping them as take-home favors, these apples don’t just taste good — they perform. And that’s what makes them unforgettable.

Every time I make these Black Poison Swirl Candy Apples, I feel like I’ve pulled off a little kitchen magic trick. They start with the most basic ingredients — sugar, corn syrup, a couple drops of food coloring — and somehow end up looking like something out of a witch’s spellbook.
They’re not just treats, they’re conversation starters. I’ve seen kids stare at them wide-eyed, adults sneak an extra one “for later,” and more than a few people snap photos before even taking a bite. That’s the fun of it — they’re spooky, elegant, and just messy enough to feel homemade.
If you’re throwing a Halloween party, trust me, these apples will steal the show. Just remember: prep your apples, use a thermometer (seriously, don’t wing it), and don’t be afraid to play around with colors or toppings. You’ll be surprised at how much fun it is to watch them transform right in front of you.
So, grab a bag of apples, fire up your cauldron (aka saucepan), and make a batch this year. Then go ahead and pin this recipe on Pinterest — because these hauntingly beautiful apples deserve to be shared. 🖤✨


These look so cool! I’ll have to give them a try at a few Halloween parties. I hope they come out as pretty as yours.